Photography Ideas

Figuring out new fun ways to take photos can be difficult sometimes. In this blog post I will be discussing tips for different things you can try to spark new inspiration the next time you decide to take photos! I will also include a 14 day photography challenge that you can screenshot and save for now or later. If you don’t have an actual camera, don’t worry! Most phones have really good cameras these days and you will likely be capable of following along with most of the photography ideas and tips I present.

Below is a list of tips and ideas that I use frequently that helps me take fun photos I am satisfied with. Beneath that are photos I have taken using the same techniques listed.

  •  Angles

No matter where you are or what your taking a photo of, changing the angle can make a huge difference and change the way the photo looks completely!

I know this may seem super obvious, but just taking photos from eye level all the time can get boring. Take photos from the ground upwards, or take a photo of your subject from above.

Taking photos at different angles doesn’t always necessarily mean one angle is better than the other. It just lets you see the subject with a different perspective.

Another fun idea I like to add to my photos is taking a photo of the main subject from behind another object.

Photo 1 - Angles
Photo 2 - Angles/Macro
  • Macro Photography

If you’re taking a photo of a flower try taking photos up close with a macro lens. Take photos from as many angles you can think of.

Another subject I love to take photos of with a macro lens are bugs! I know, bugs are gross, but at times bugs can look really cool when you take close up photos with lots of detail!

You’re not subjected to only take macro photos of bugs and flowers; there are plenty of subjects to try macro photography on. Even if it doesn’t seem likely that the subject will look great up close, try it anyway! You might be surprised(in a good way) with the outcome!

Photo 1 - Angles/Macro
Photo 2 - Macro
  • Manual Mode (this is where you can manually adjust the shutter speed, aperture, and ISO)
When I first got my camera and started taking photos, I would avoid manual mode because I found it intimidating. I didn’t fully understand how to adjust the settings and it hindered my progress in taking a good photo that I liked. Manual mode is good for taking photos of objects in motion, and night photos if you don’t like to use flash.
 
Shutter Speed controls how quickly the shutter opens and closes to let light in when taking a photo. A fast shutter speed will allow you to take crisp photos of objects in motion but it will let less light in because of how quickly your camera took the photo. If you take a photo with a fast shutter speed you will have to adjust your aperture or ISO to make sure your photo doesn’t end up underexposed.
If you take a photo with a slow shutter speed, the lens will stay open longer allowing more light in. It is best to use a tripod when taking photos at a really slow shutter speed because your photo can become easily blurry if the camera is not held still.
 
Aperture controls the amount of light that the camera lets in through a small hole. The hole can become wider or smaller depending on what size you set it to in your camera. A smaller for example if you have the aperture set to f/3.5, the aperture would be wider and let more light it. If you have your aperture set to f/18, the aperture will be smaller in size and won’t allow as much light in as f/3.5.
 
ISO – the ISO also controls how much light the camera recieves but it brightens the photo using the system in the camera. Using the ISO is a good way to get a brighter photo, but the higher you adjust the ISO , the grainier your photo will become. It’s almost like editing a photo after it was taken, the more you edit the photo, it will become grainy.  It’s always best to leave your ISO as lowest as you can keep it.
 
I use manual mode the majority of the time and  I believe it has definitely helped me improve my photography. 🙂


Photo 1 - Slow Shutter Speed
Photo 2 - Fast Shutter Speed
  • Lighting

Lighting plays a very important role in photo taking. I have found the natural lighting is best for taking great photos. My favorite times to take photos outside is in the morning or in the evening during sunset. If you are taking photos indoors you can let the natural light come in from the window(s). If you aren’t in an area indoors with no natural light you can still take great photos by adjusting the settings of your camera to take photos indoors, or you can use the camera’s flash.

Photo 1 - Lighting
Photo 2 - Lighting

Photography Ideas/Challenge!

1. Take a photo of one of your favorite items! It could be an instrument, book, toy, food, etc. Take it outside and have a small photo shoot with it. Be creative! You can even decorate it.

2. Still life. Taking a still life photo is similar to the first idea, but instead of taking a photo of only one object you are going to take a photo of several objects. Place them in an area where you feel like there’s a nice background. You can take any items you like and spend some time placing them in different positions to figure out what you like best.

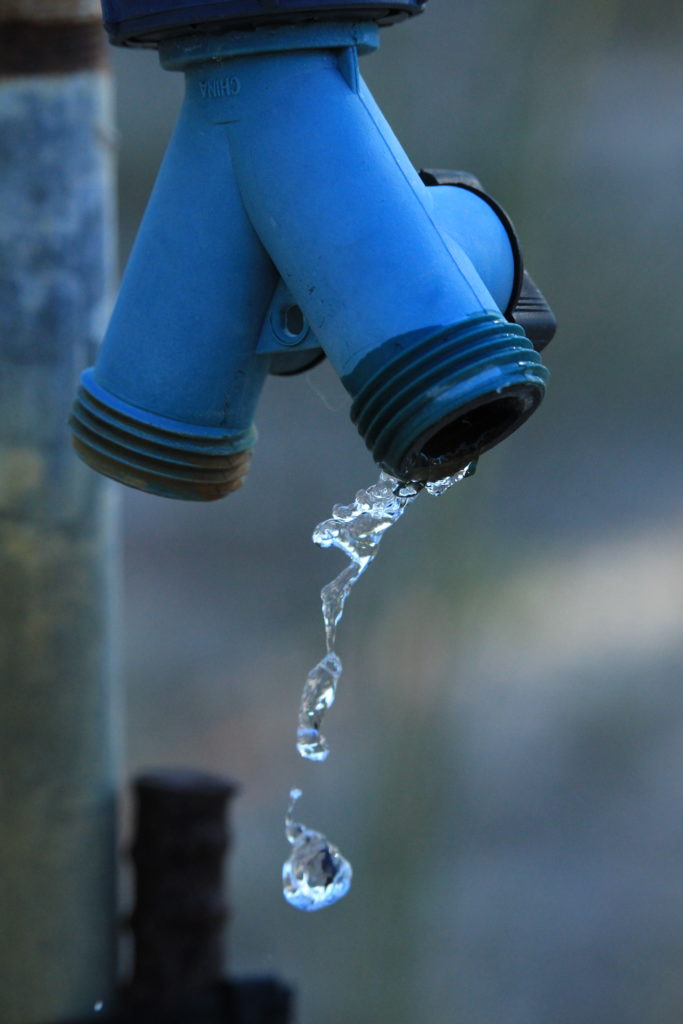
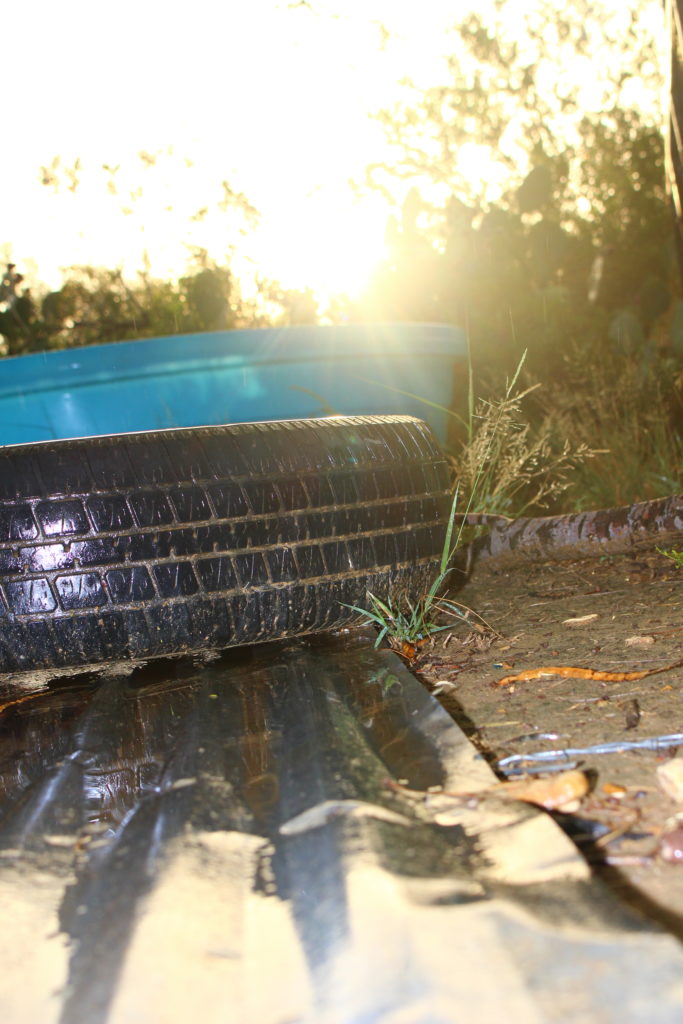
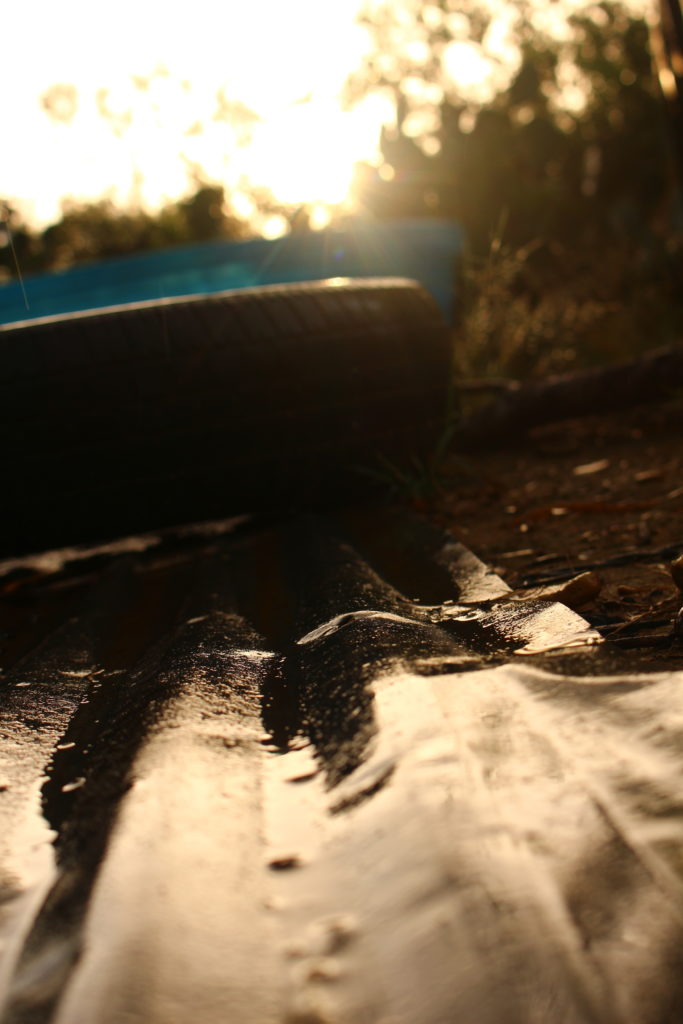
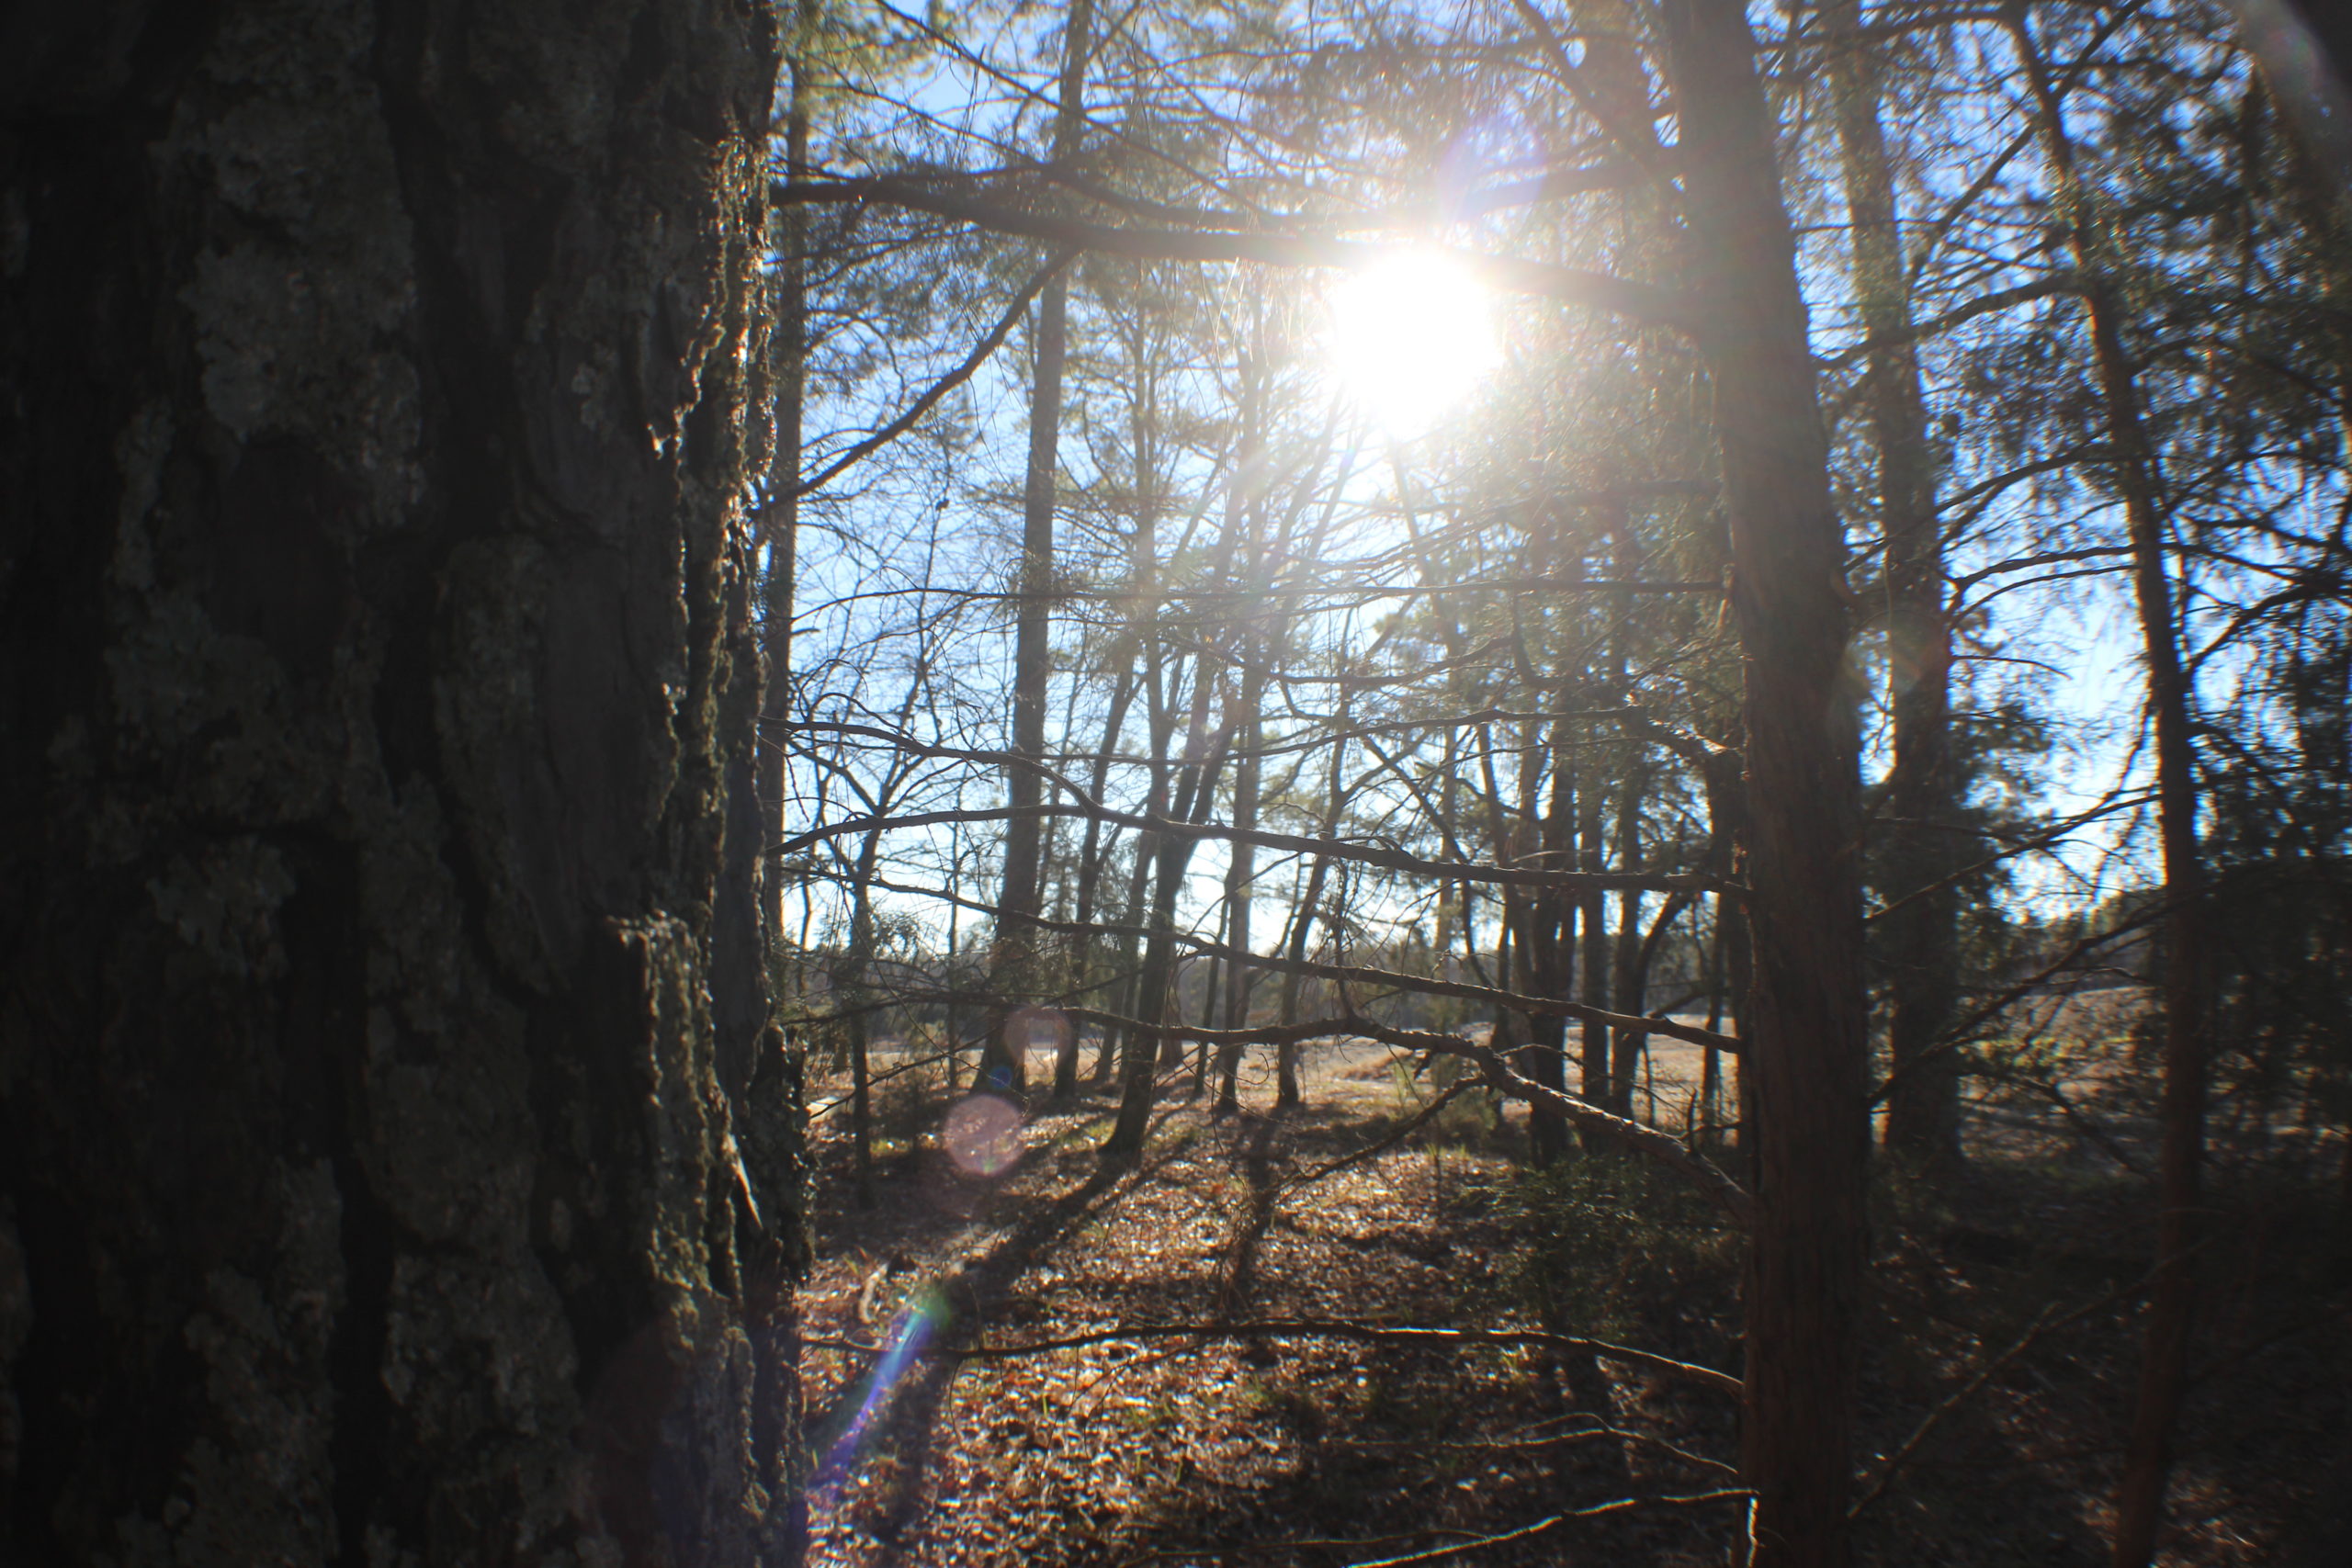
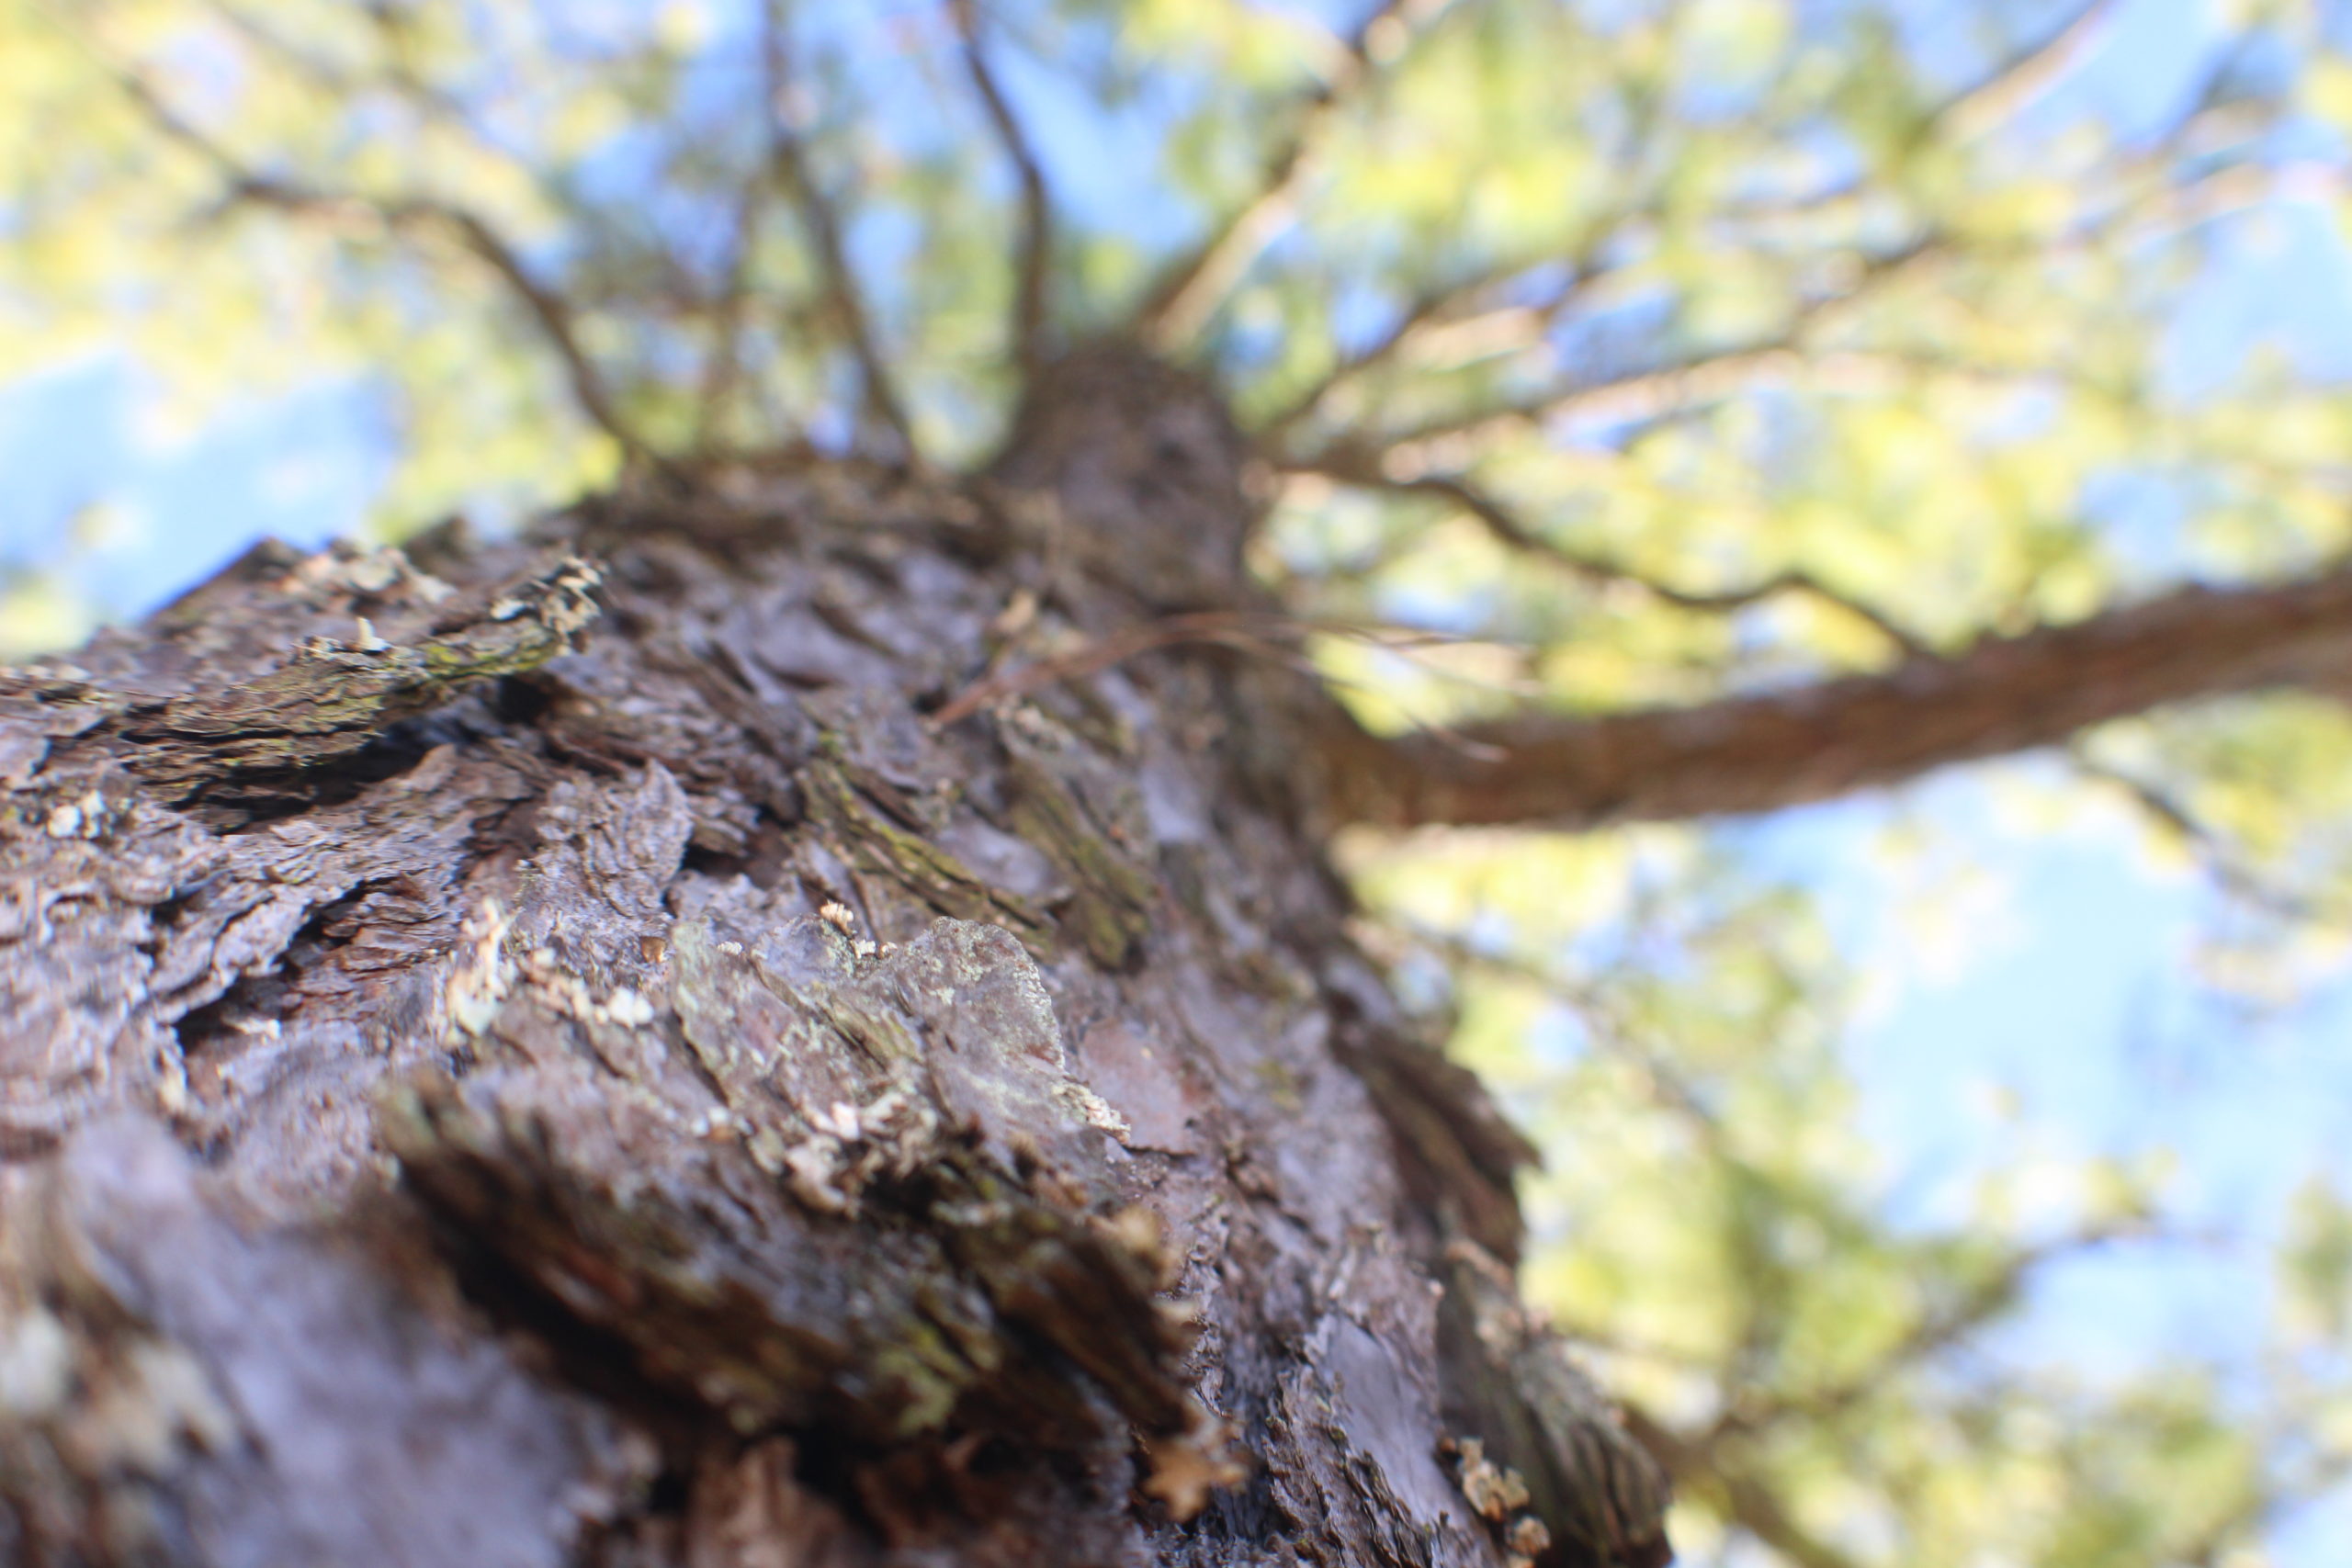
3. Take a photo of something from a low angle. You may have to get on the ground depending on what you are photographing.

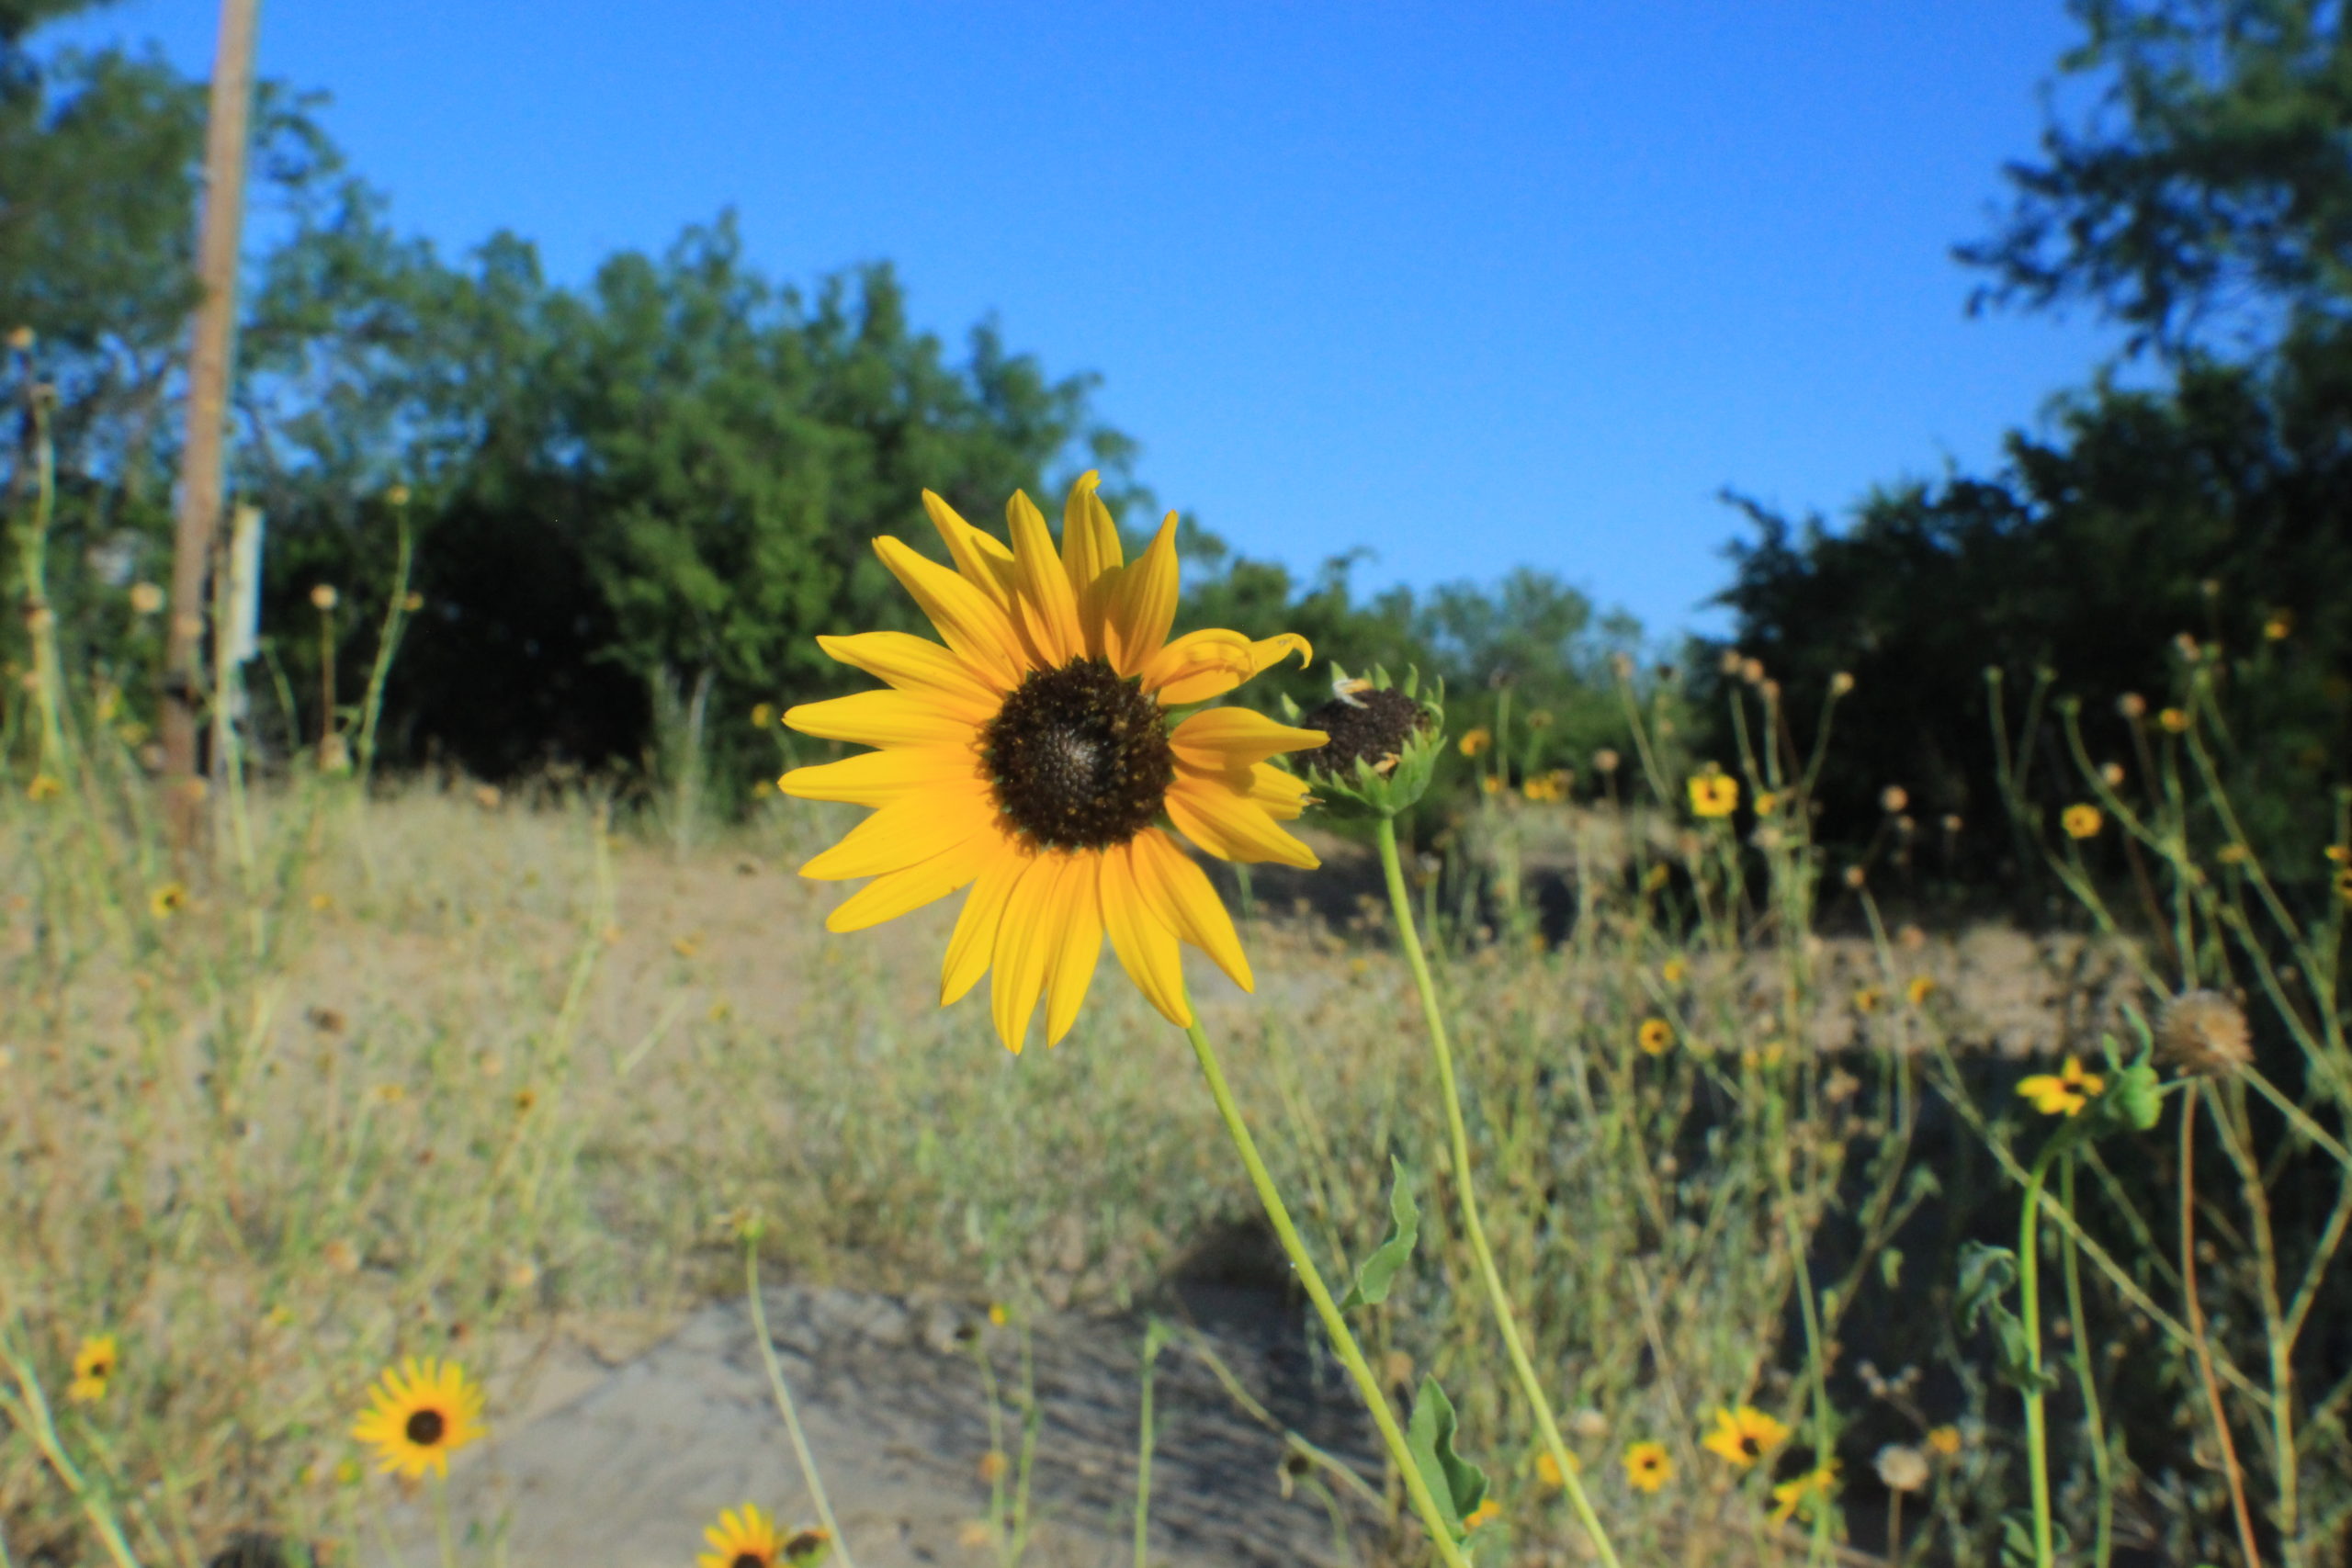
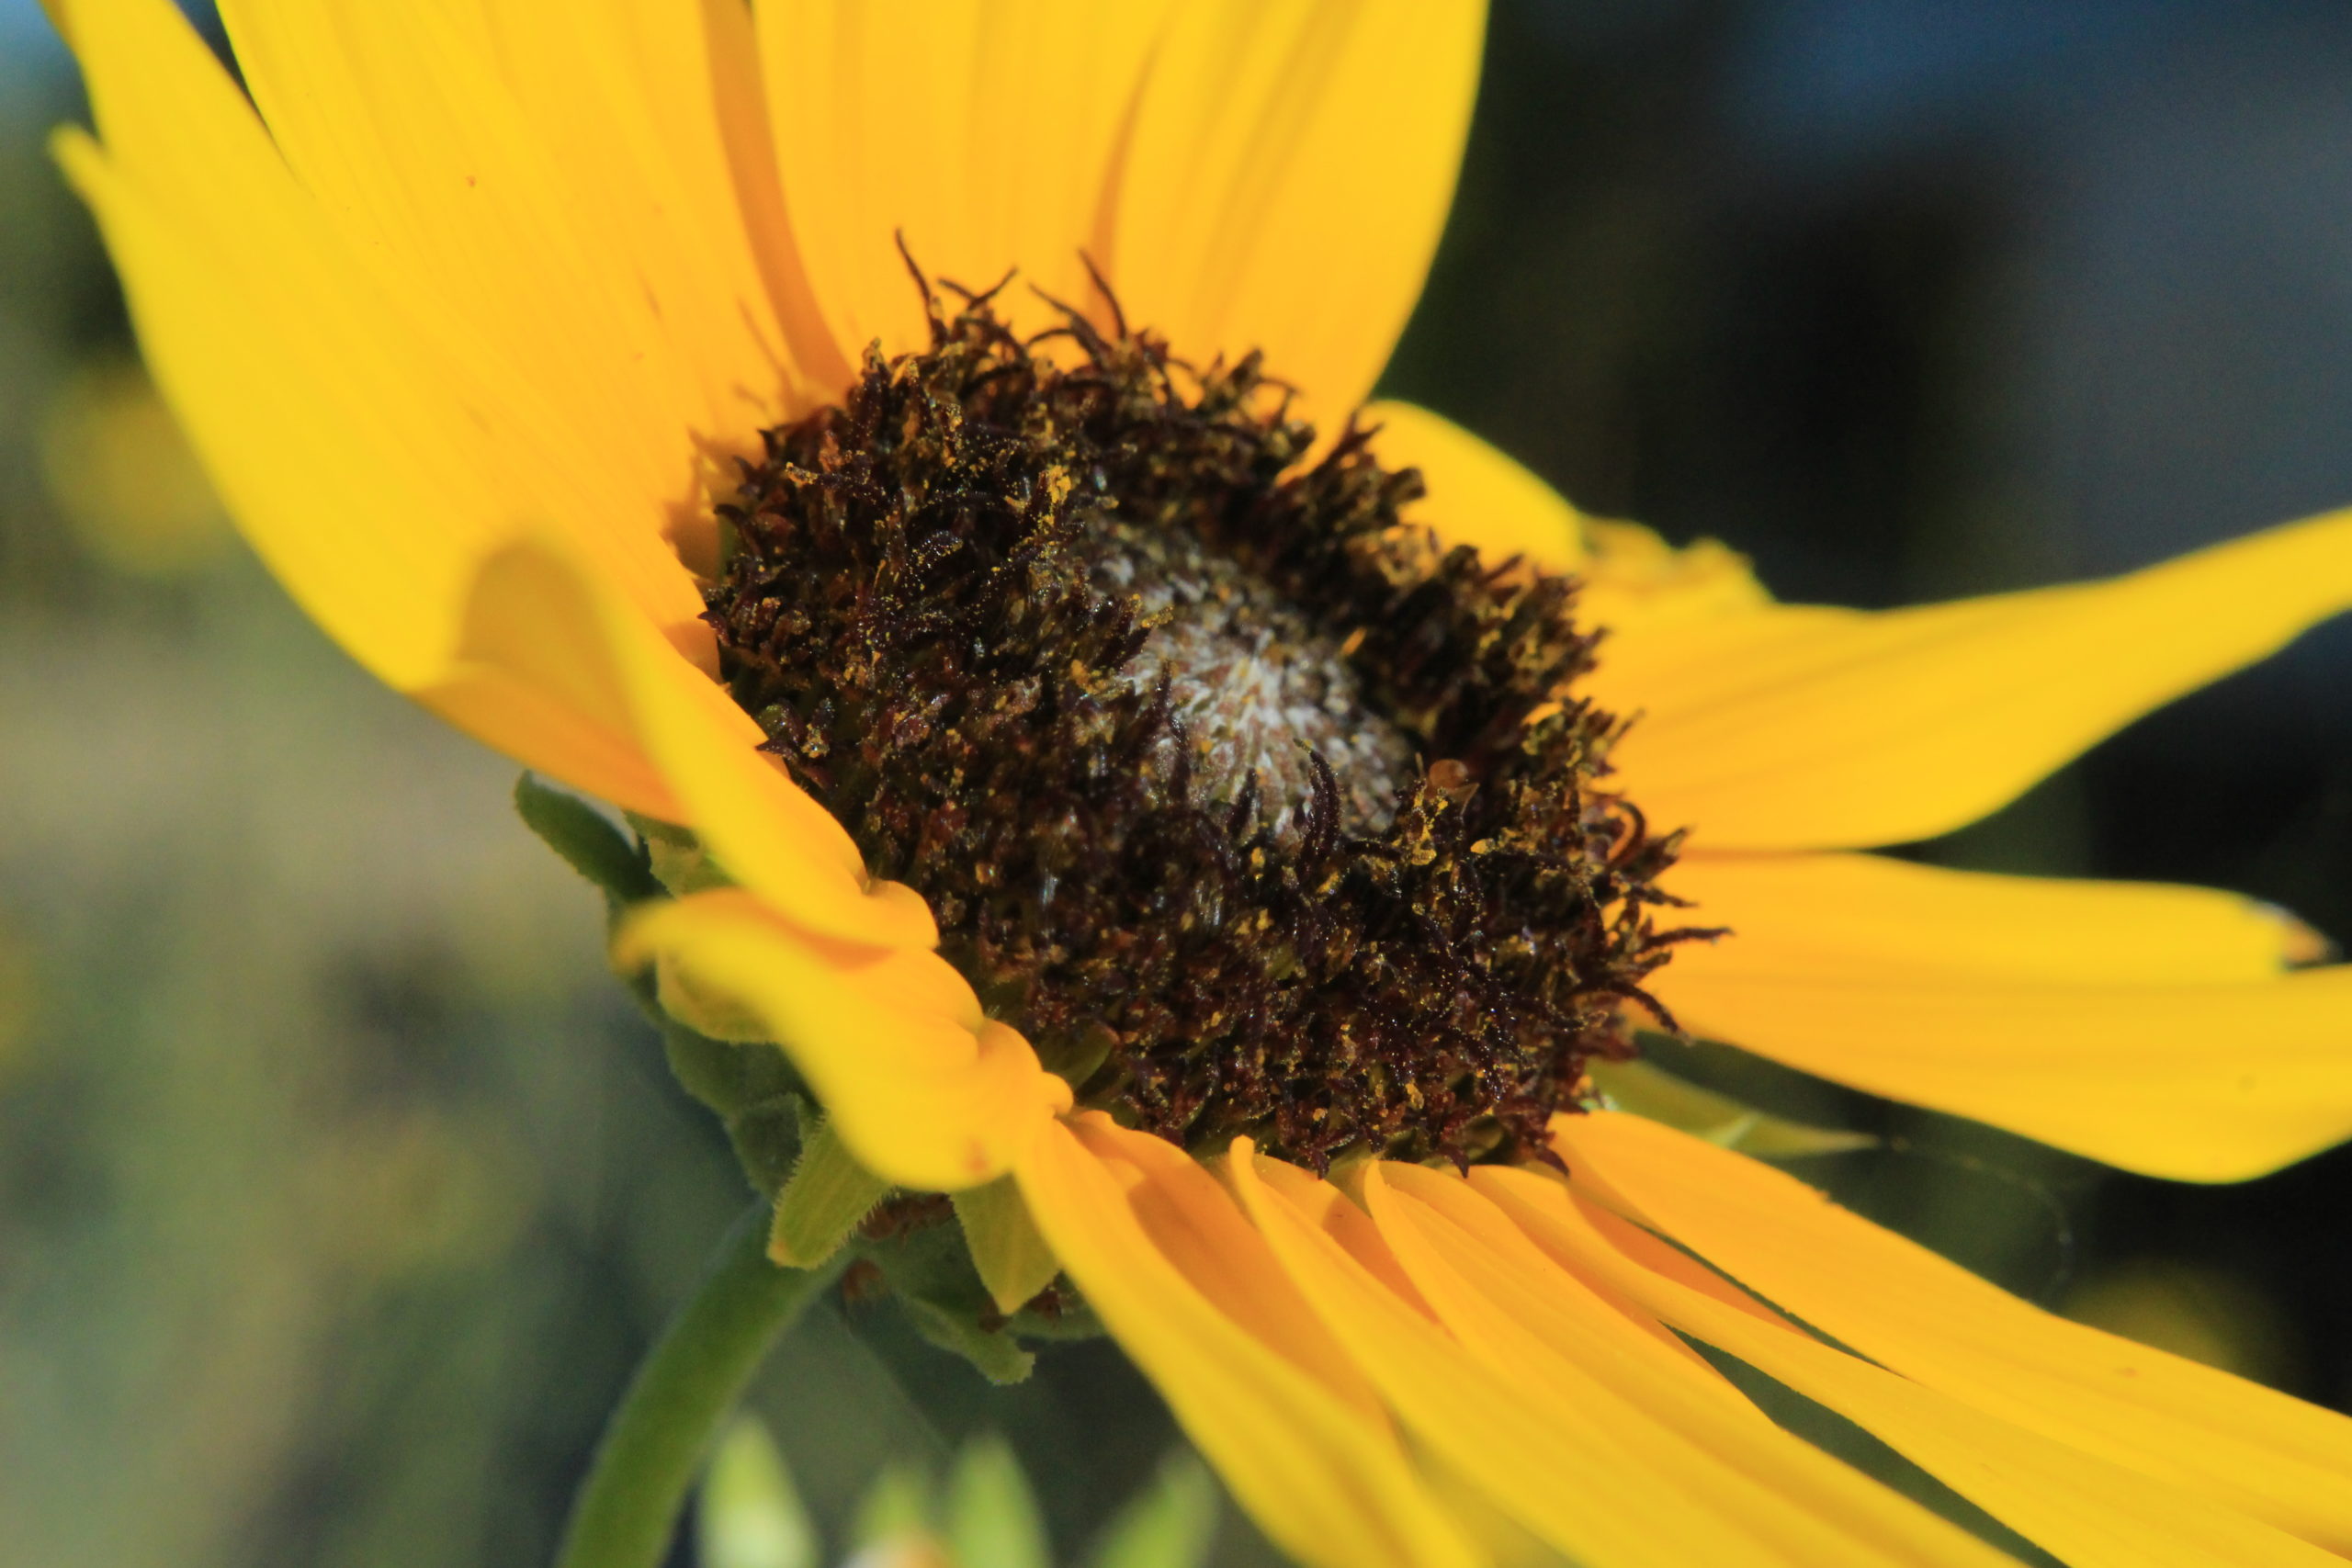
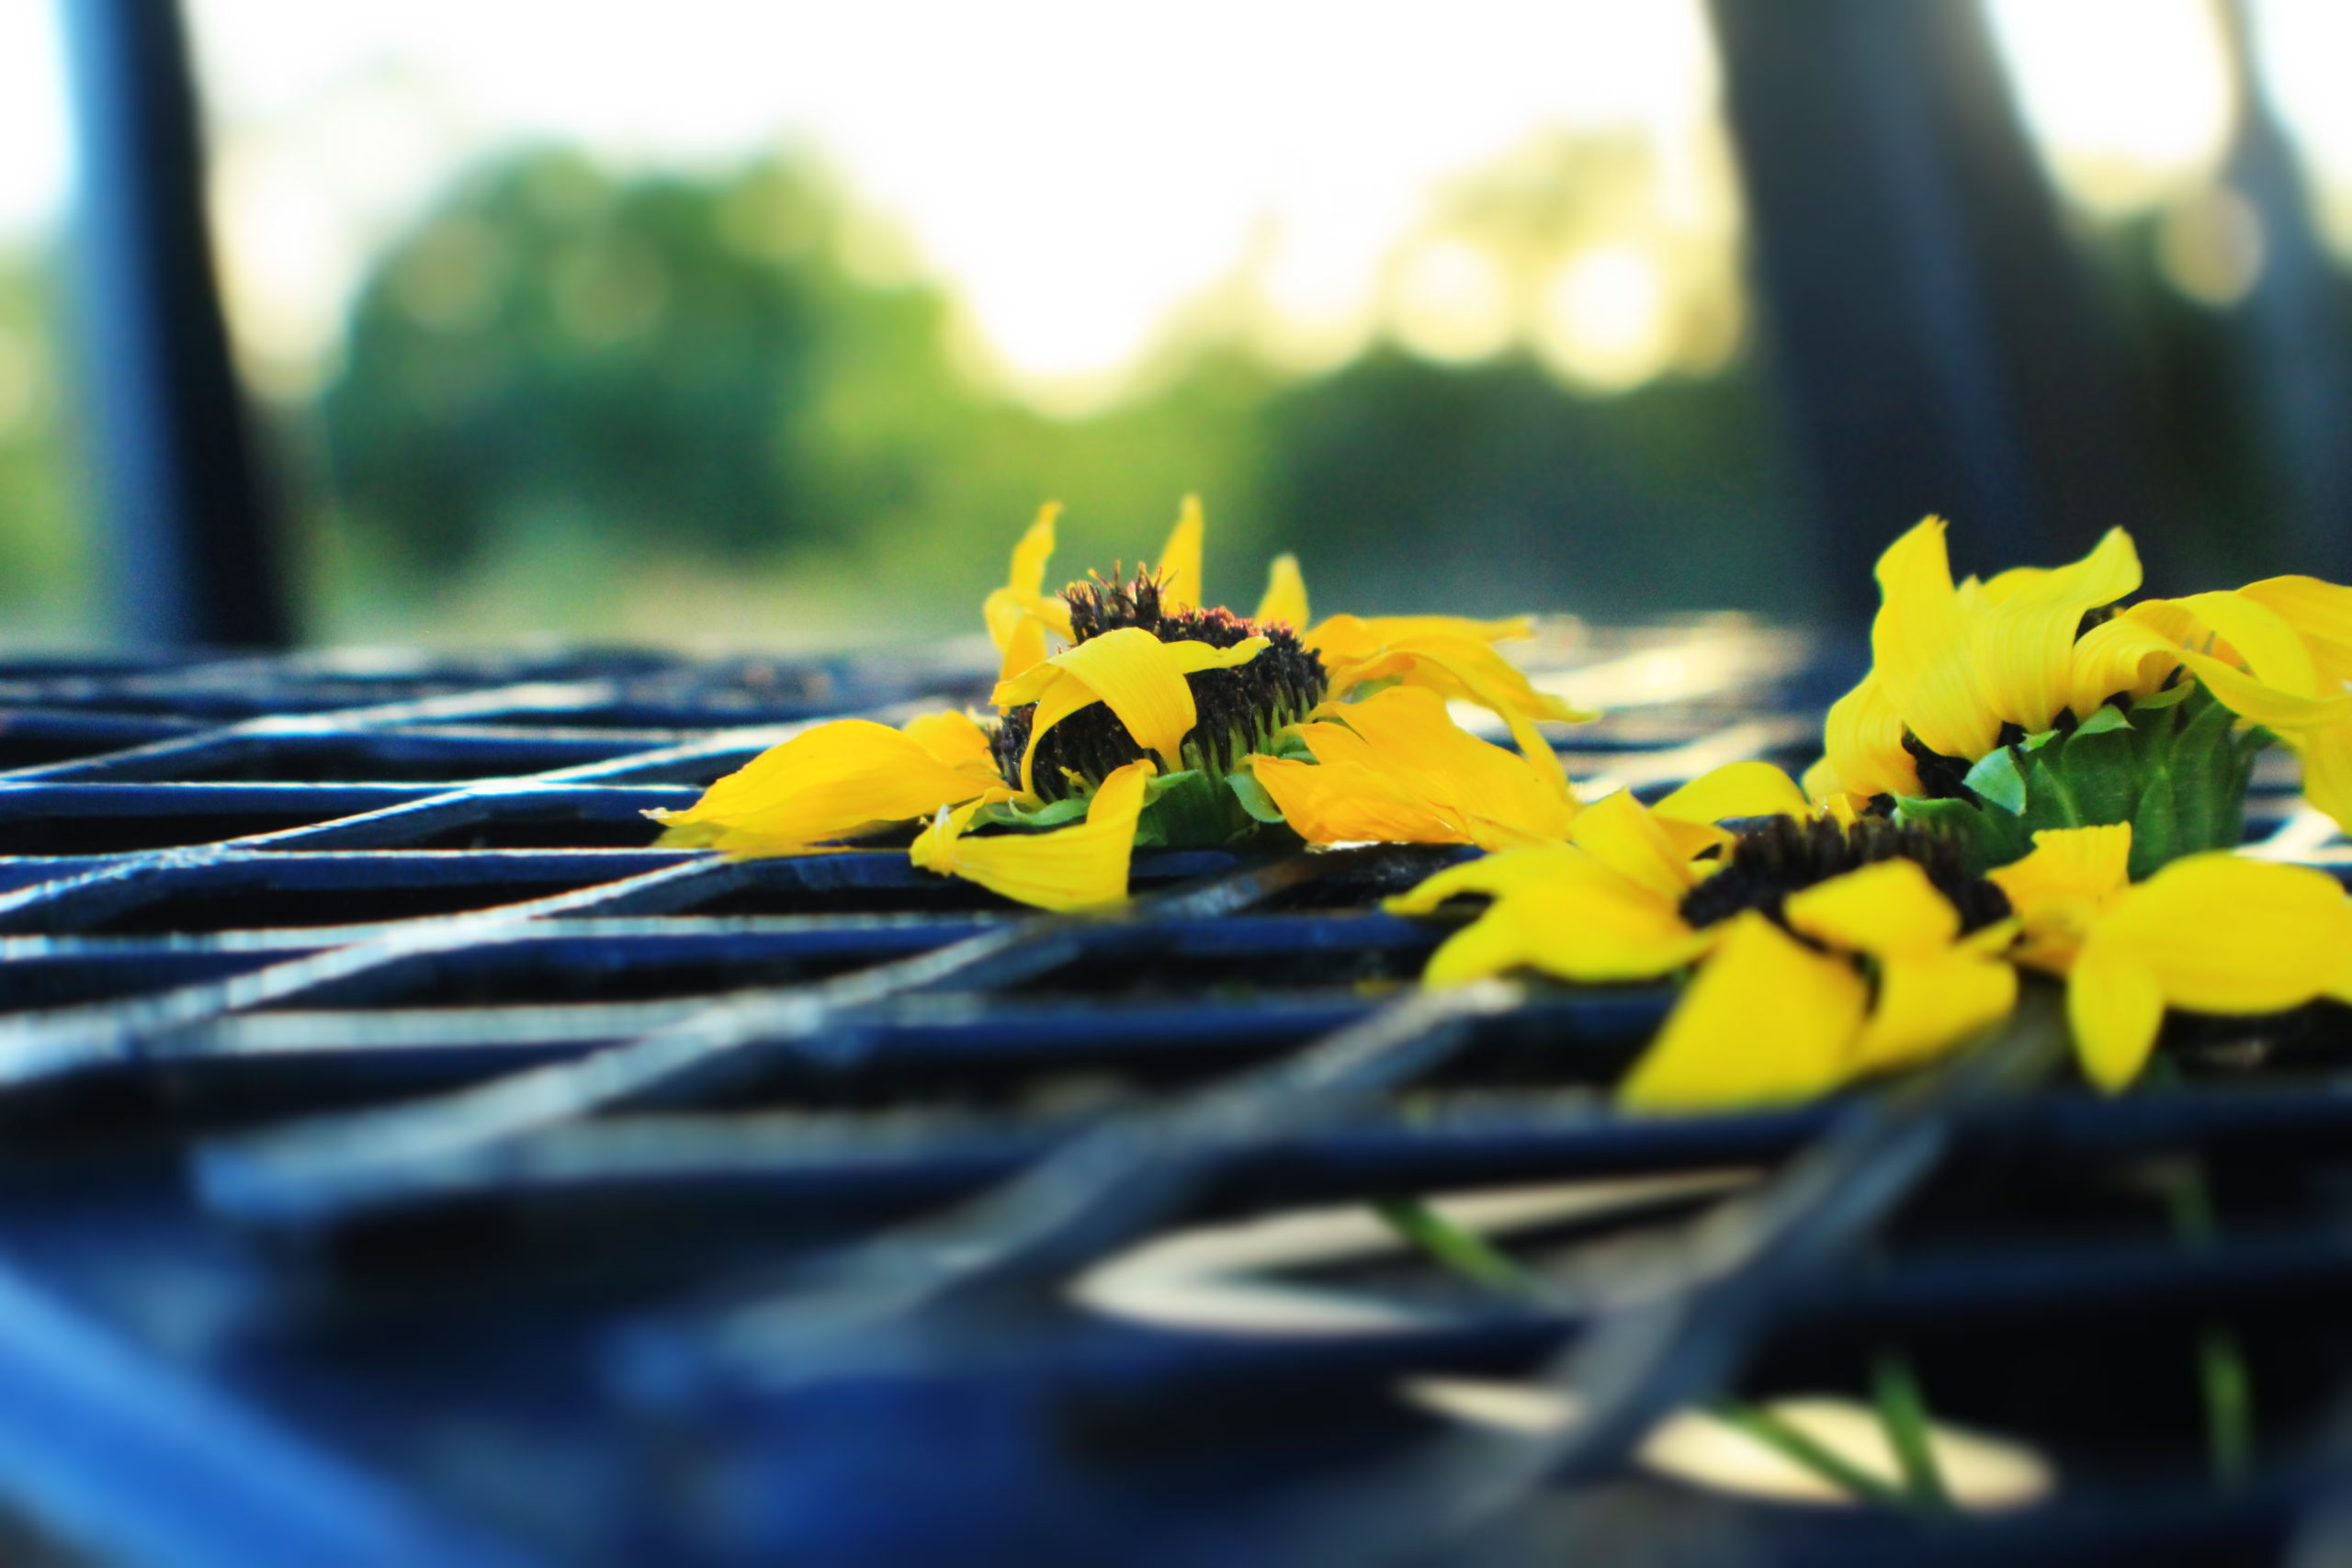
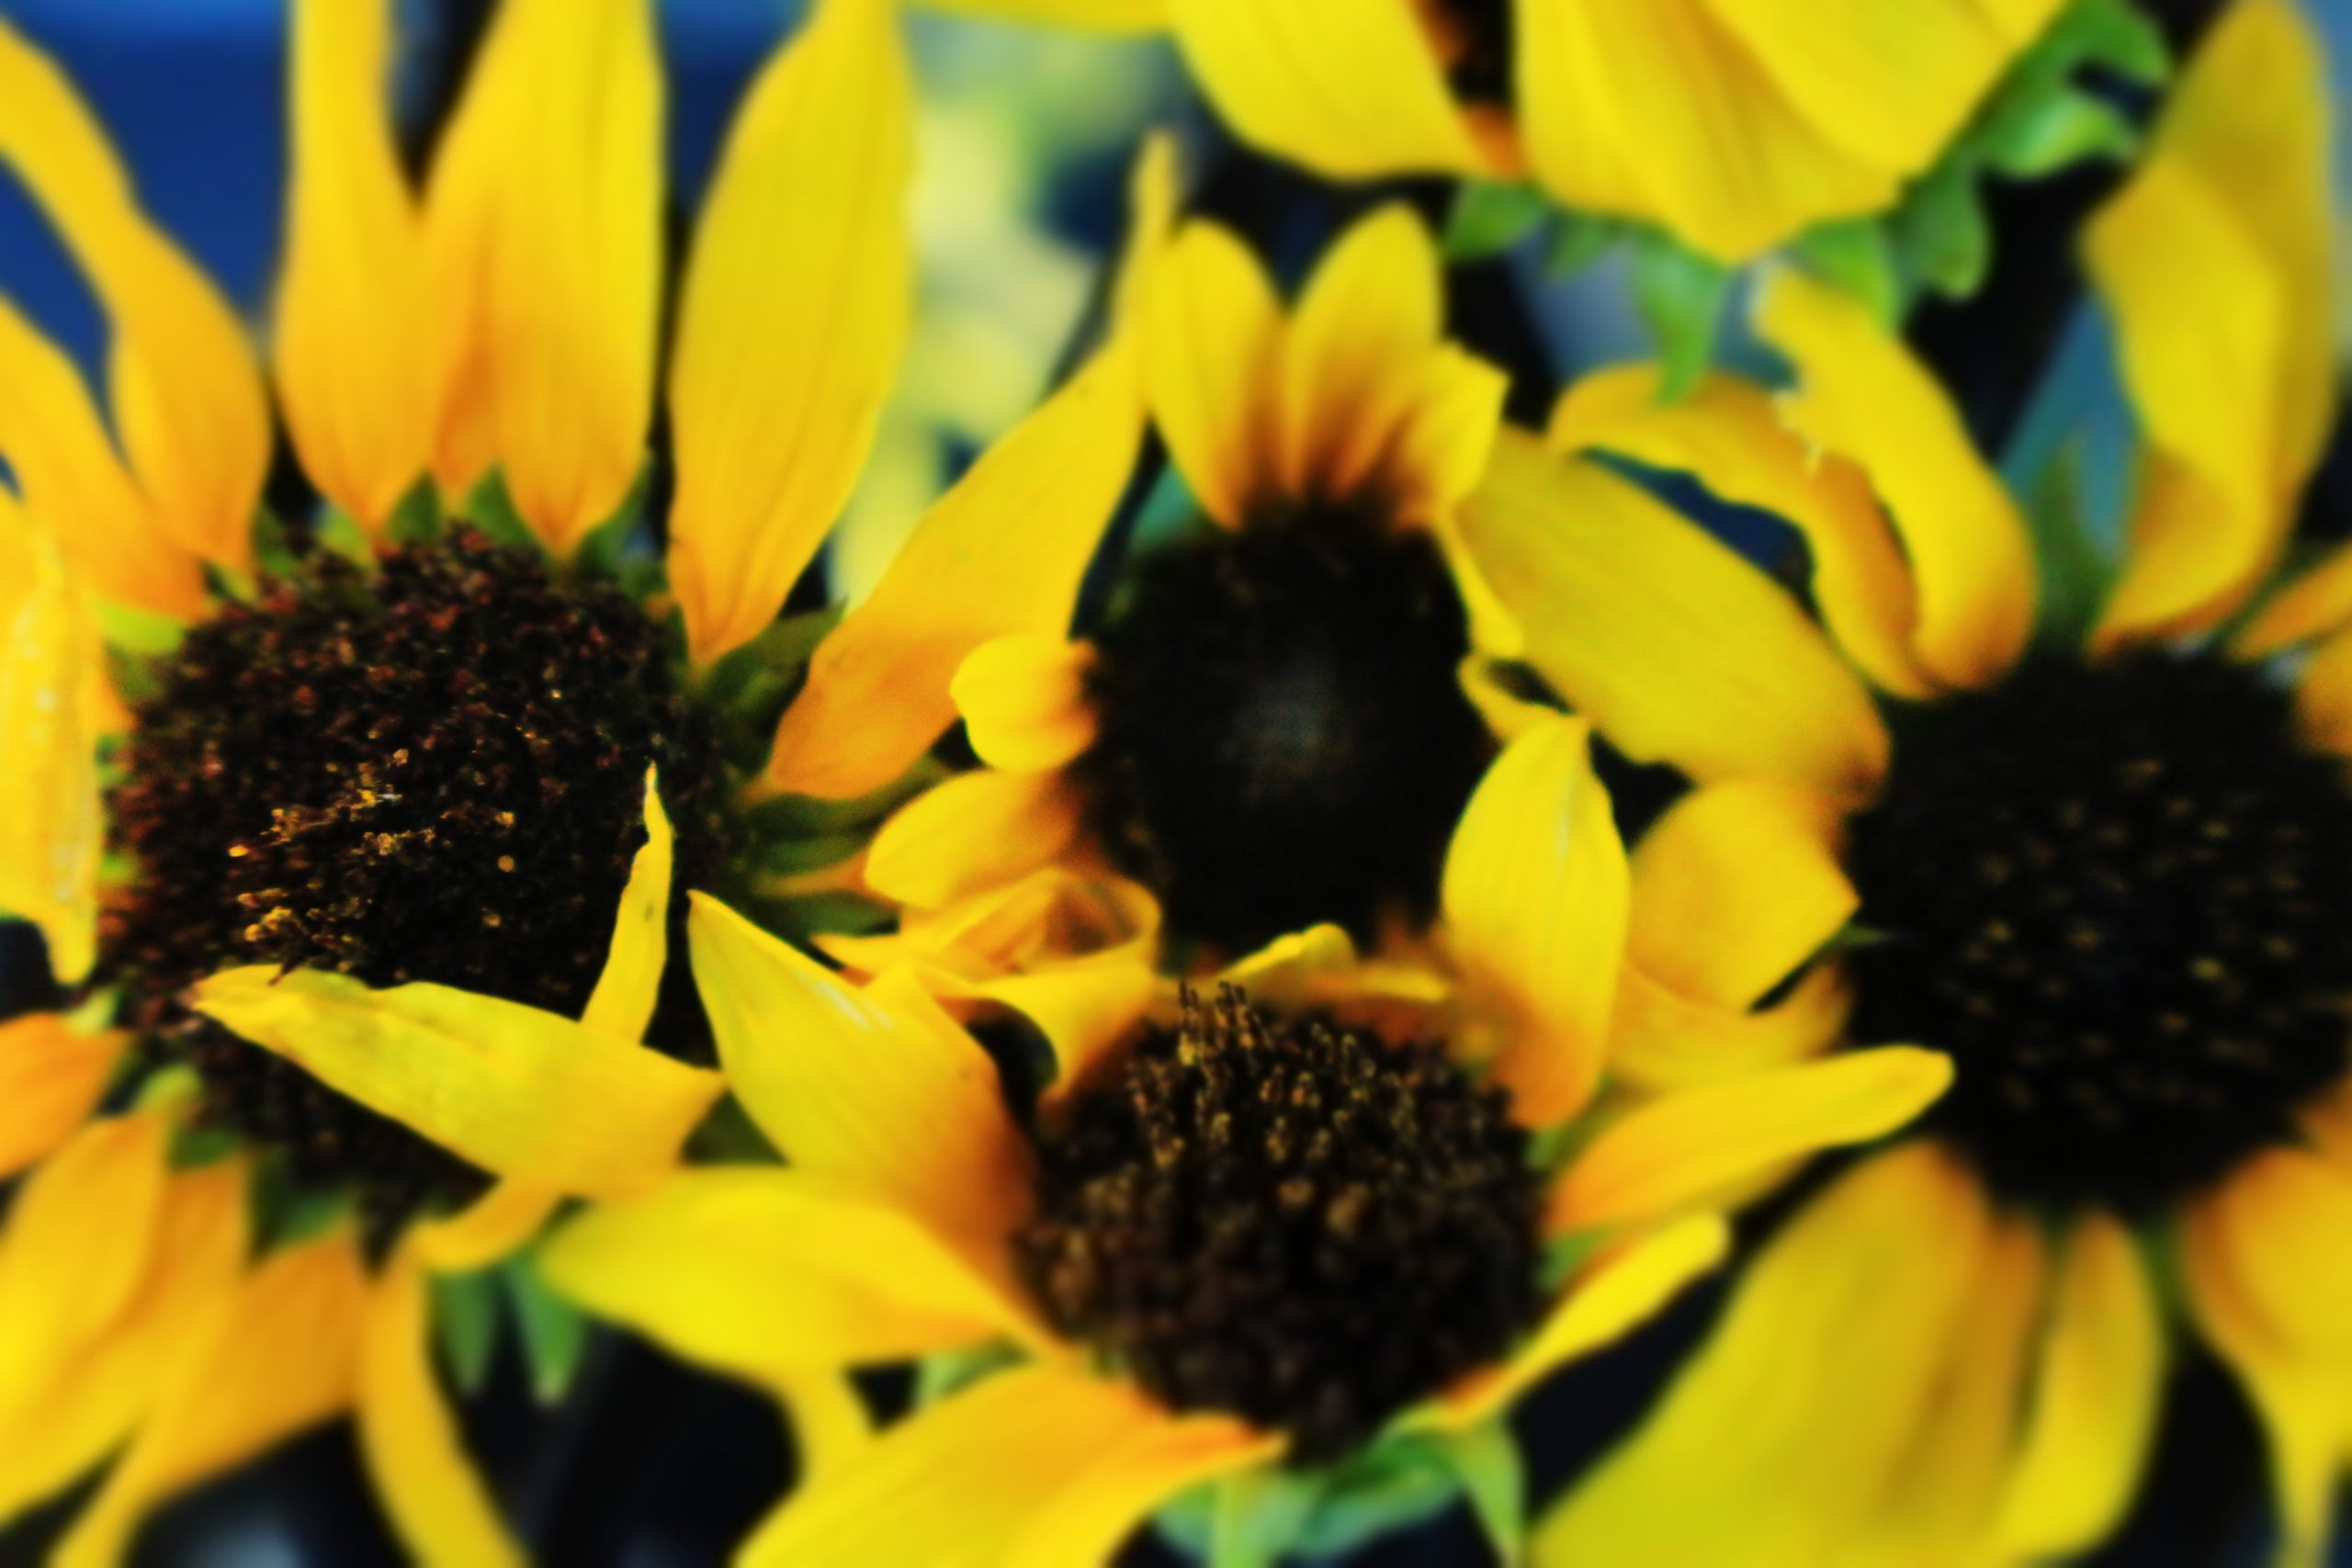
4. FLOWERS. I love flowers and there are so many different ways you can incorporate them into a photograph.

5. Sunset/Sunrise.

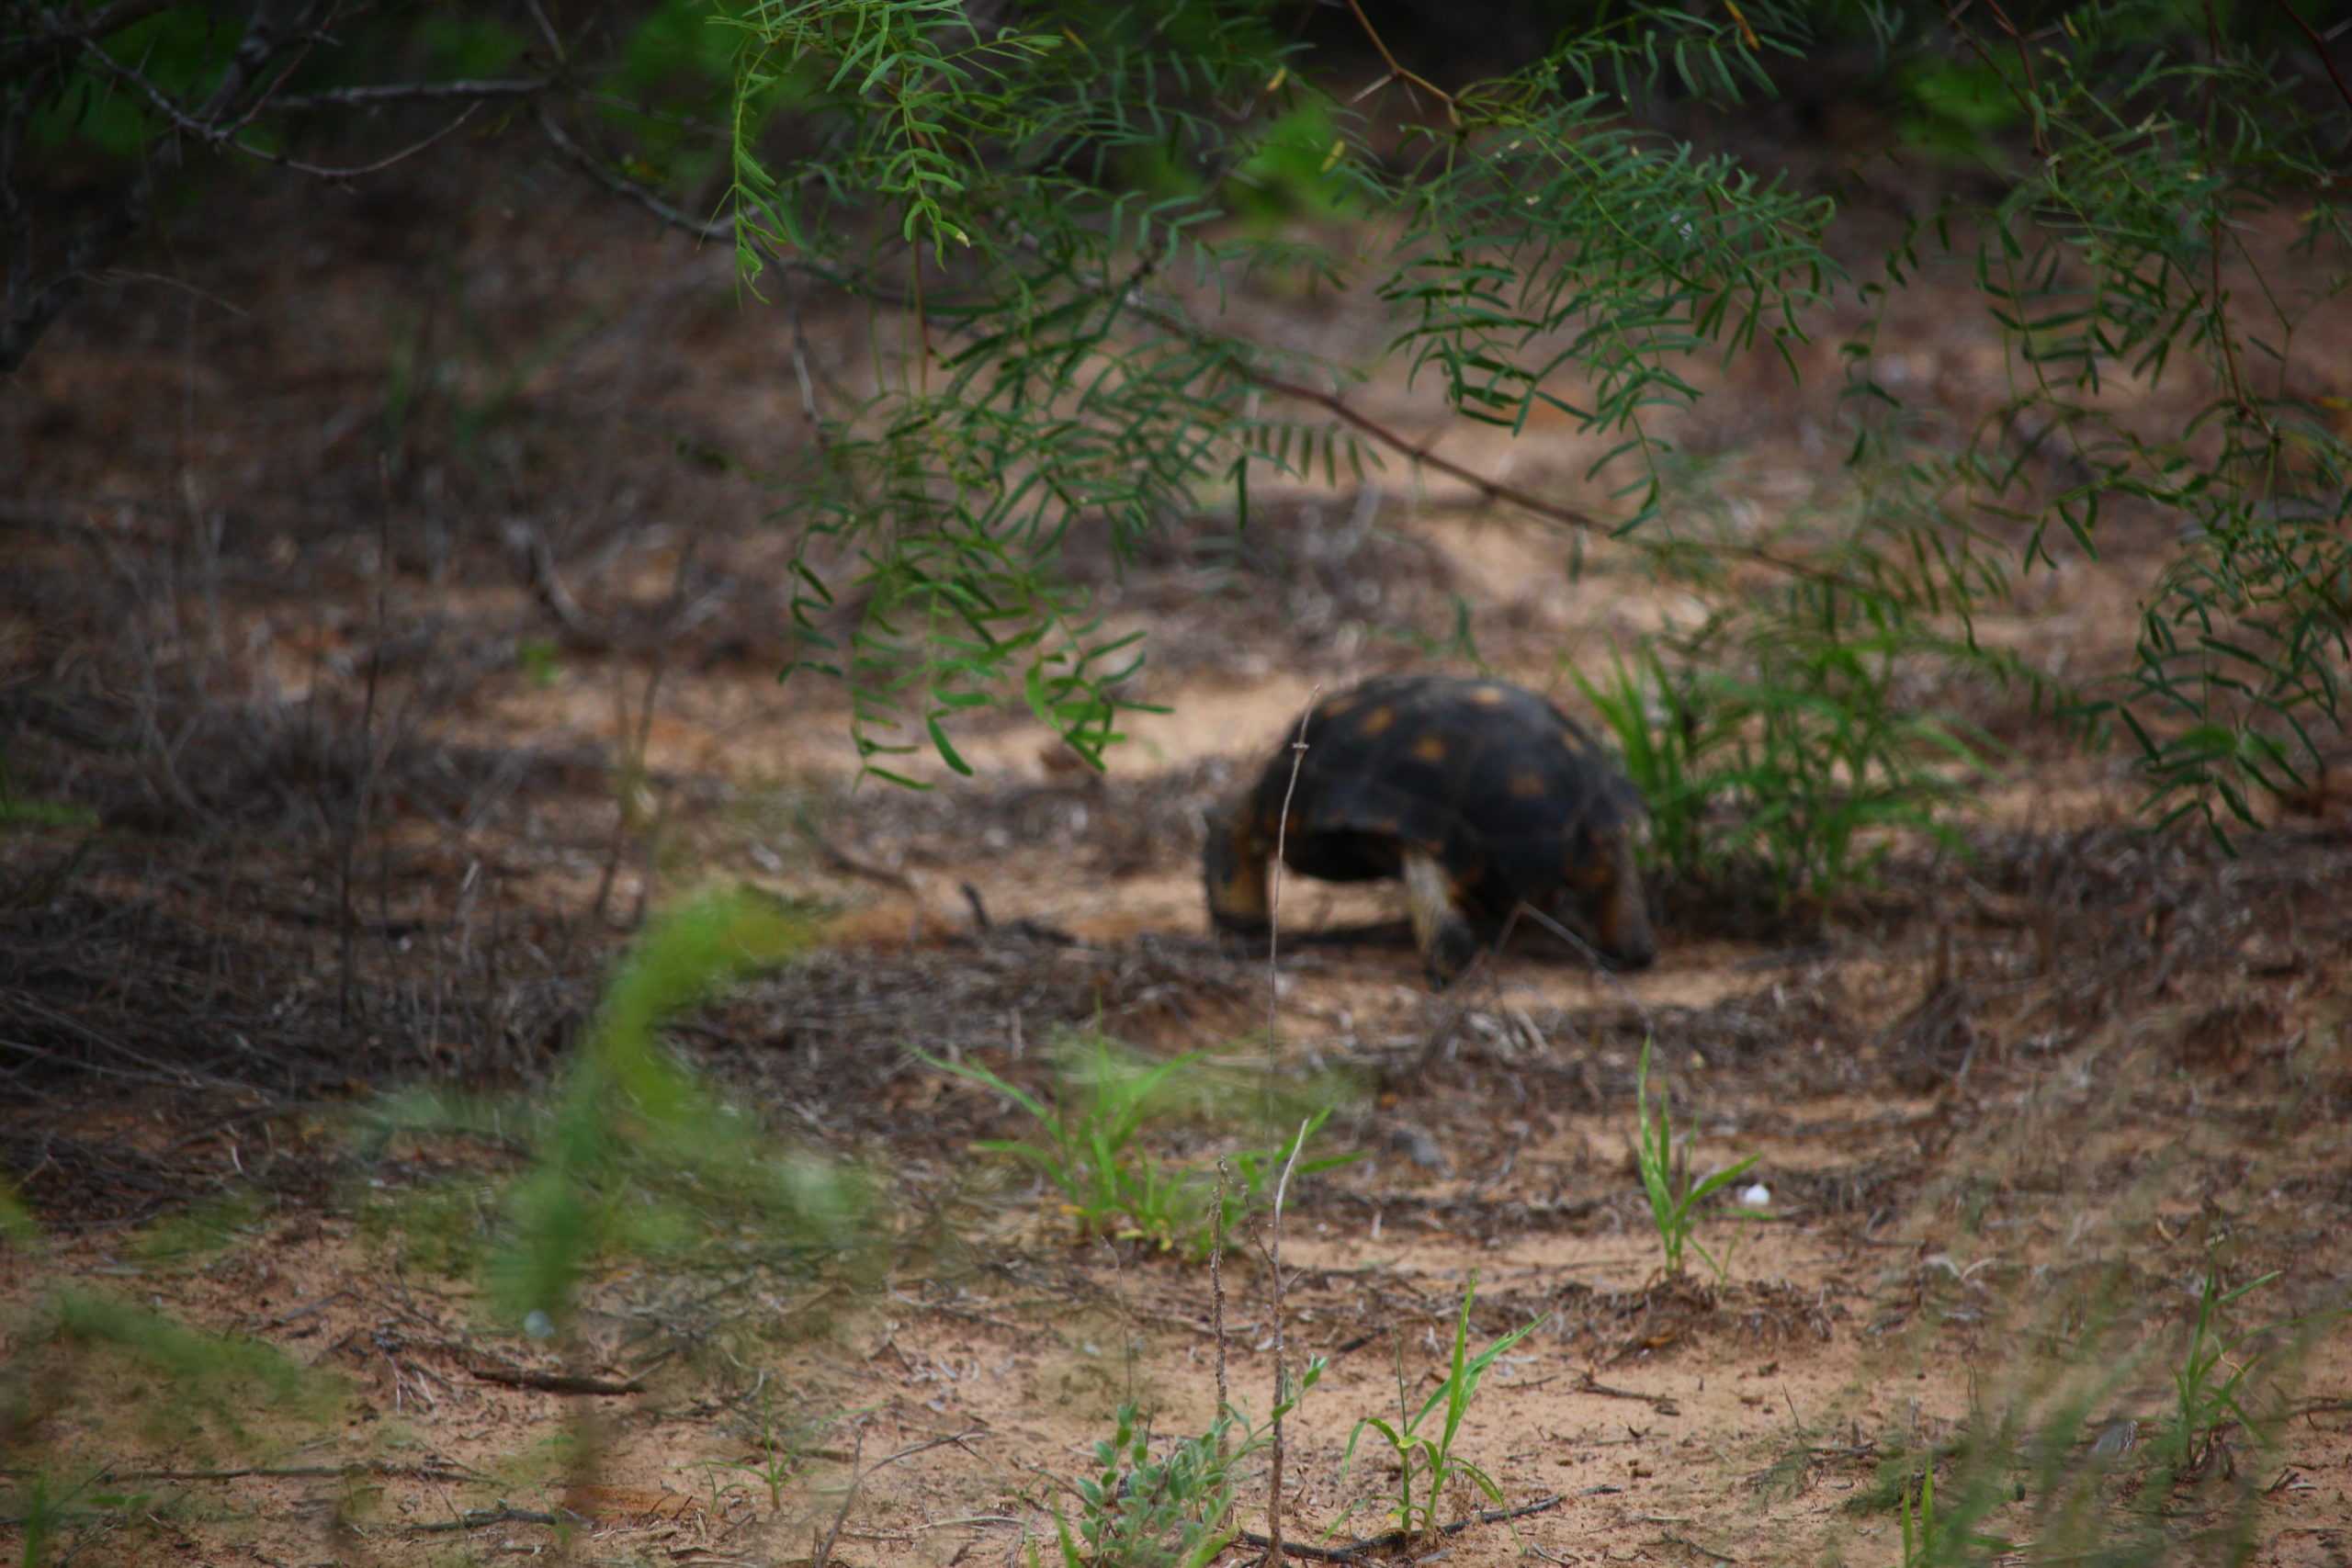
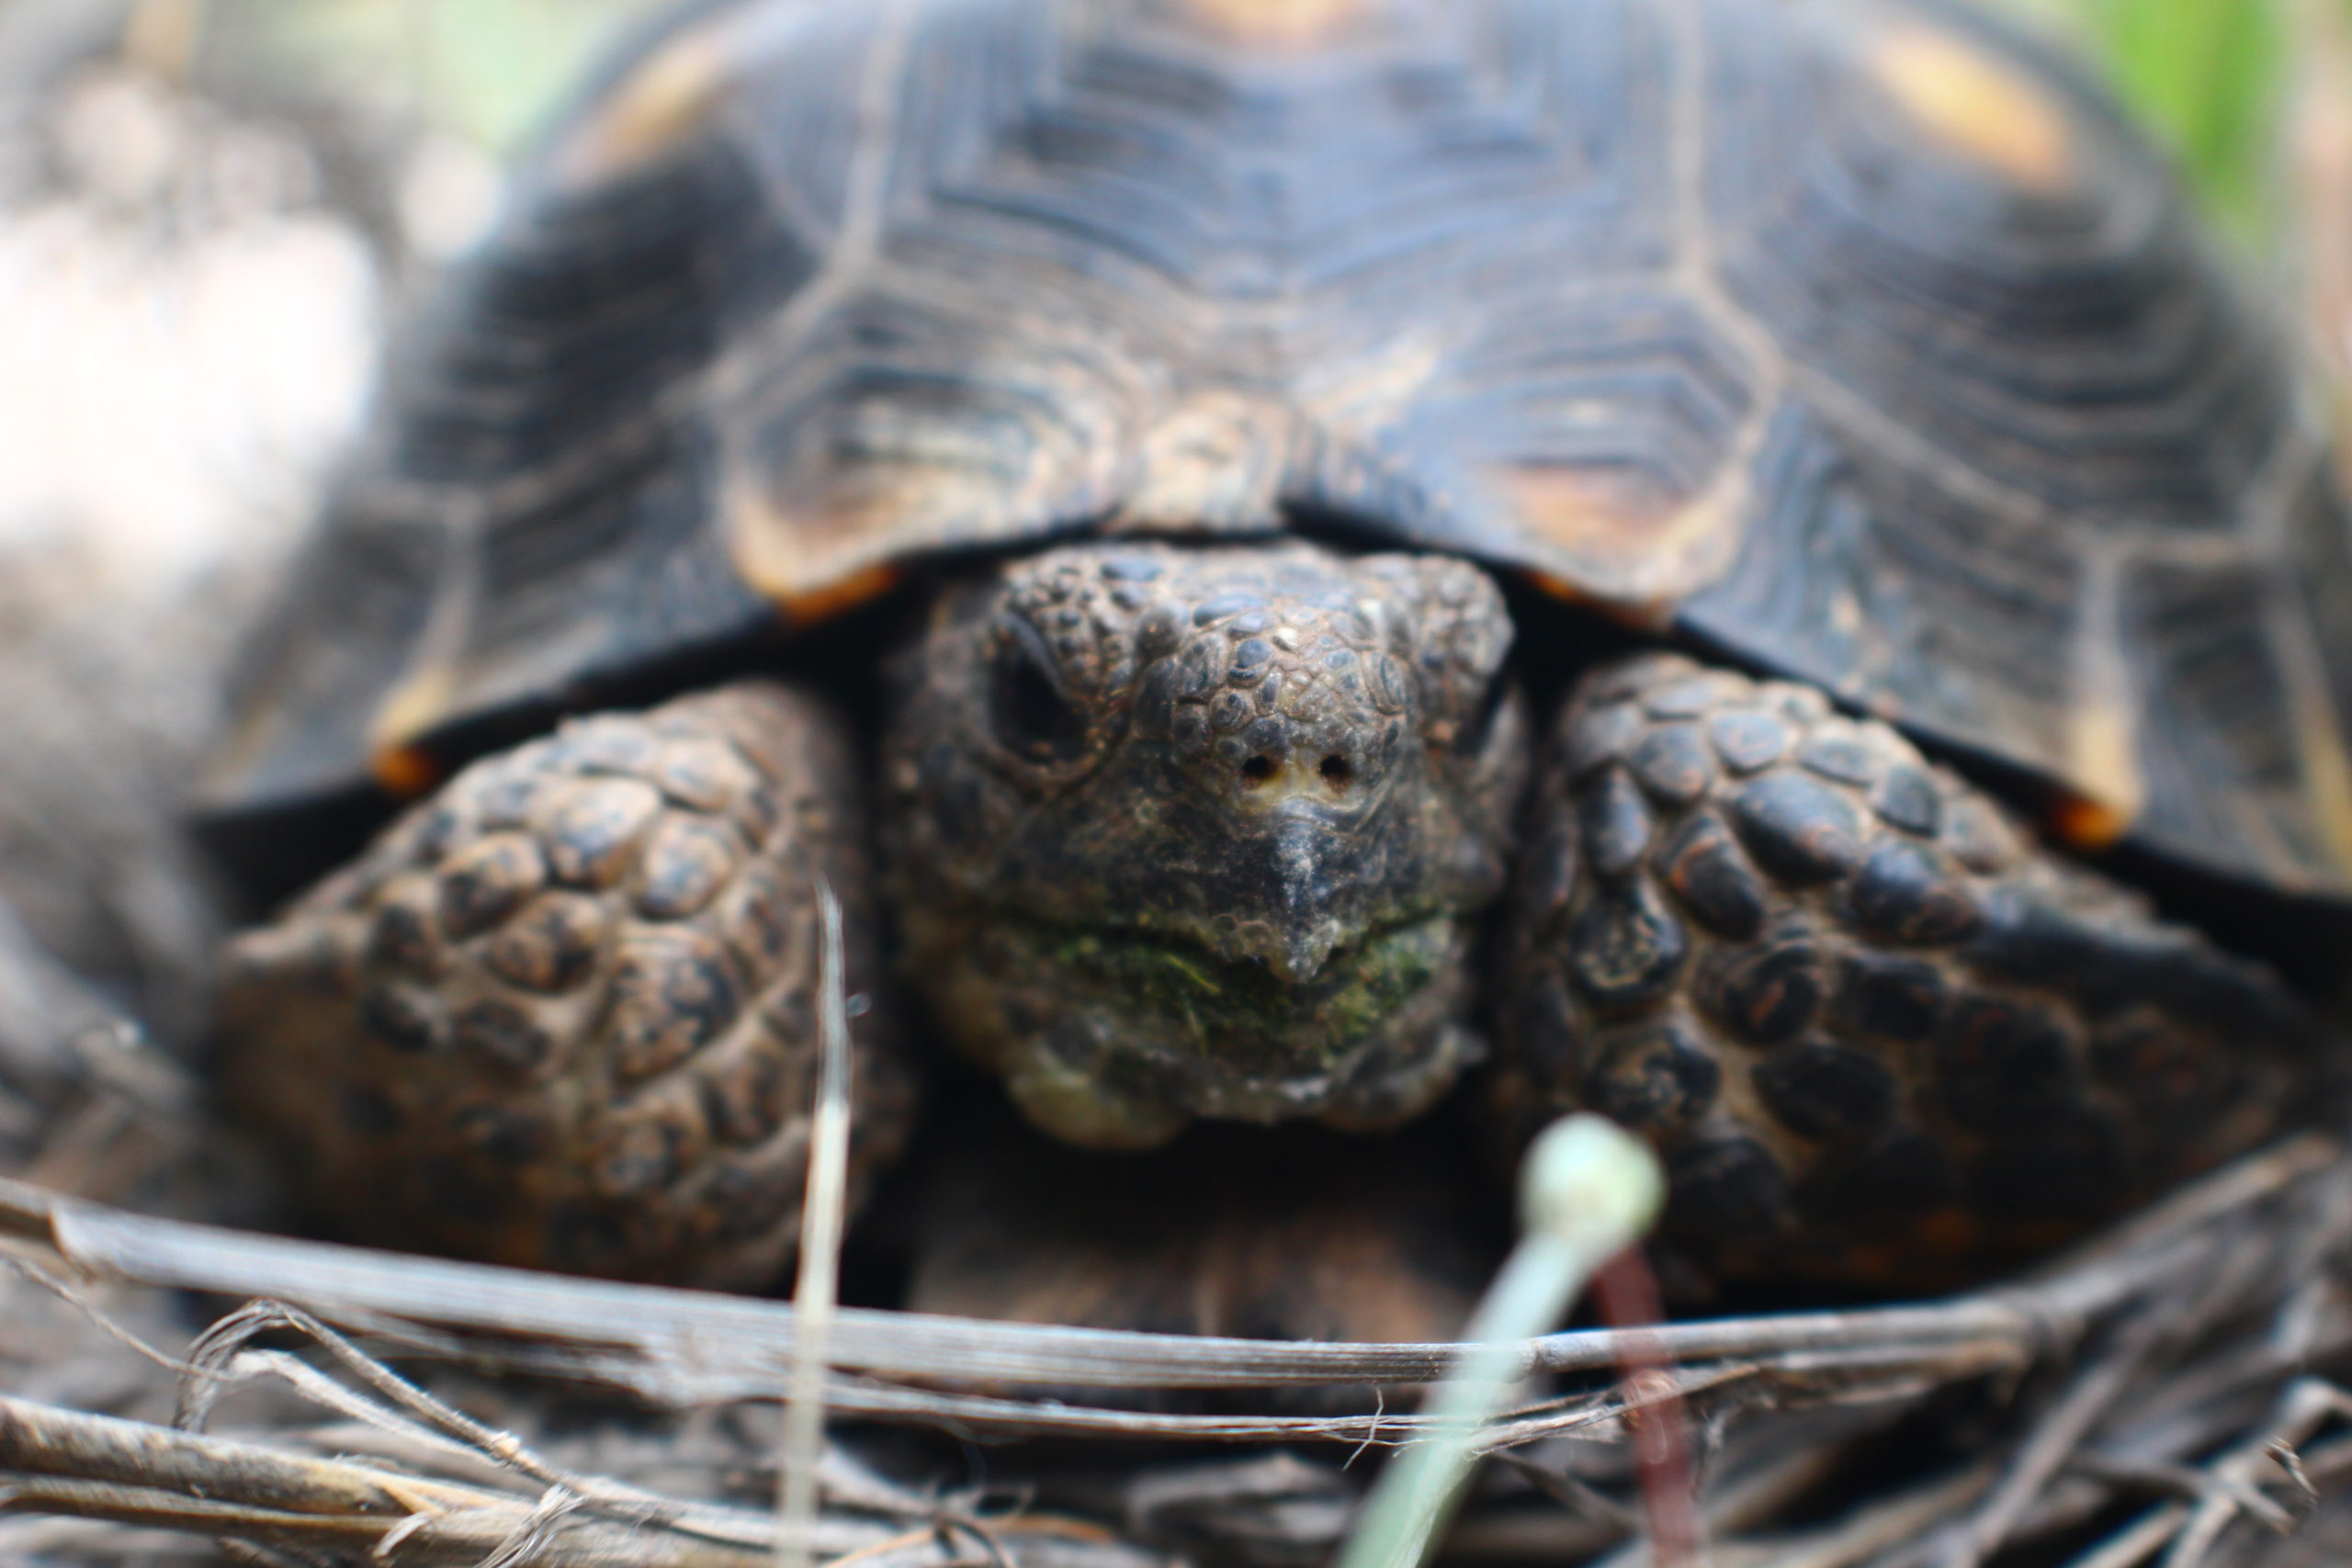
6. Animals or bugs you can find early in the morning. I know waking up early is difficult, but you never know what you might see so early in the day! I once got a photo of a praying mantis when I woke early to photograph the sunrise.

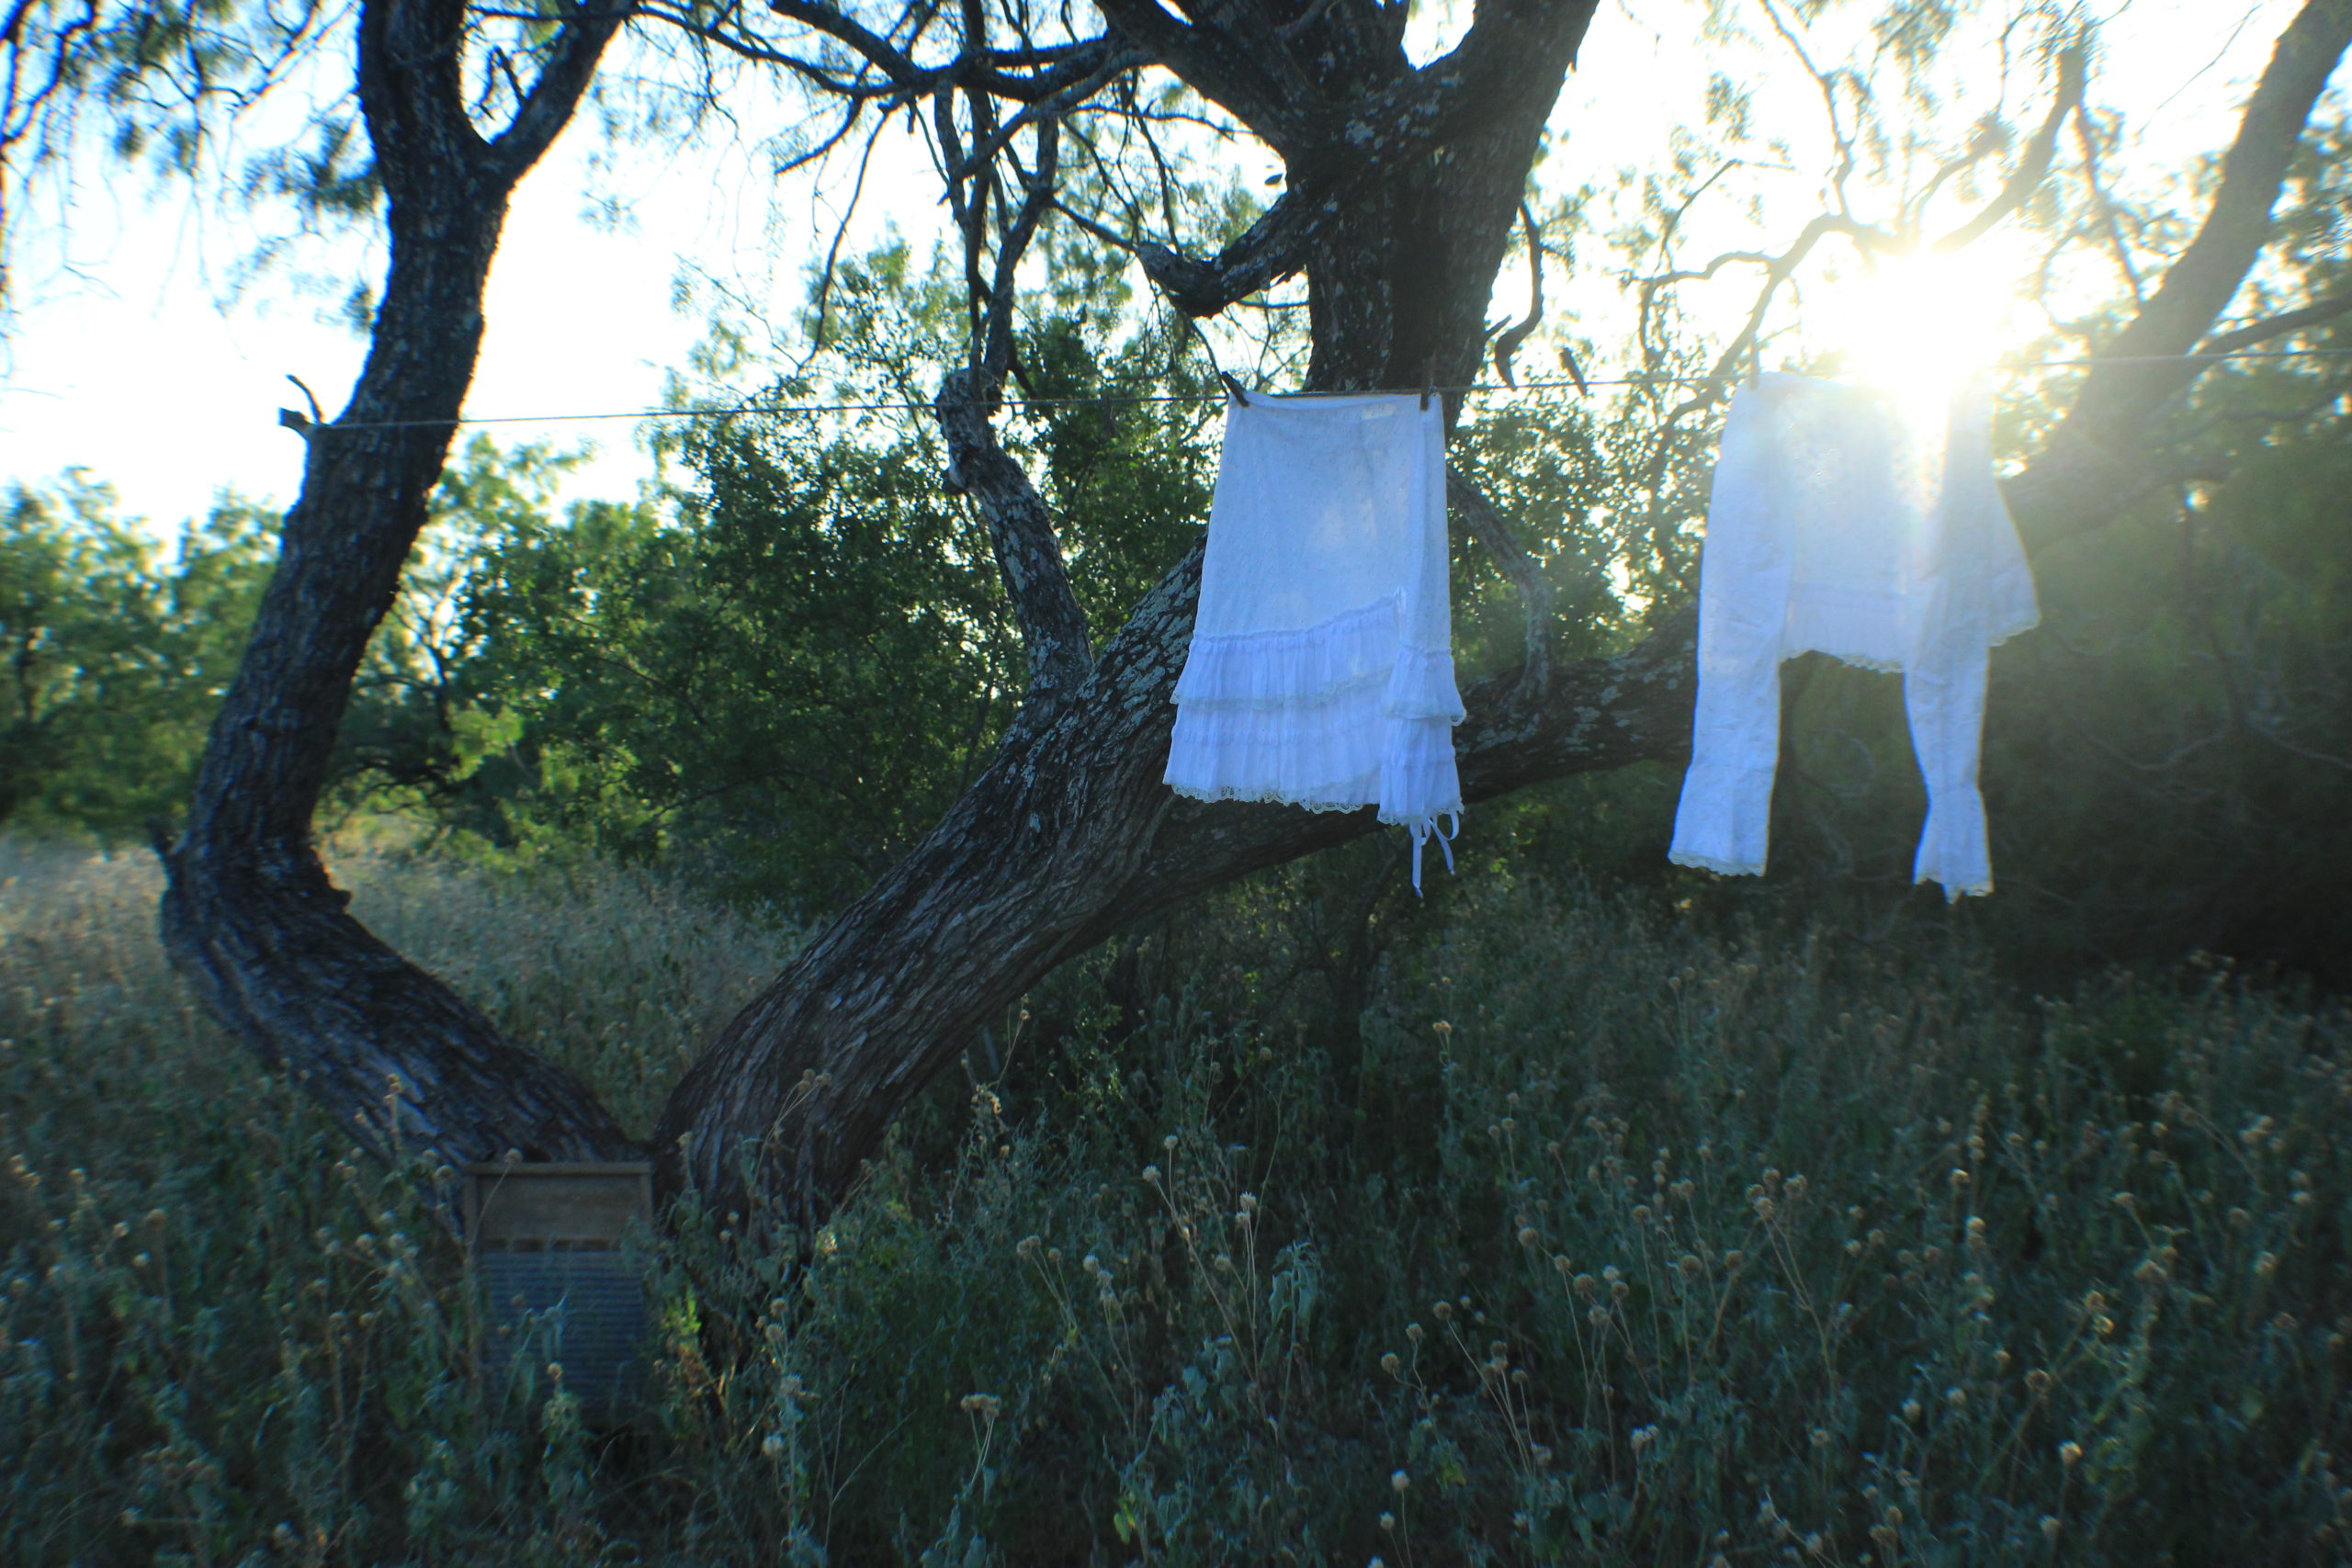
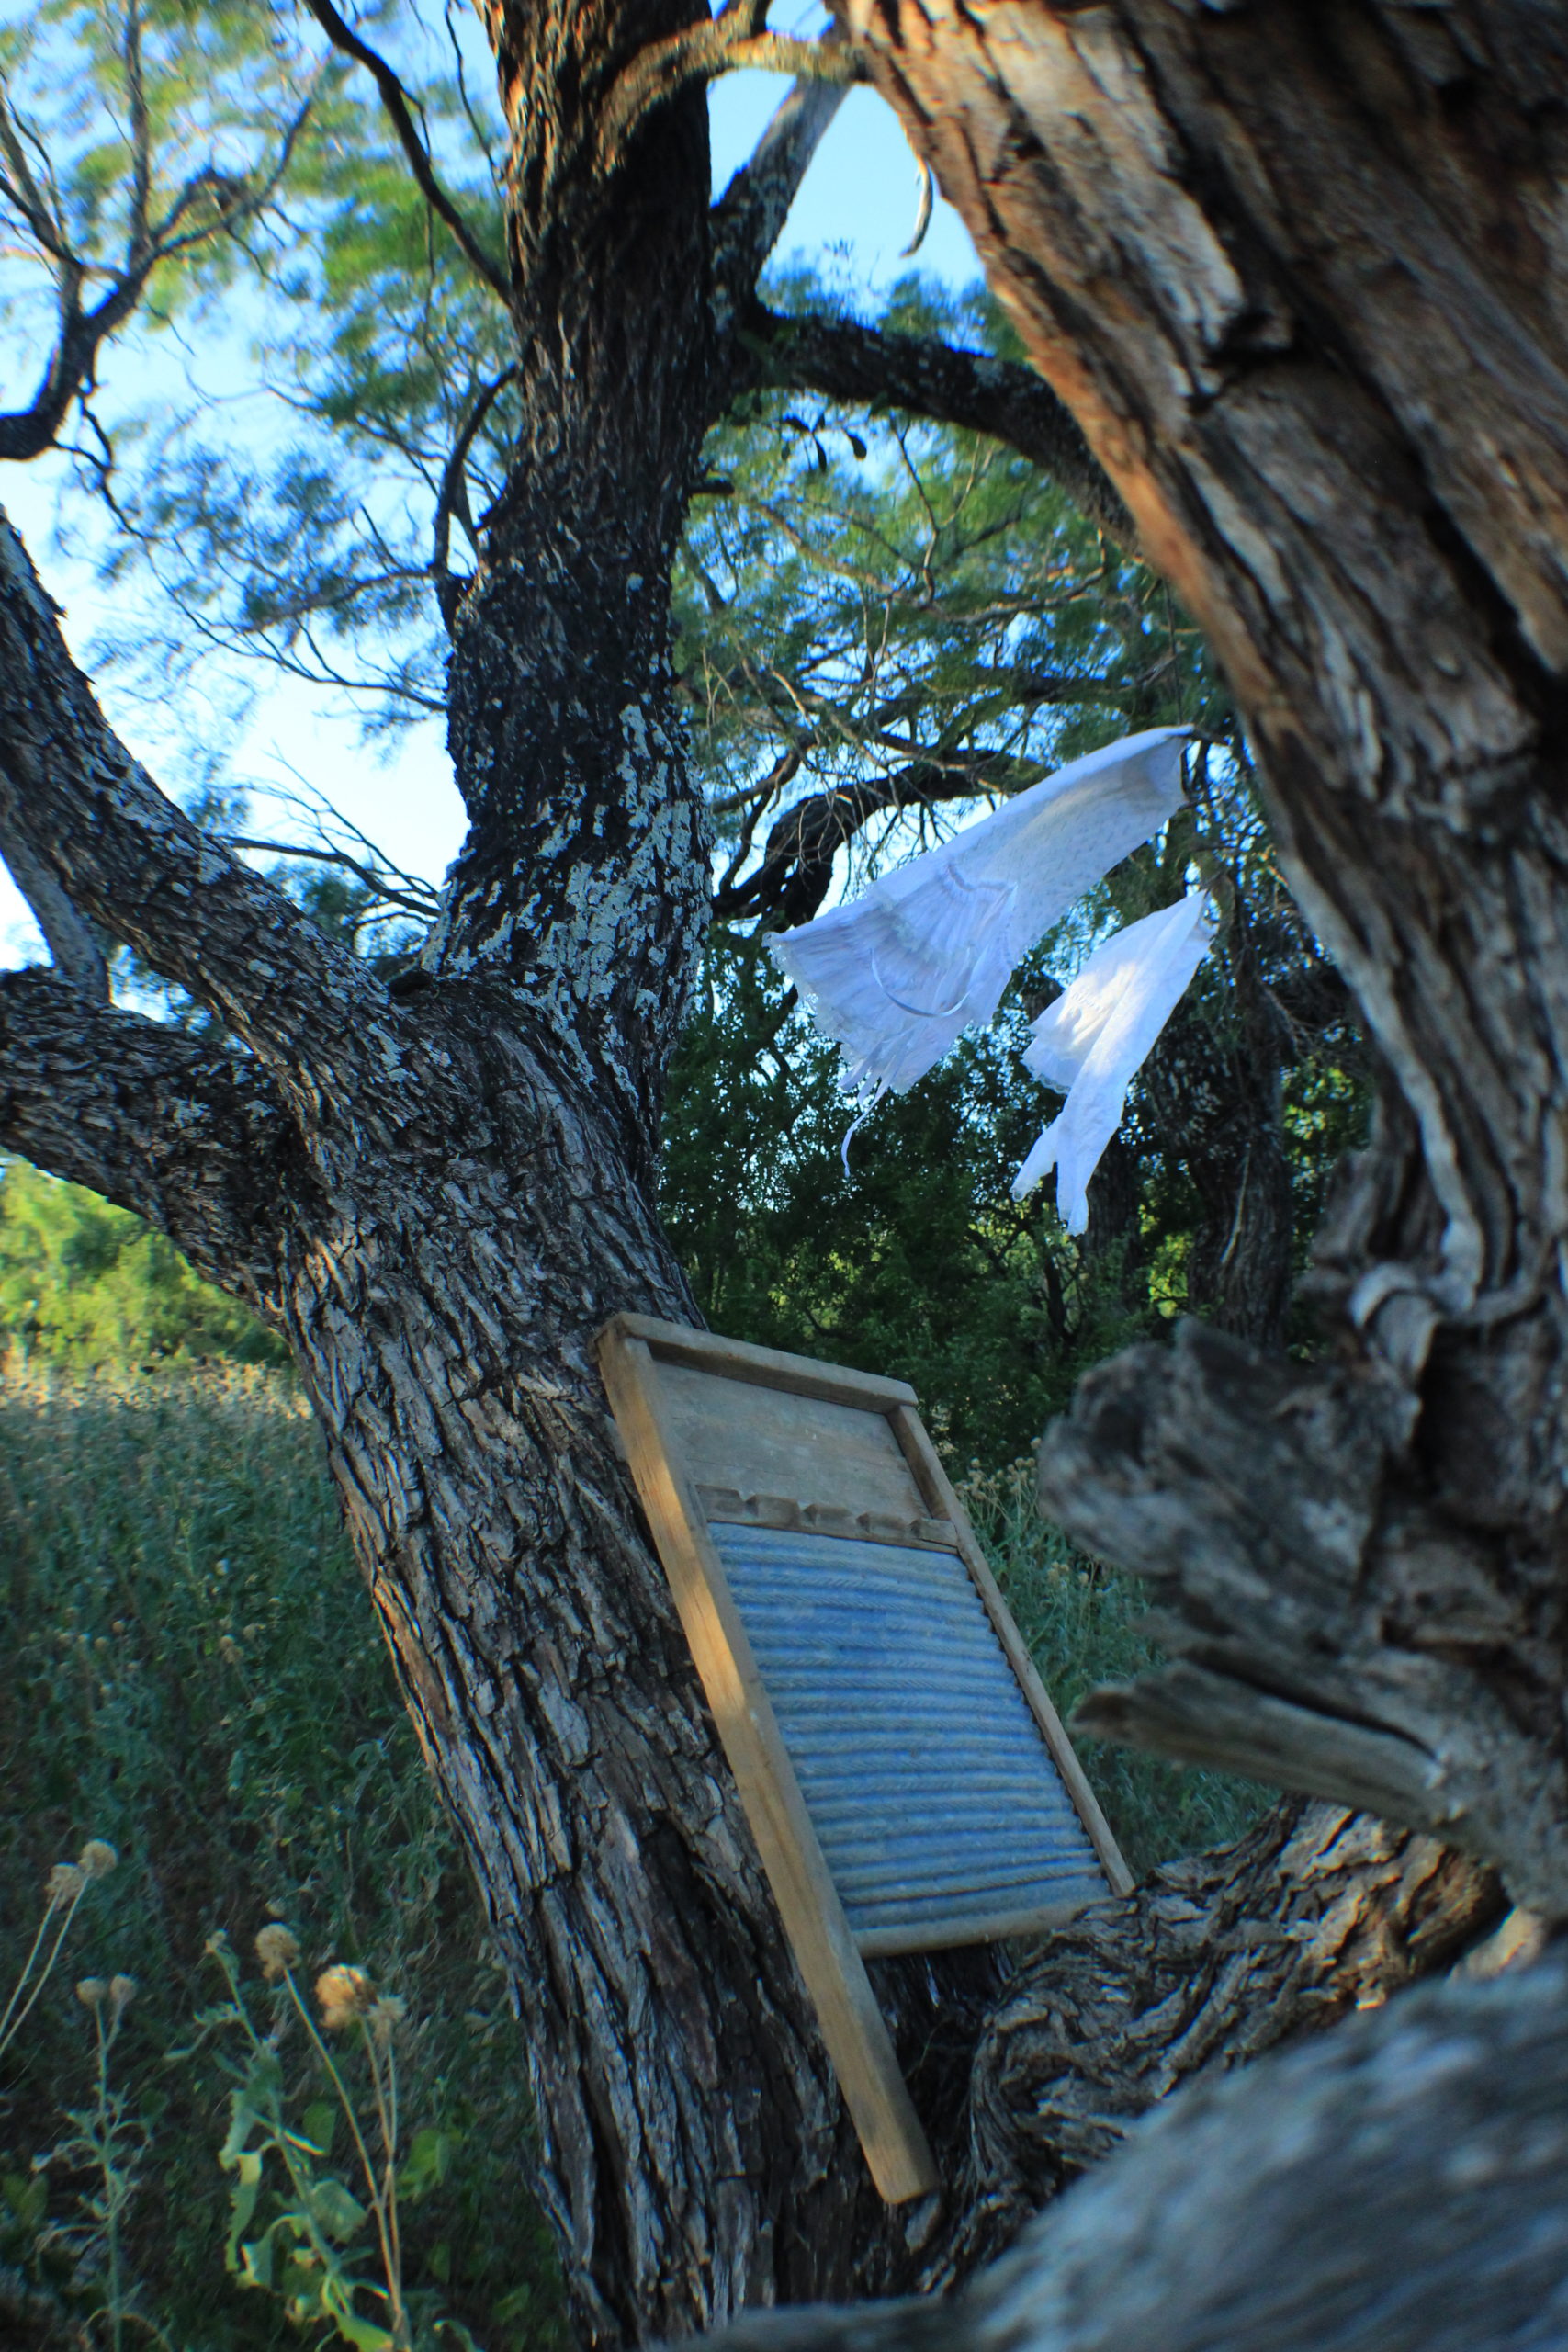
7. Props. Put items together that can tell a story. Like hanging up clothes on a clothes line or a newspaper on a table with a cup of coffee. You might not even have to put much effort into this one. This idea is basically a still life but with more “action” because you will be taking photos of things that have just been in use or is currently being used.

8. Mirrors! Mirrors just make things look cool. You can take a regular mirror selfie or you can be more creative and use it as a way to reflect light onto another object. There are many different ways you can use a mirror to enhance your photo it just depends on where you place your mirror 🙂 .

9. Self Portrait

10. Black and white.

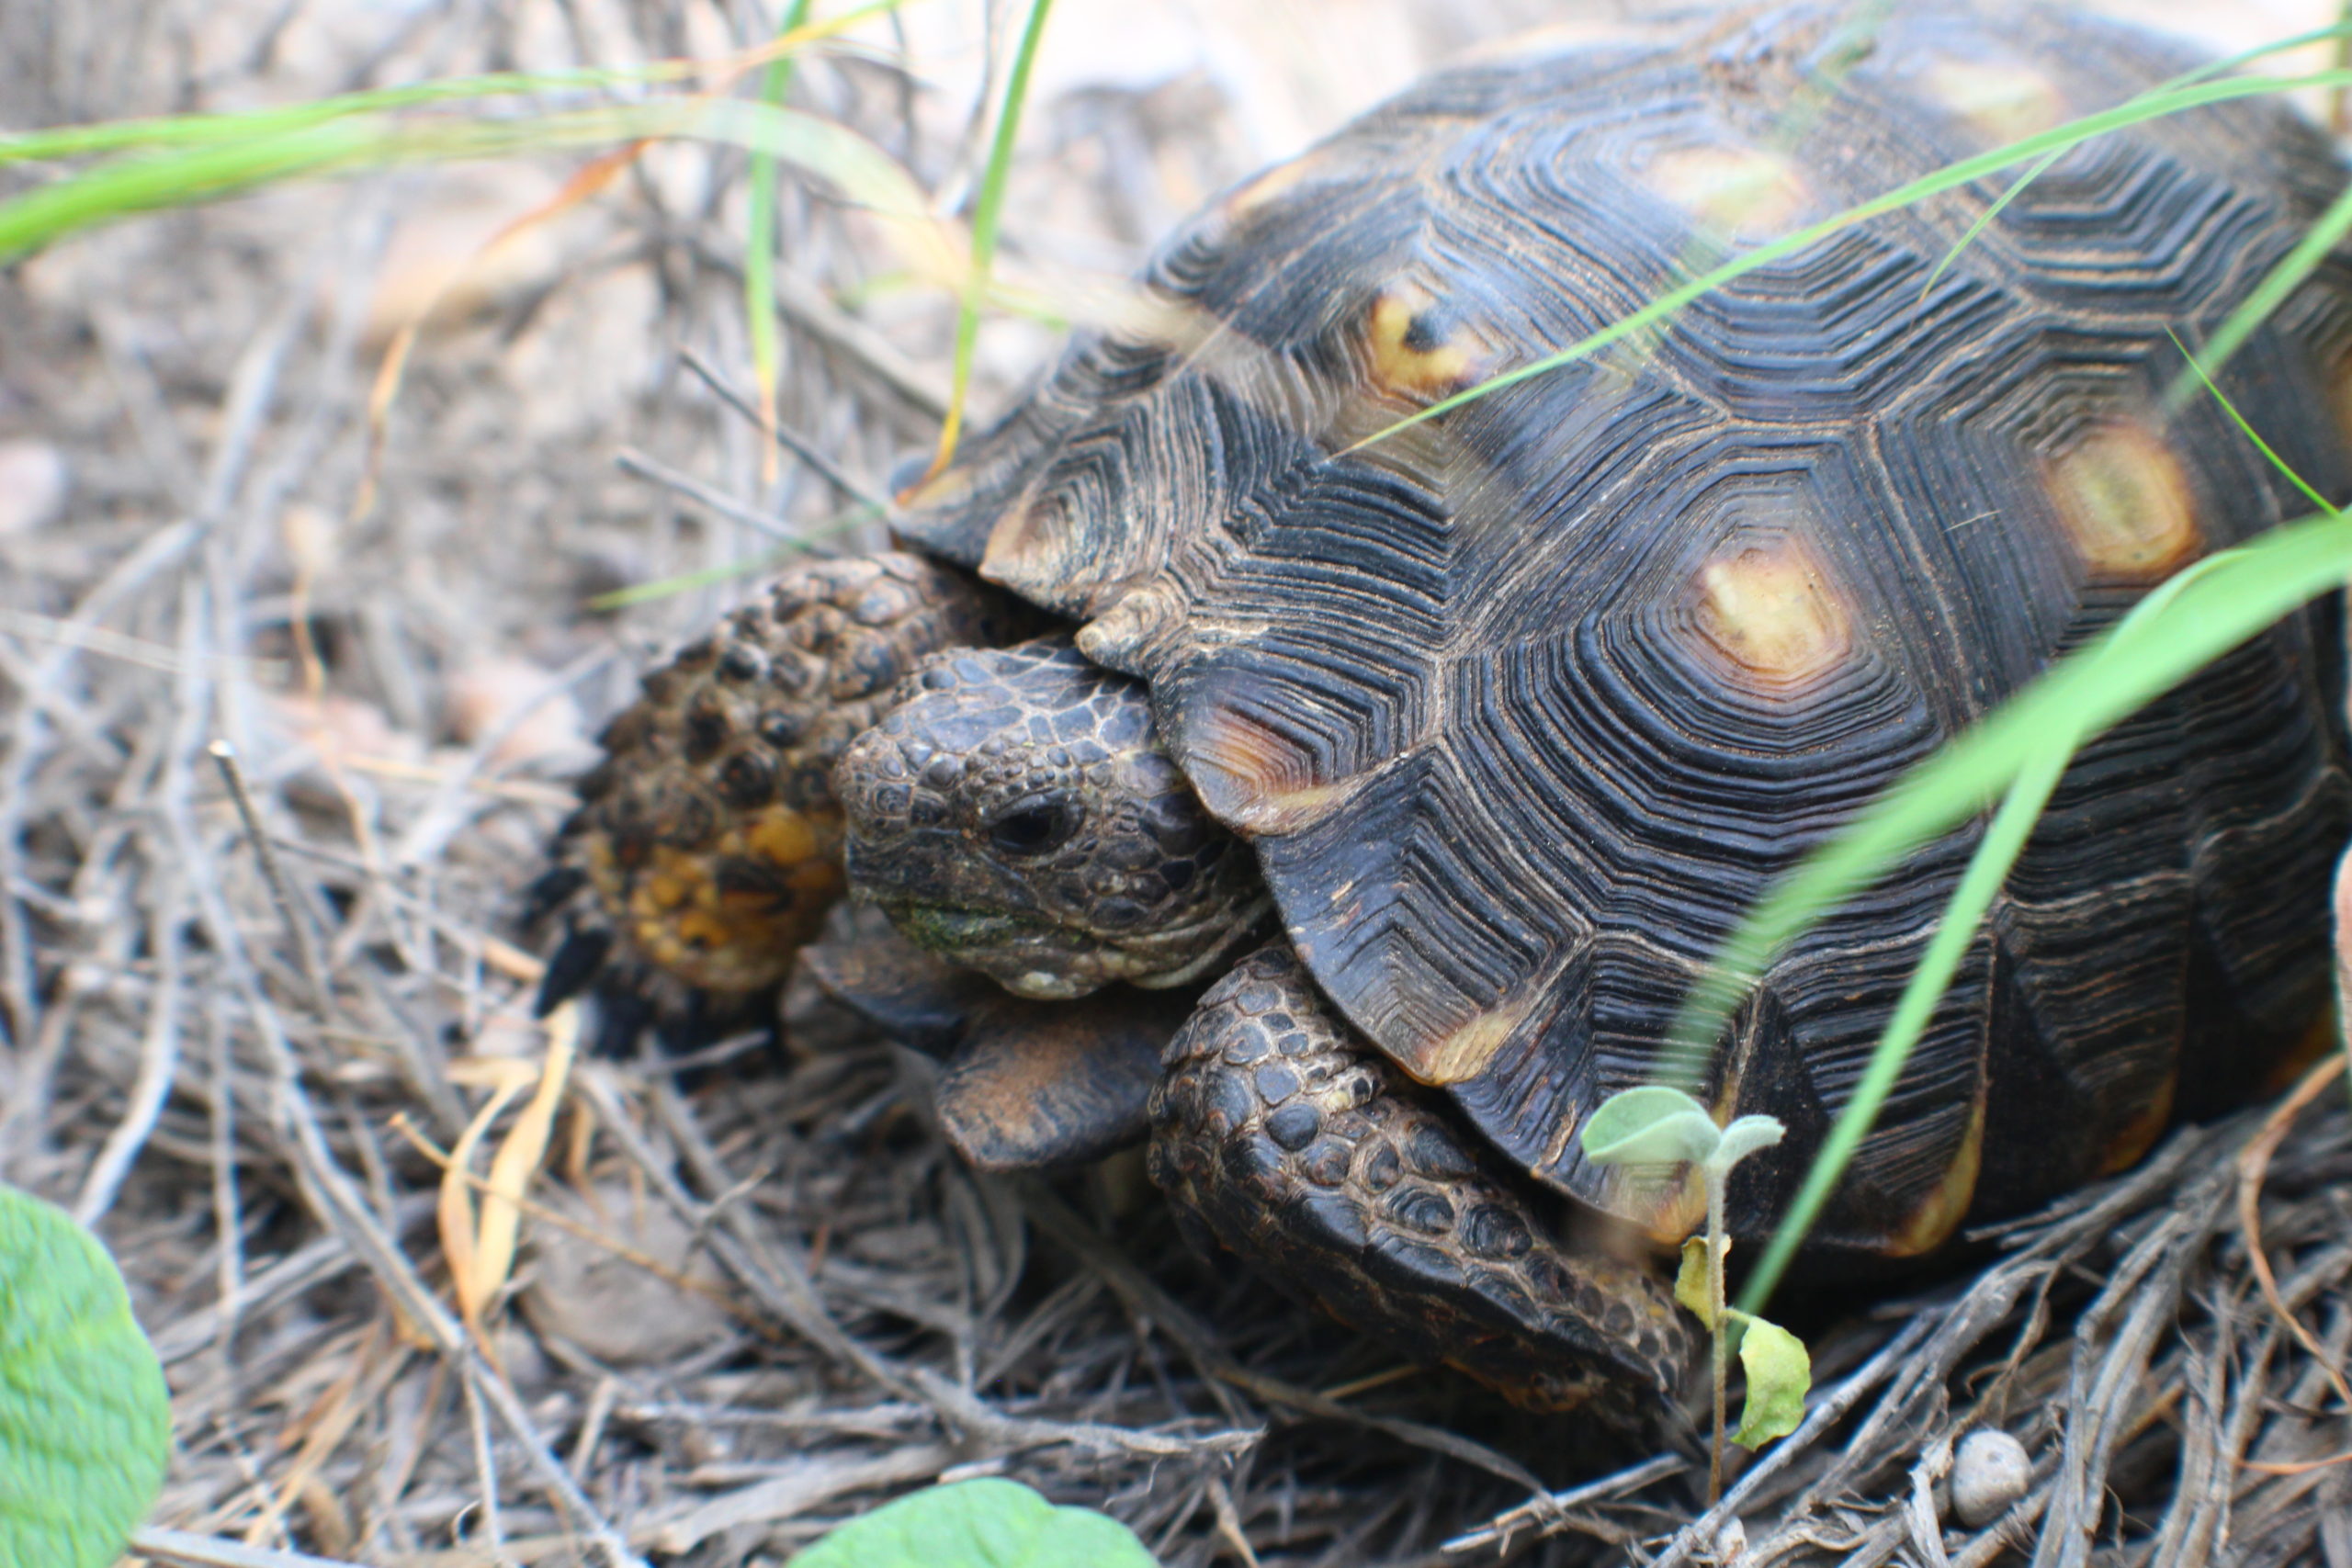
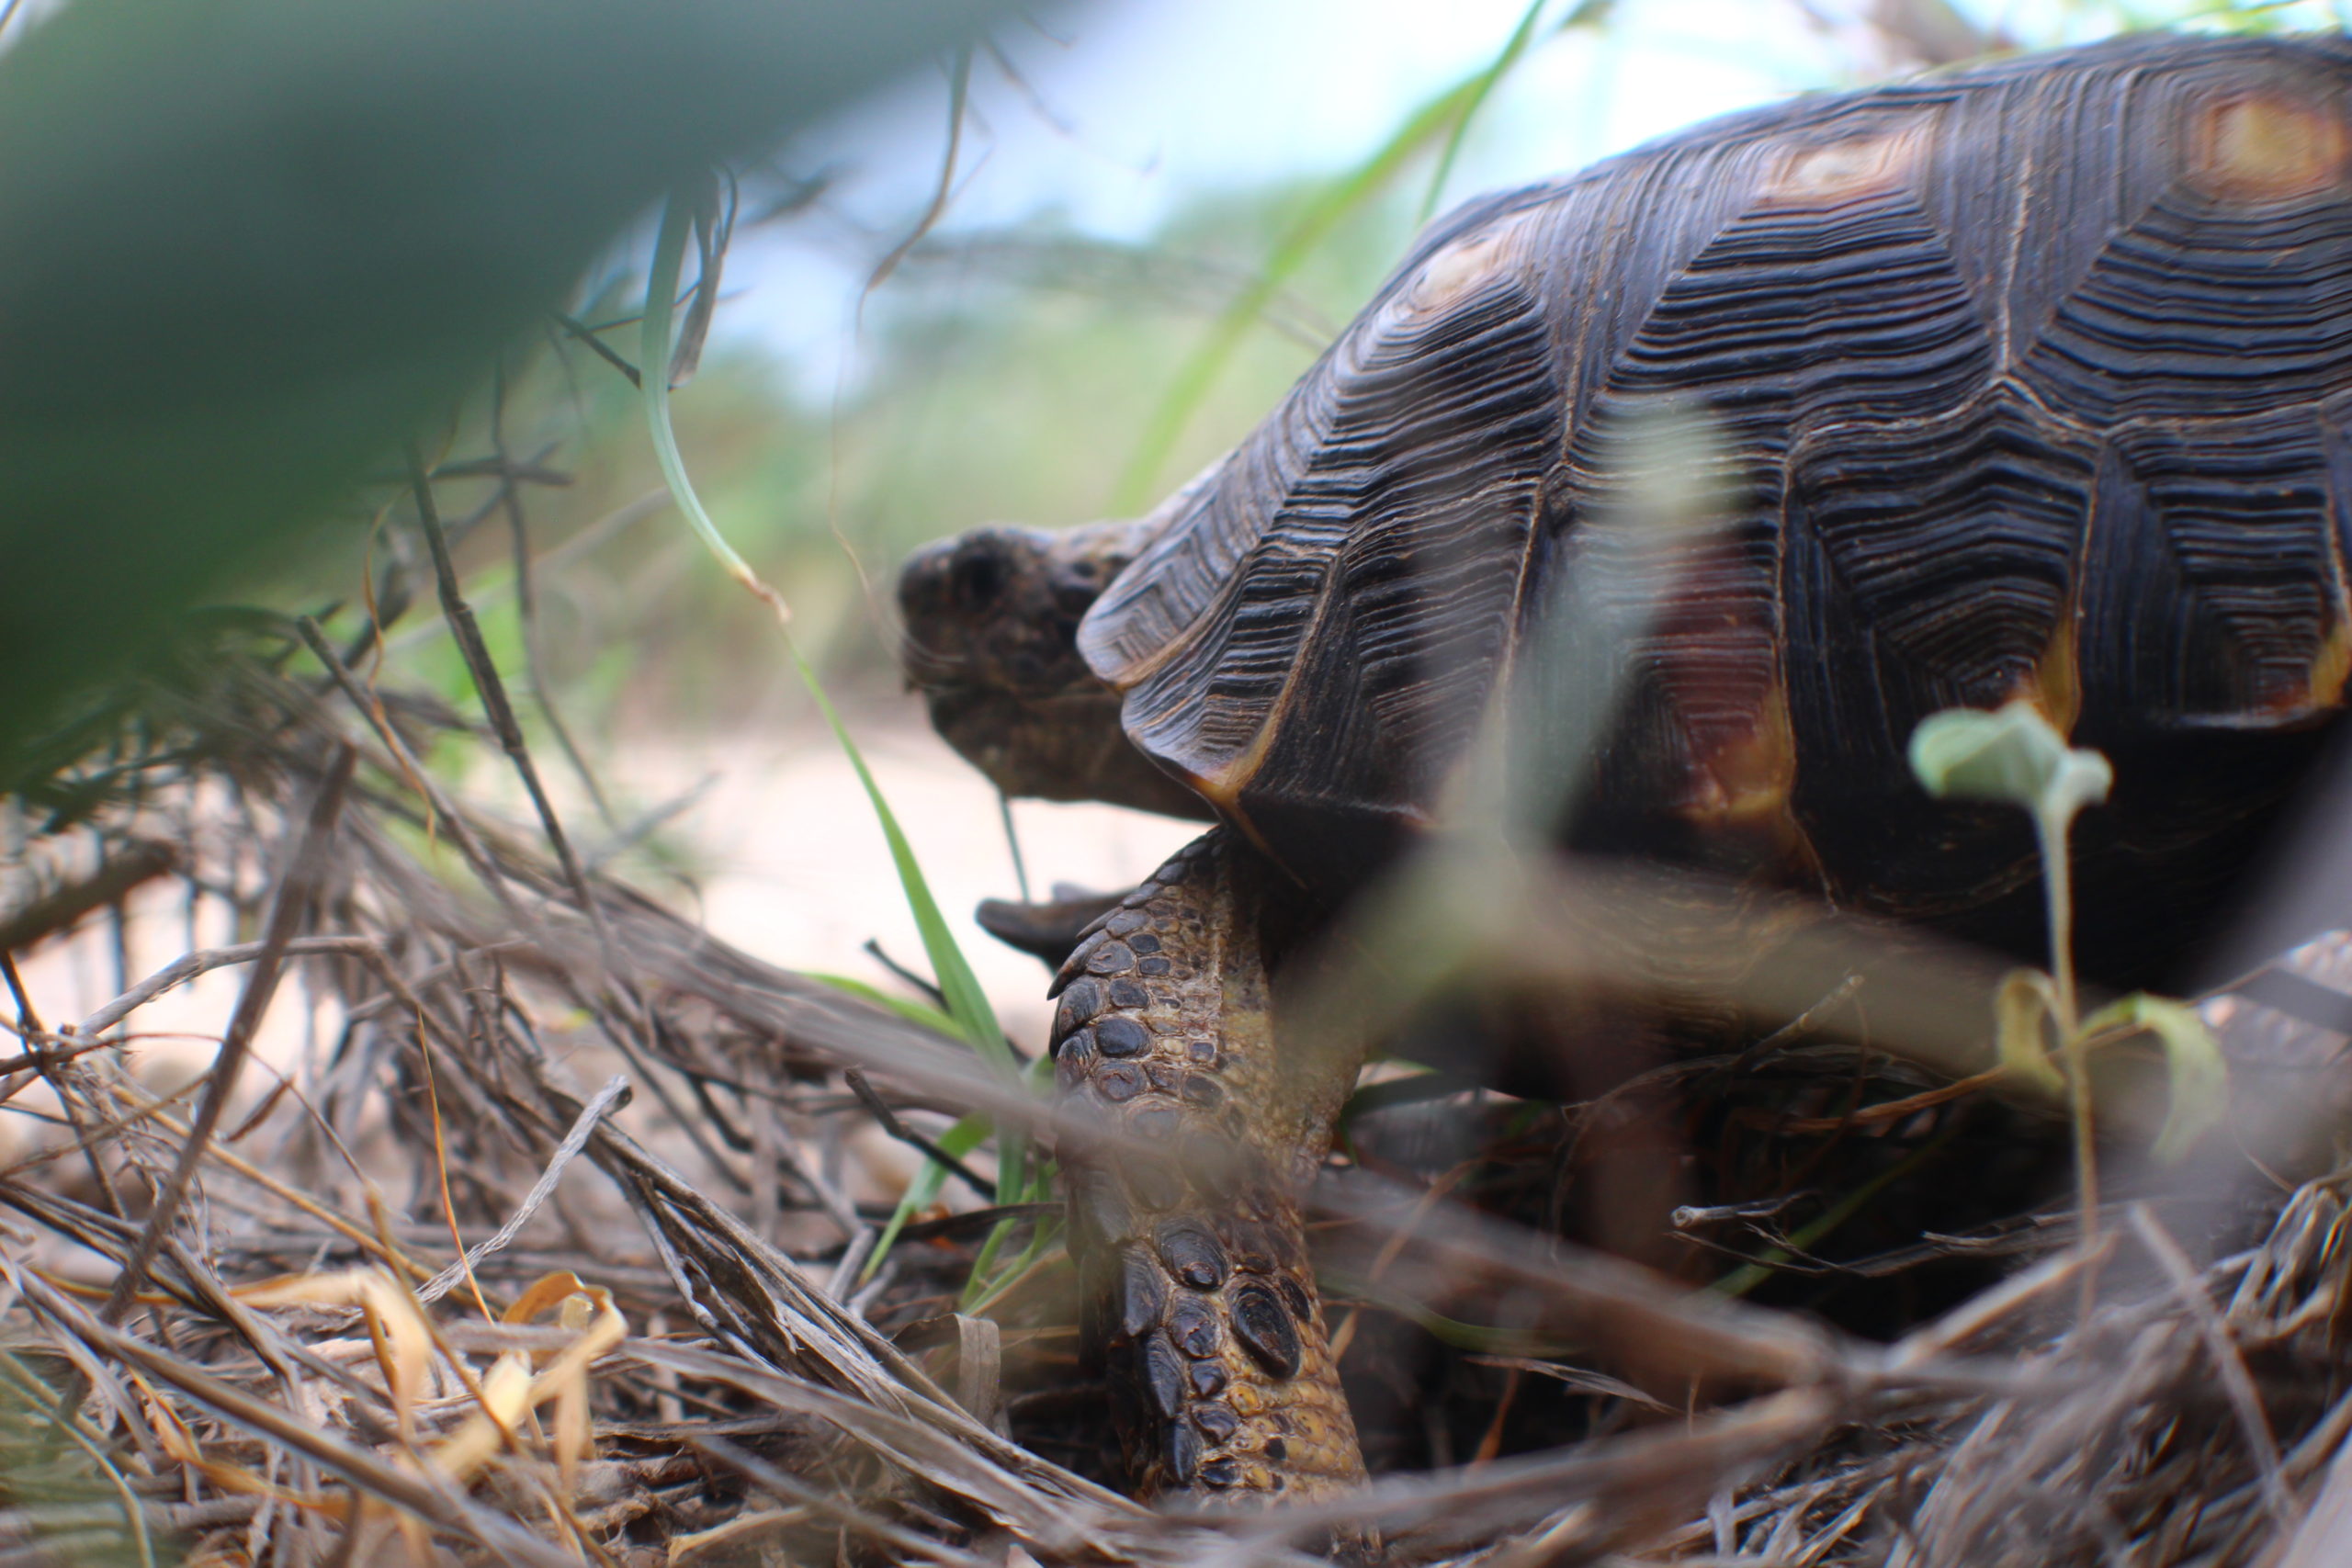
11. Animal. Take a photo of your pet or walk around outside to find an animal to photograph. This will help you practice on manual mode for objects in motion, especially if your photographing a bird or a squirrel.

12. Take a photo of something that inspires you!

13.  Street photography! This is always fun especially if you live in the city. Just take a photo of city life. (try taking photos at night too with all the city lights)

14. Silhouette. You could take silhouette photos by a window, in the evening during sunset, or even a silhouette from a shadow.


I hope you liked my photography ideas! If you do try any of them don’t forget to tag the Fotofino Journal Instagram!  I spent a lot of time putting this list together so I would love to see what type of photos were taken!

1 thought on “Photography Ideas”

  1. Laura Ortega-Suarez

    Awesome photography! I love your eye for art.

Leave a Comment