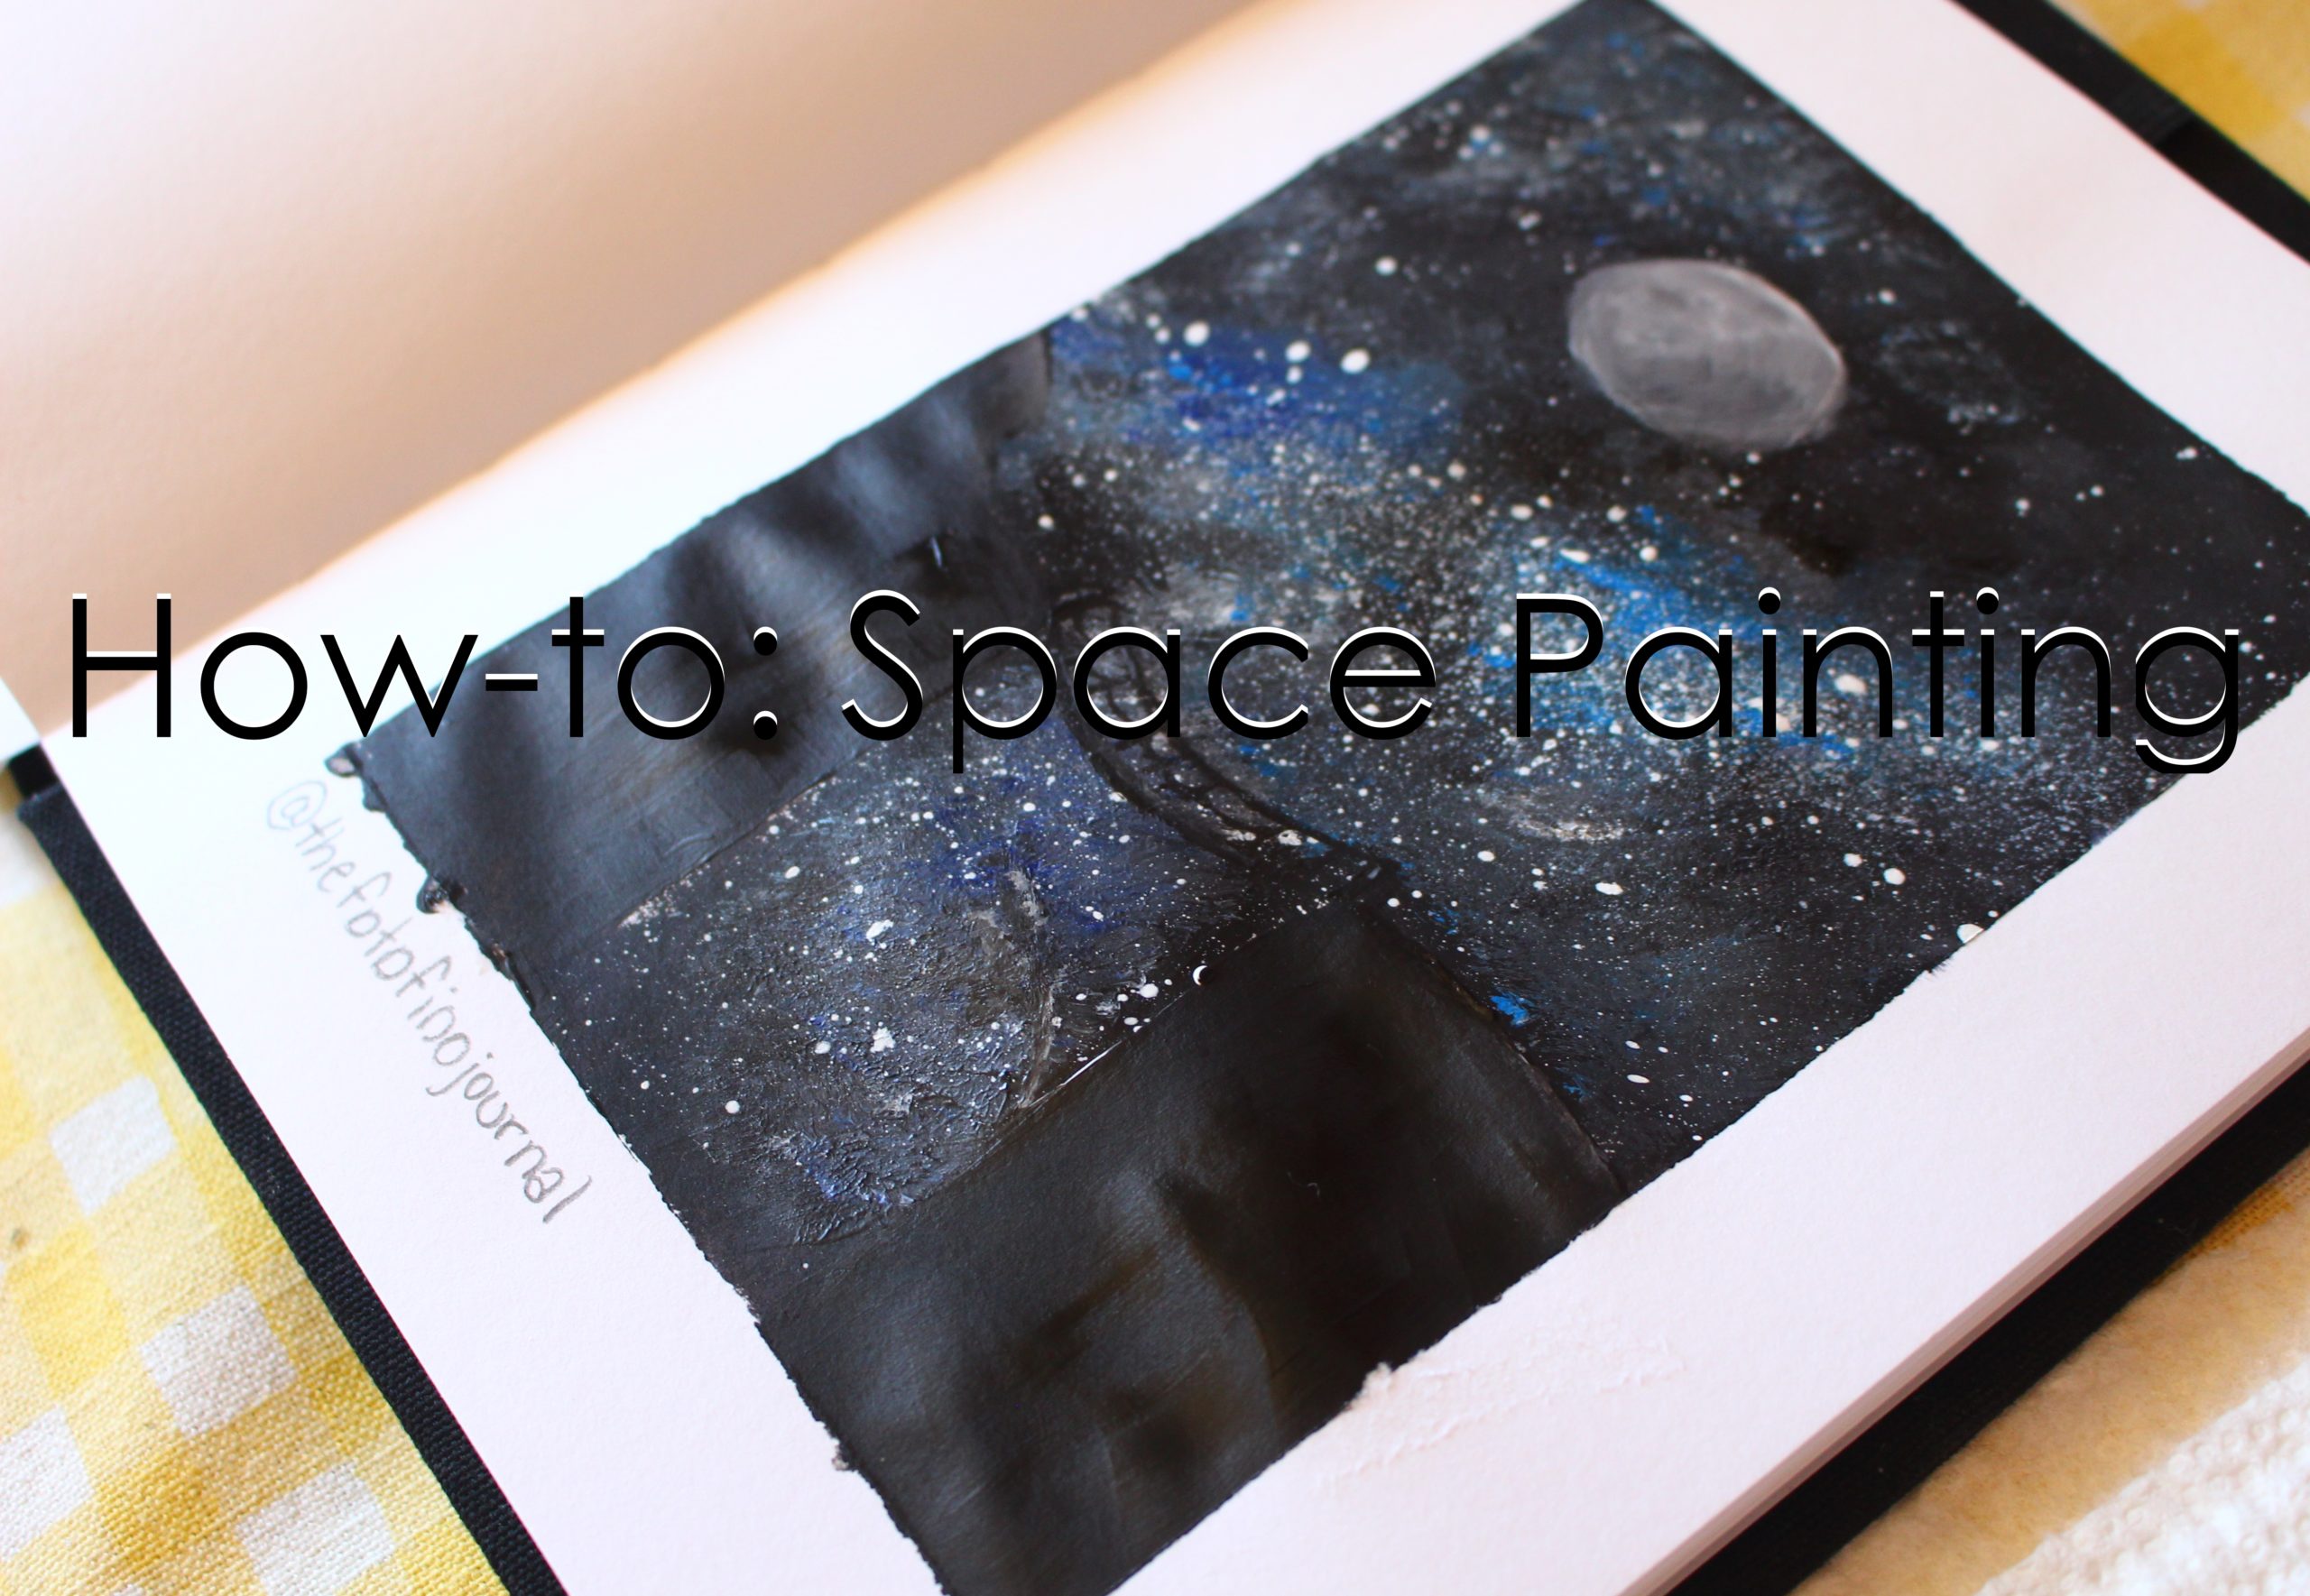
Have you ever seen those fancy paintings of space and the night sky on Instagram? Just from looking at it, it looks quite difficult doesn’t it? Some of them of course take a lot more time and skill than others depending on what kind of details they want to put in. Although, many of those paintings are actually quite easy to do! I’ll teach you how with easy to follow instructions and photos to follow along with. If you are worried about not having enough paint, no worries, we will only be using 4 different paint colors!
Supplies you’ll need:
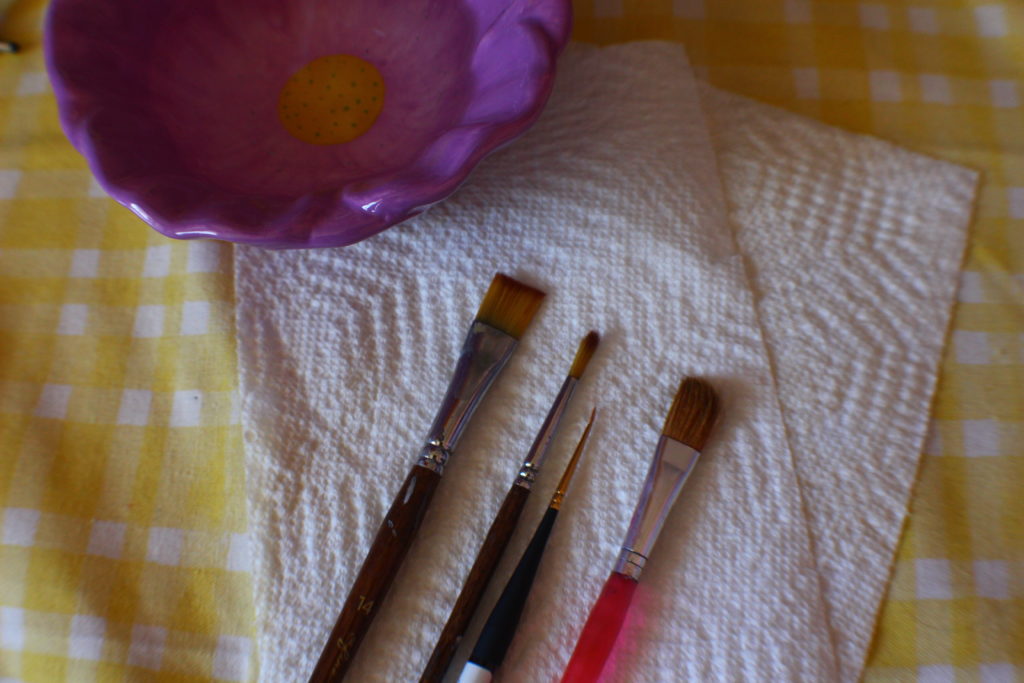
- Paper Towel
- Bowl or cup of water
- Paint brushes (In this tutorial I used #4 round brush, #14 flat brush, 12/0 round mini detailer brush, and a 1/2 inch flat brush that was old and frayed)
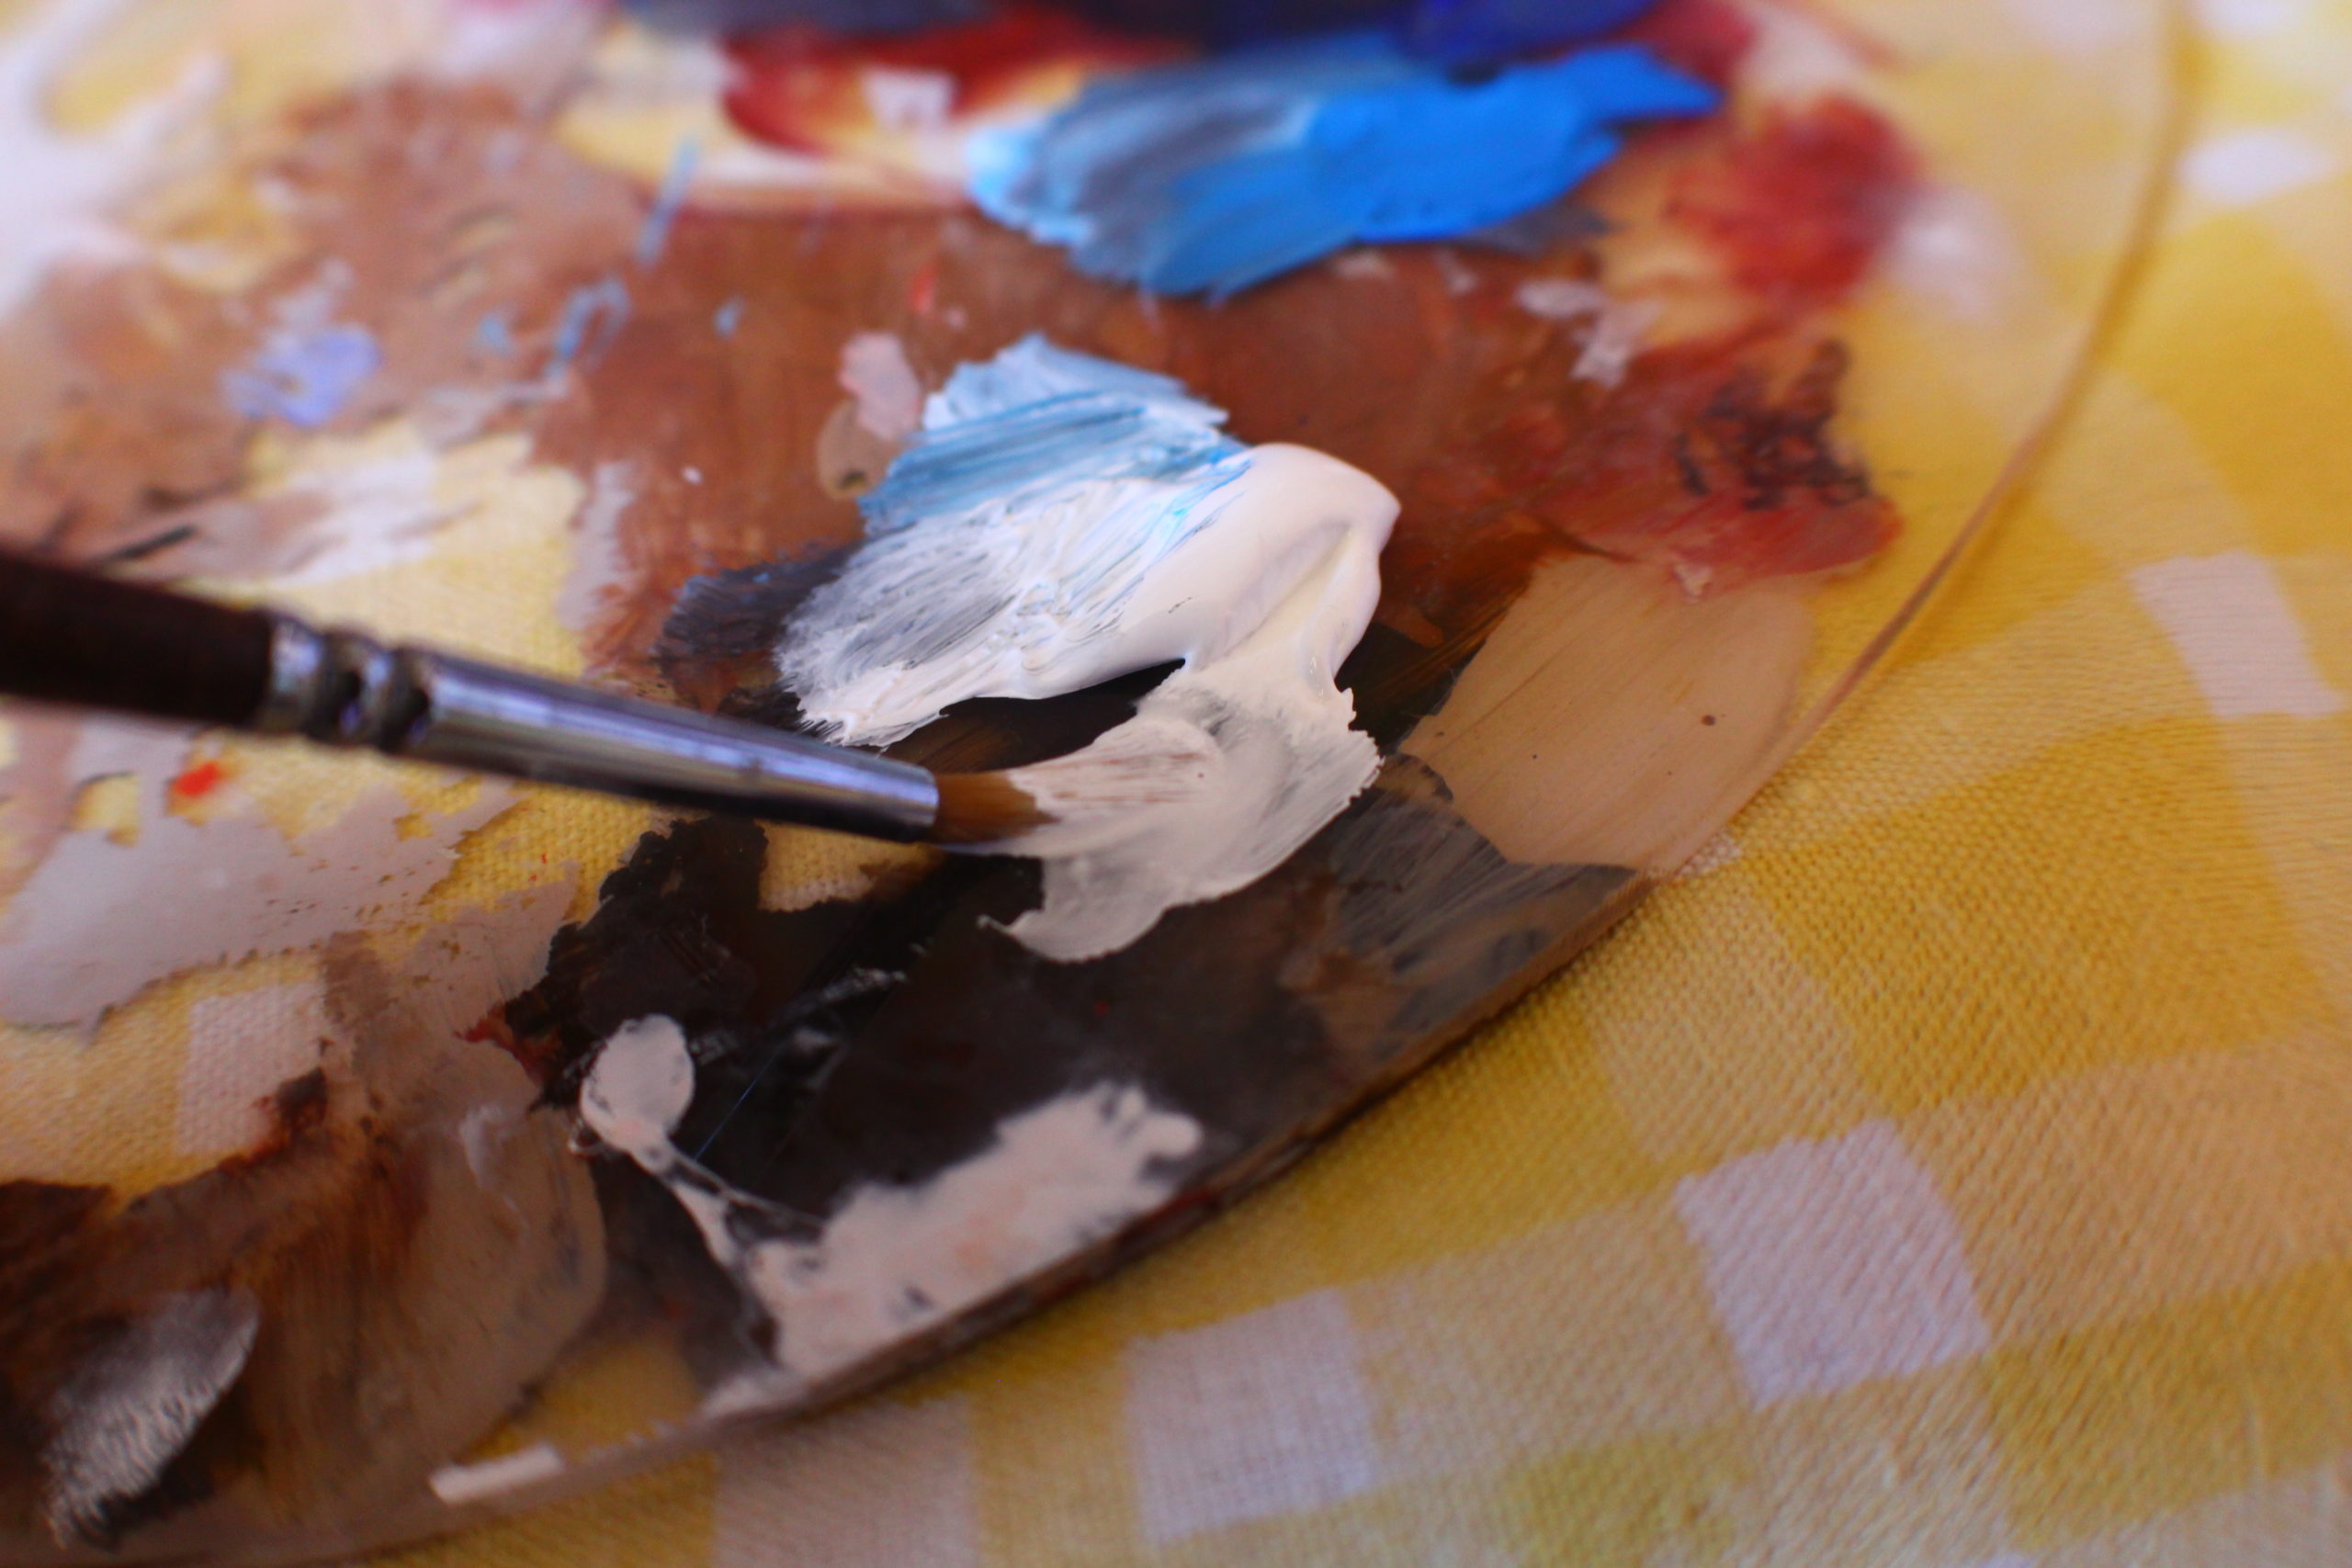
- Paint (Titanium White, Mars Black, Ultramarine Blue, and Cerulean Blue)
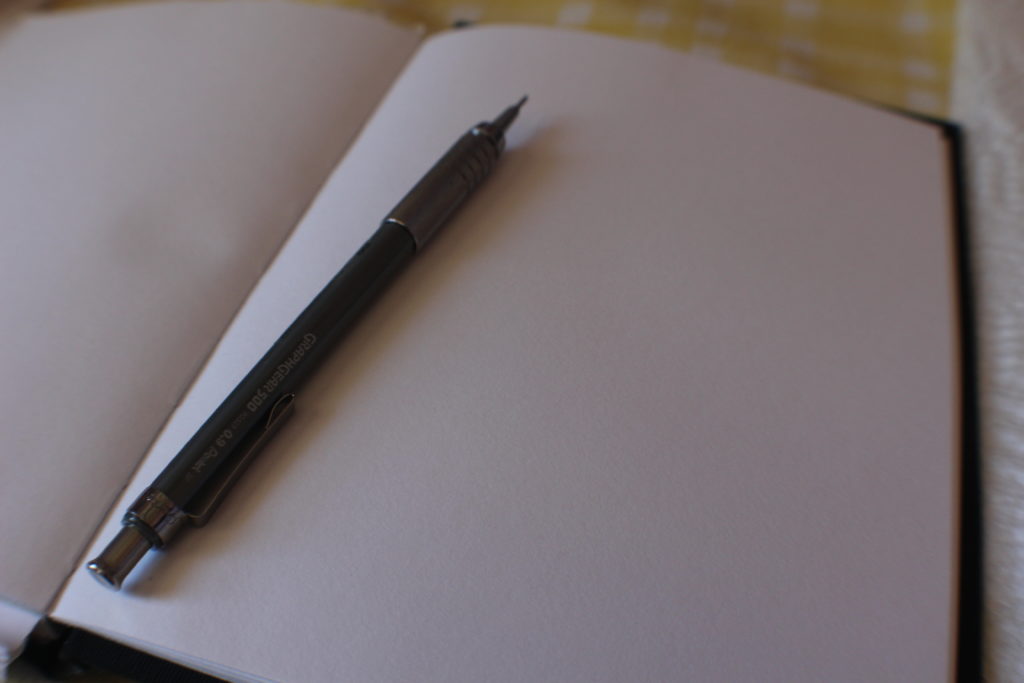
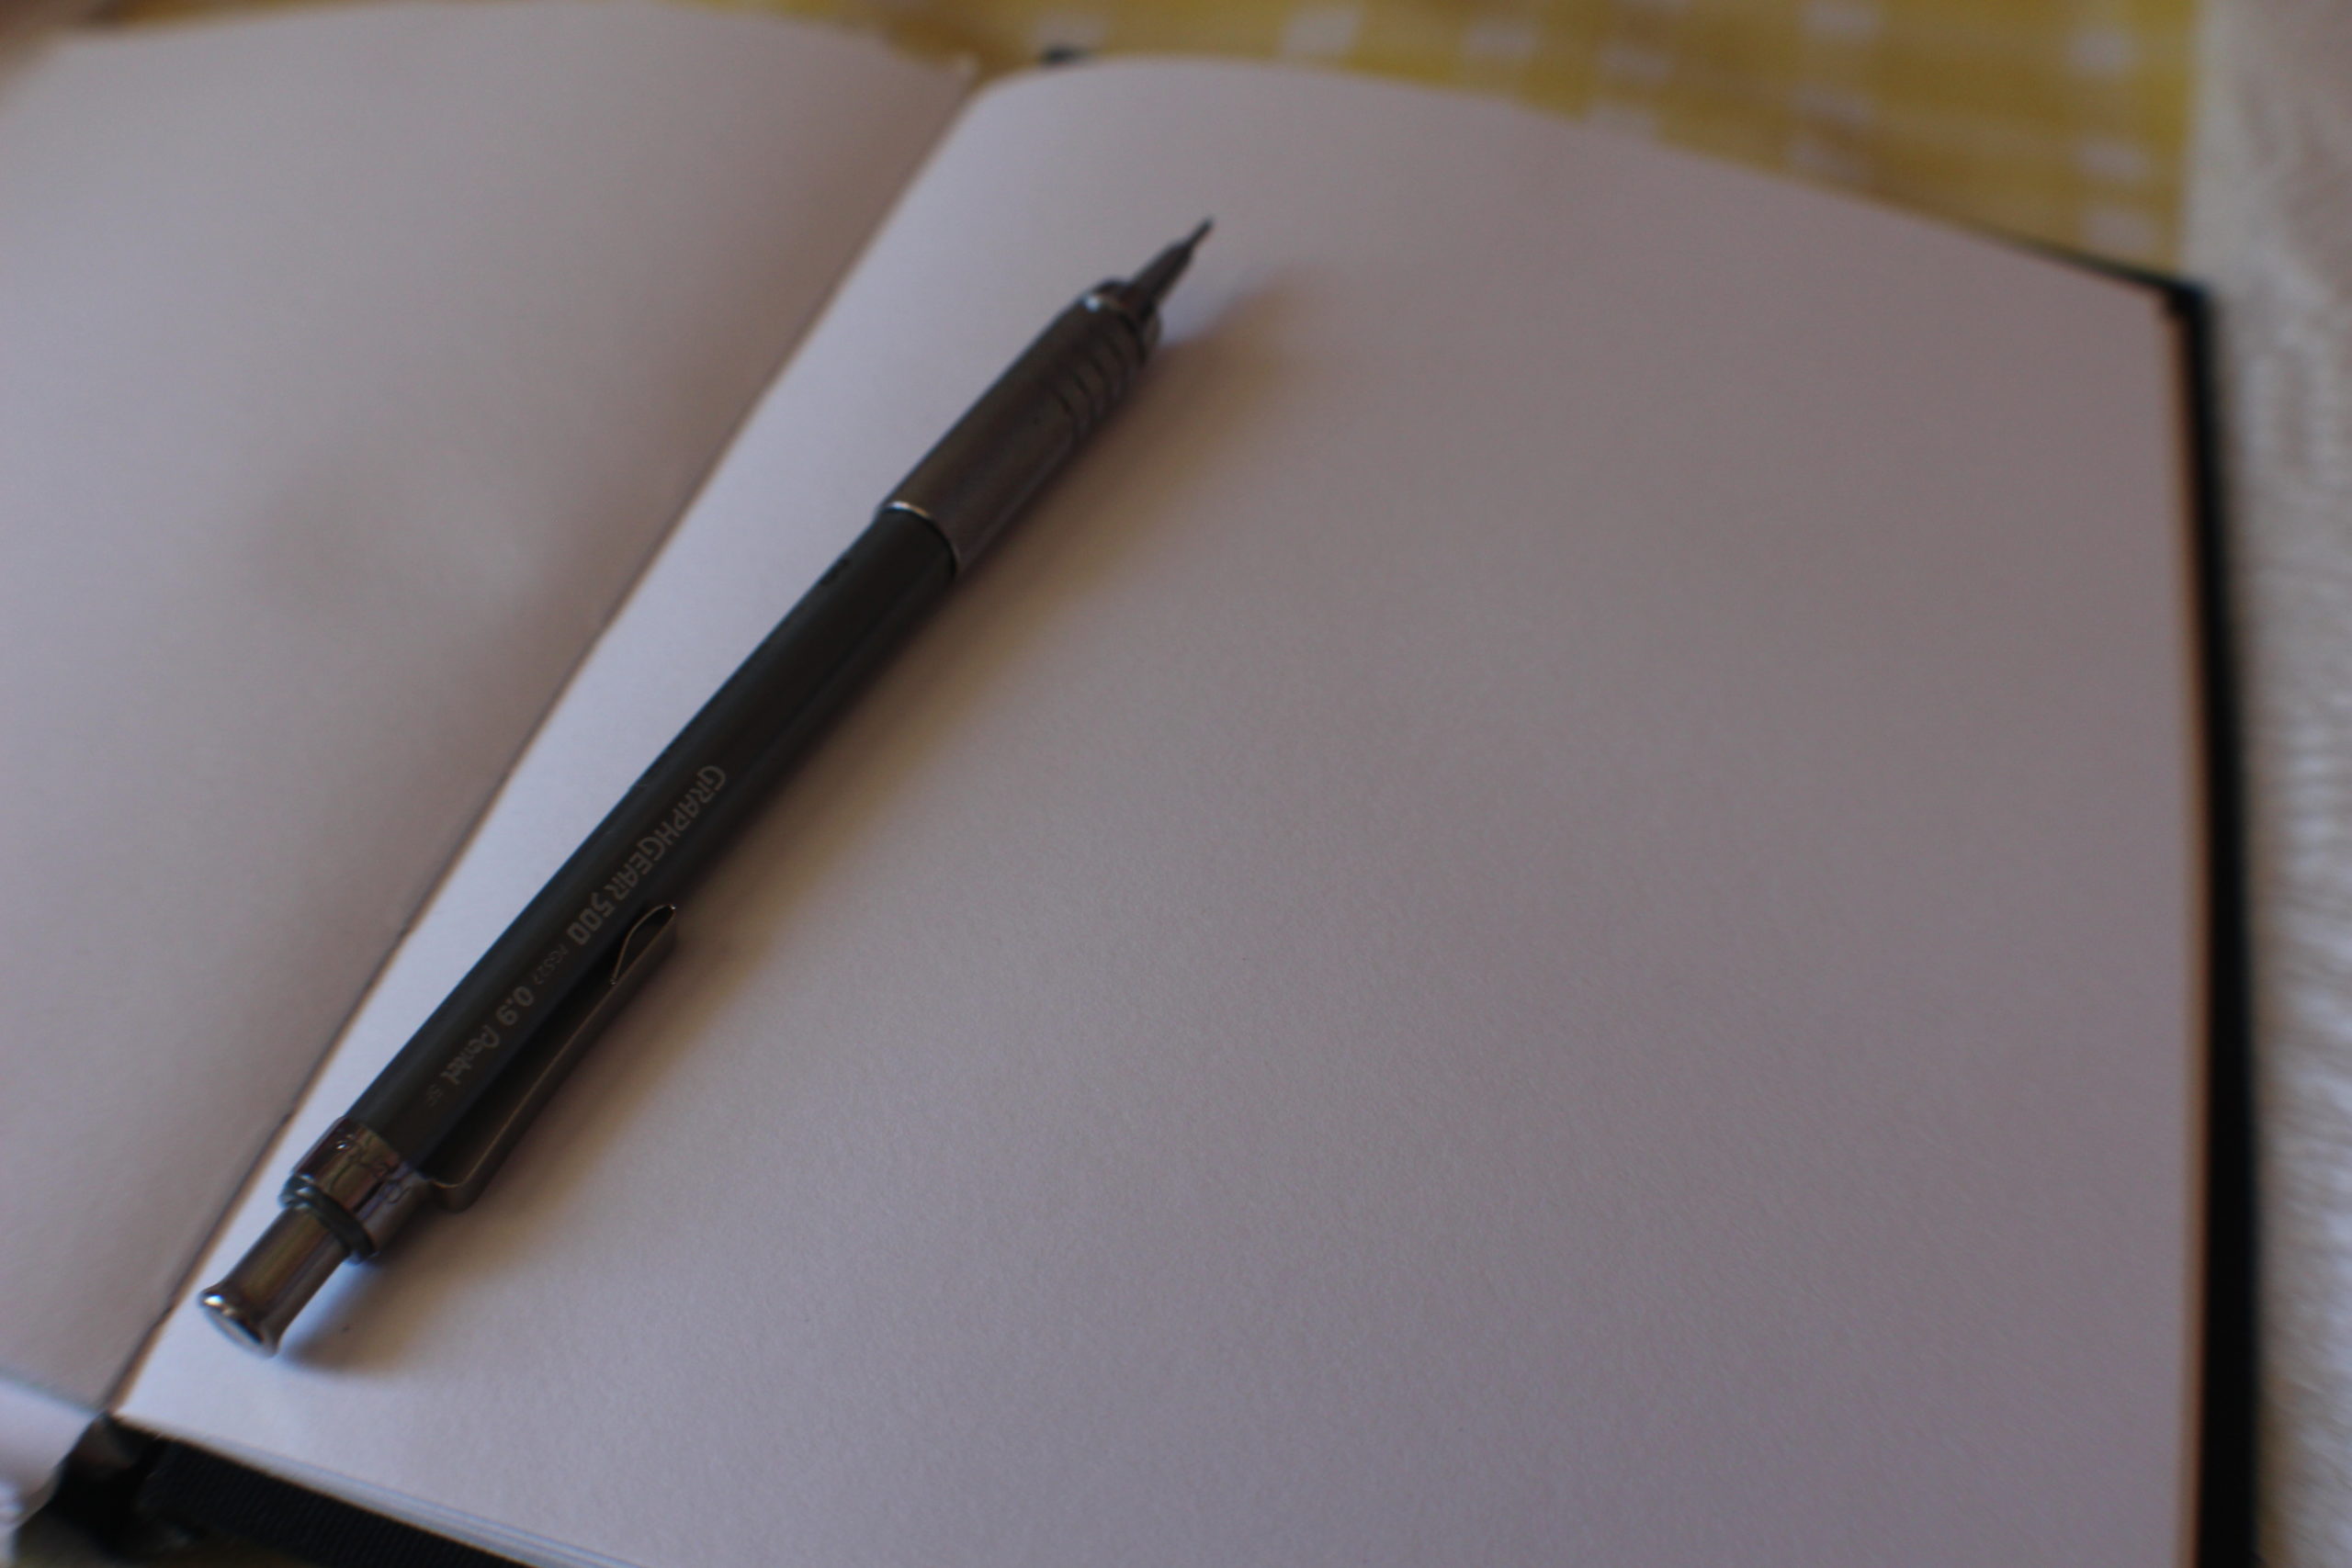
- Pencil
- Acrylic paper, watercolor paper, or canvas (you can choose whichever you prefer)
Paper/Canvas 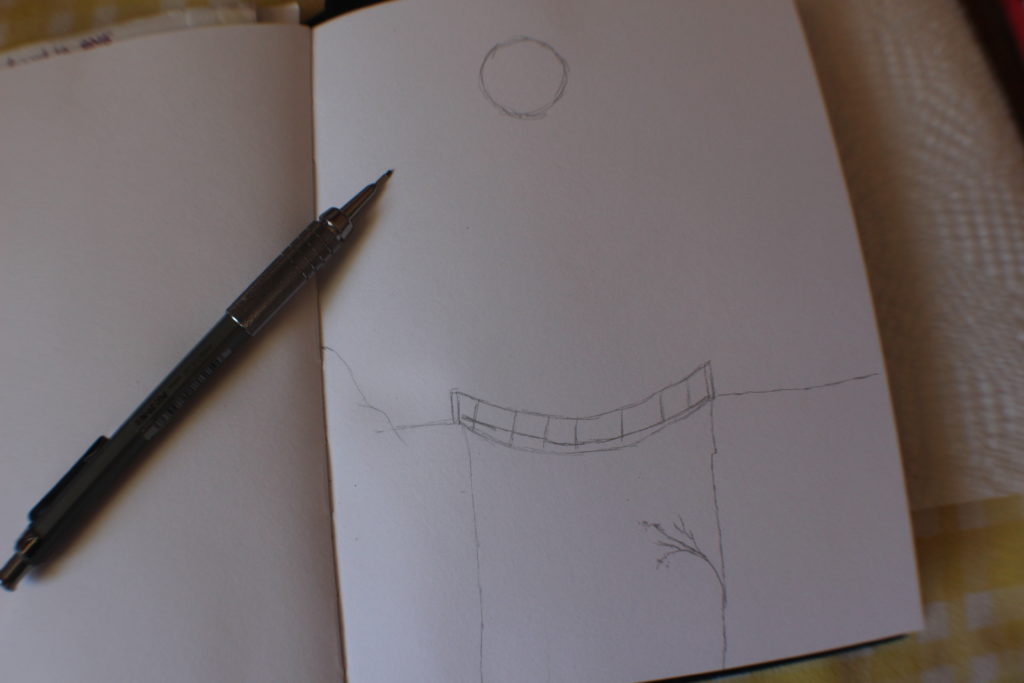
Sketch 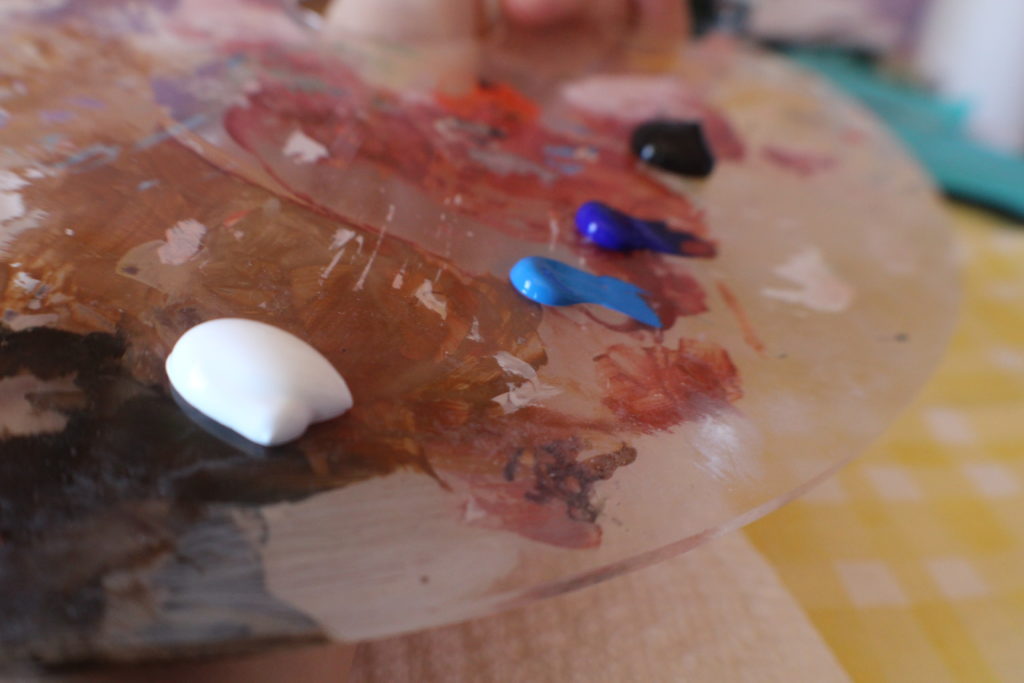
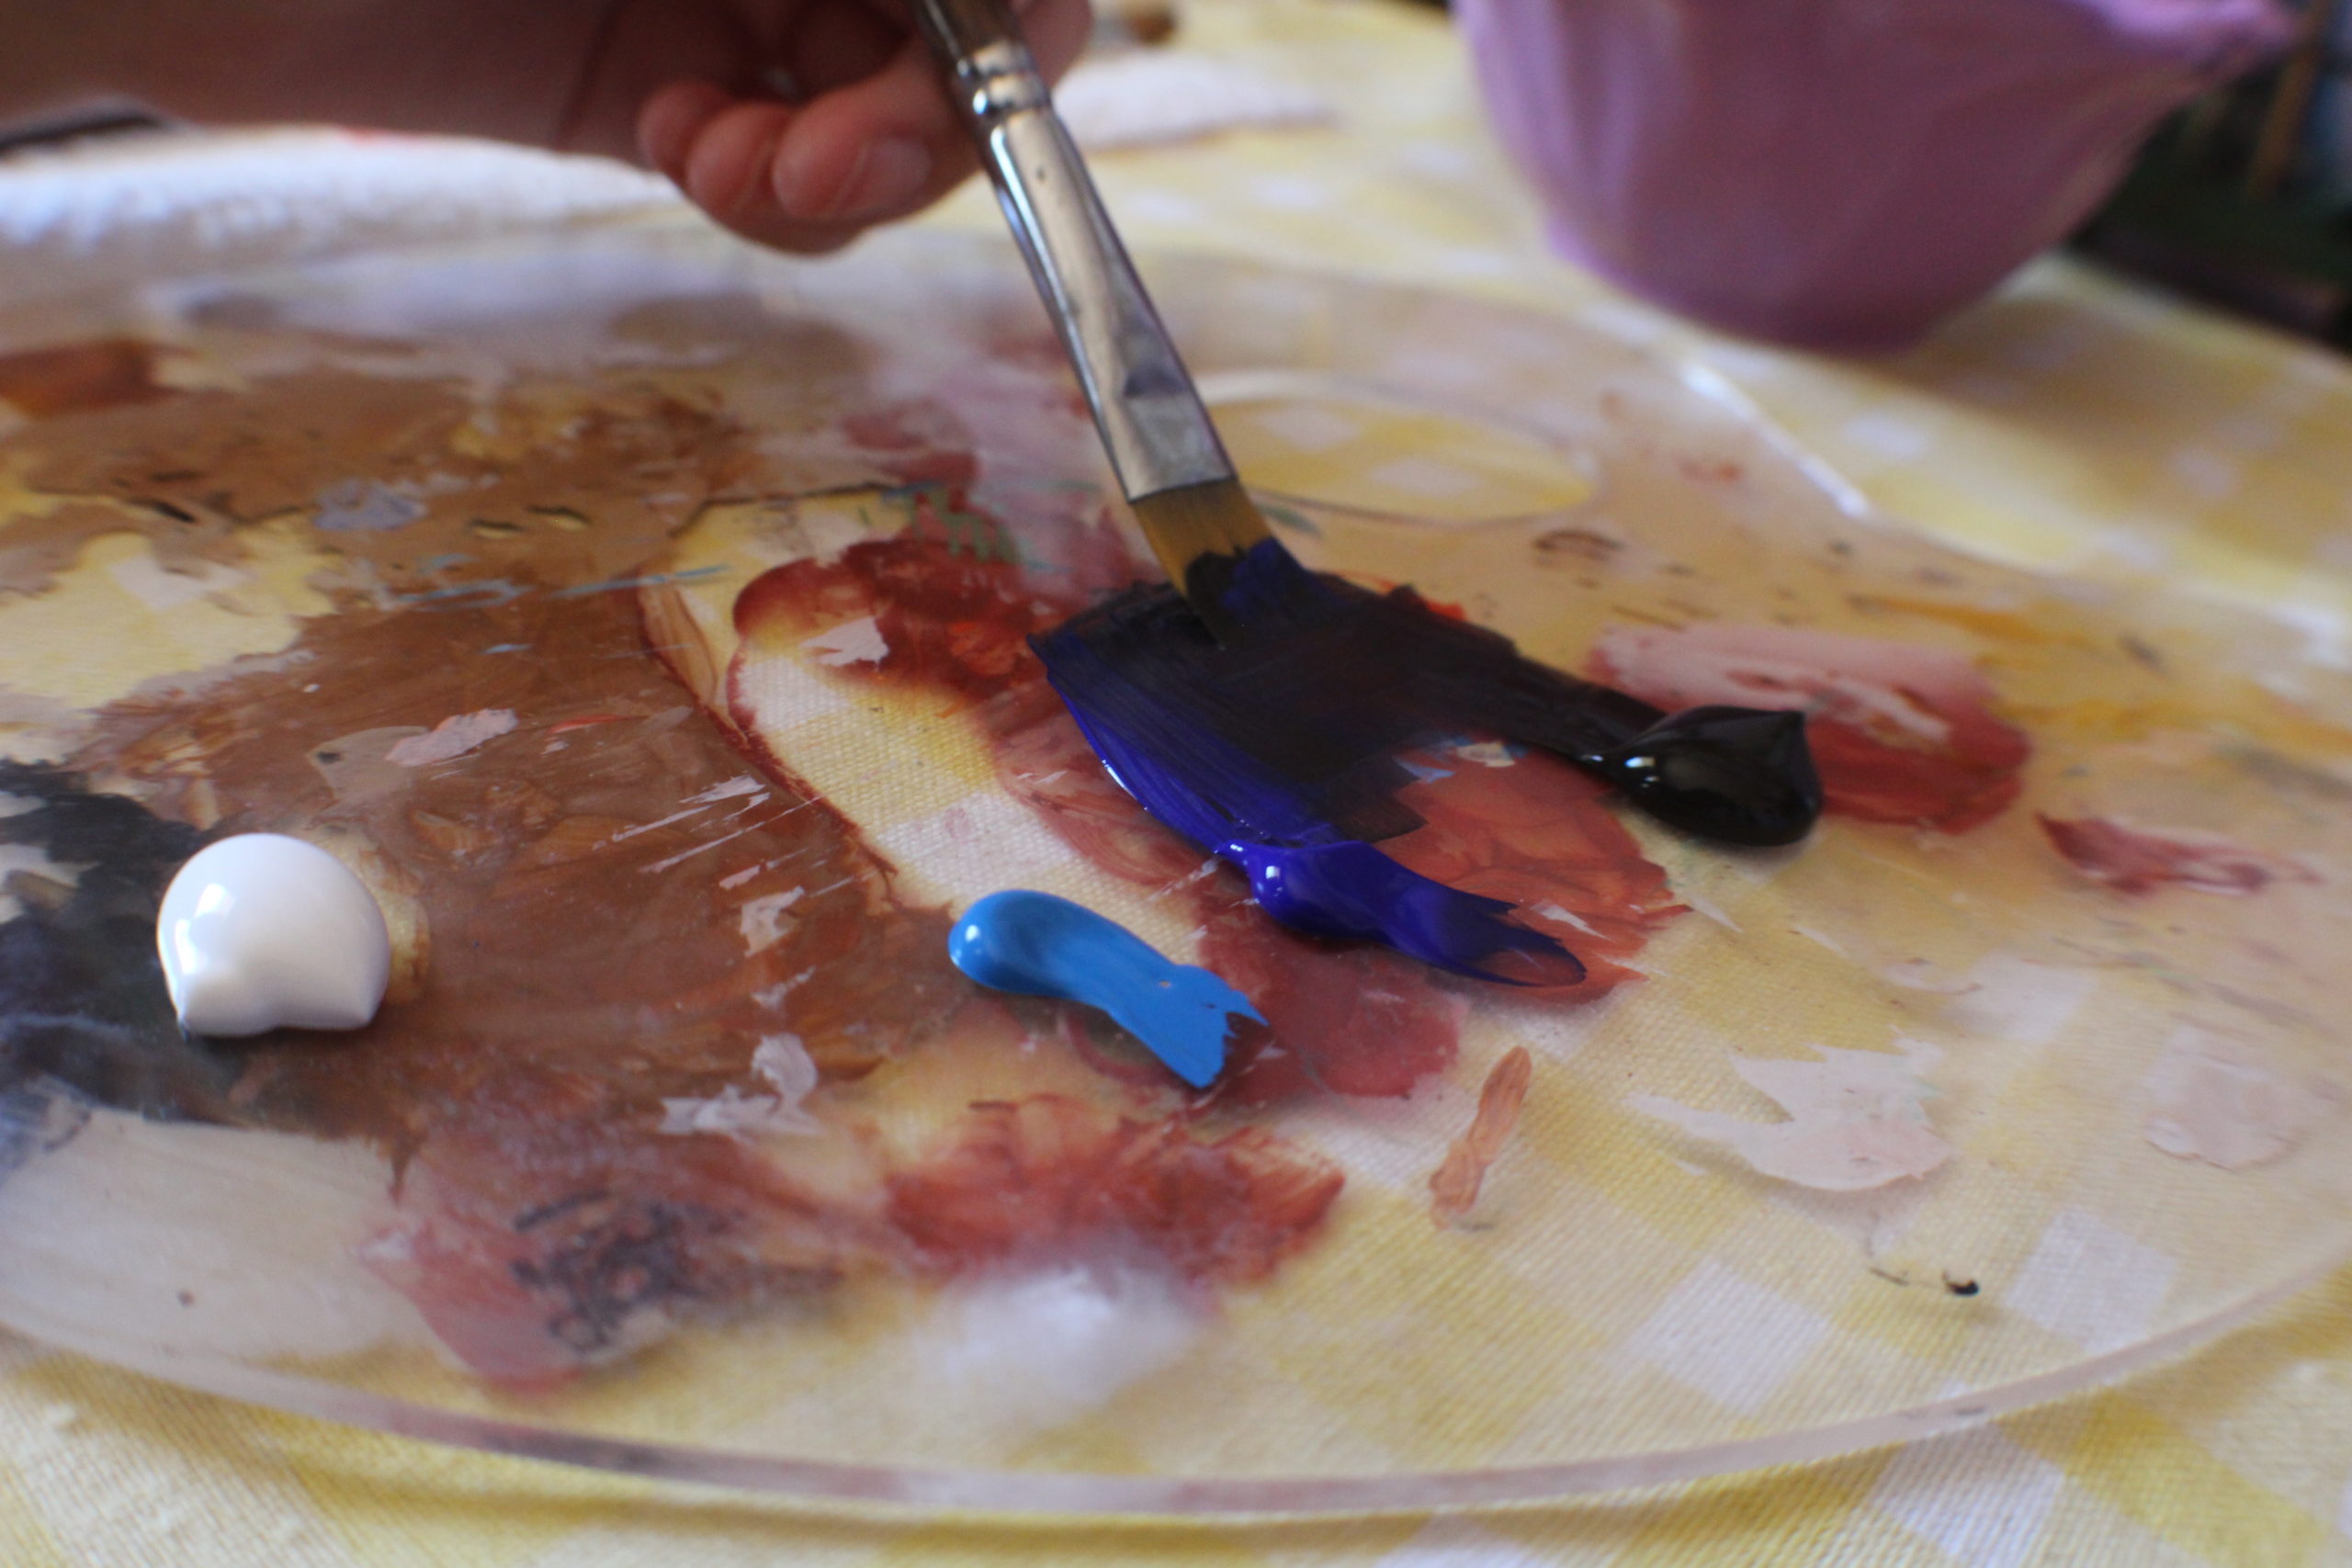
Paint
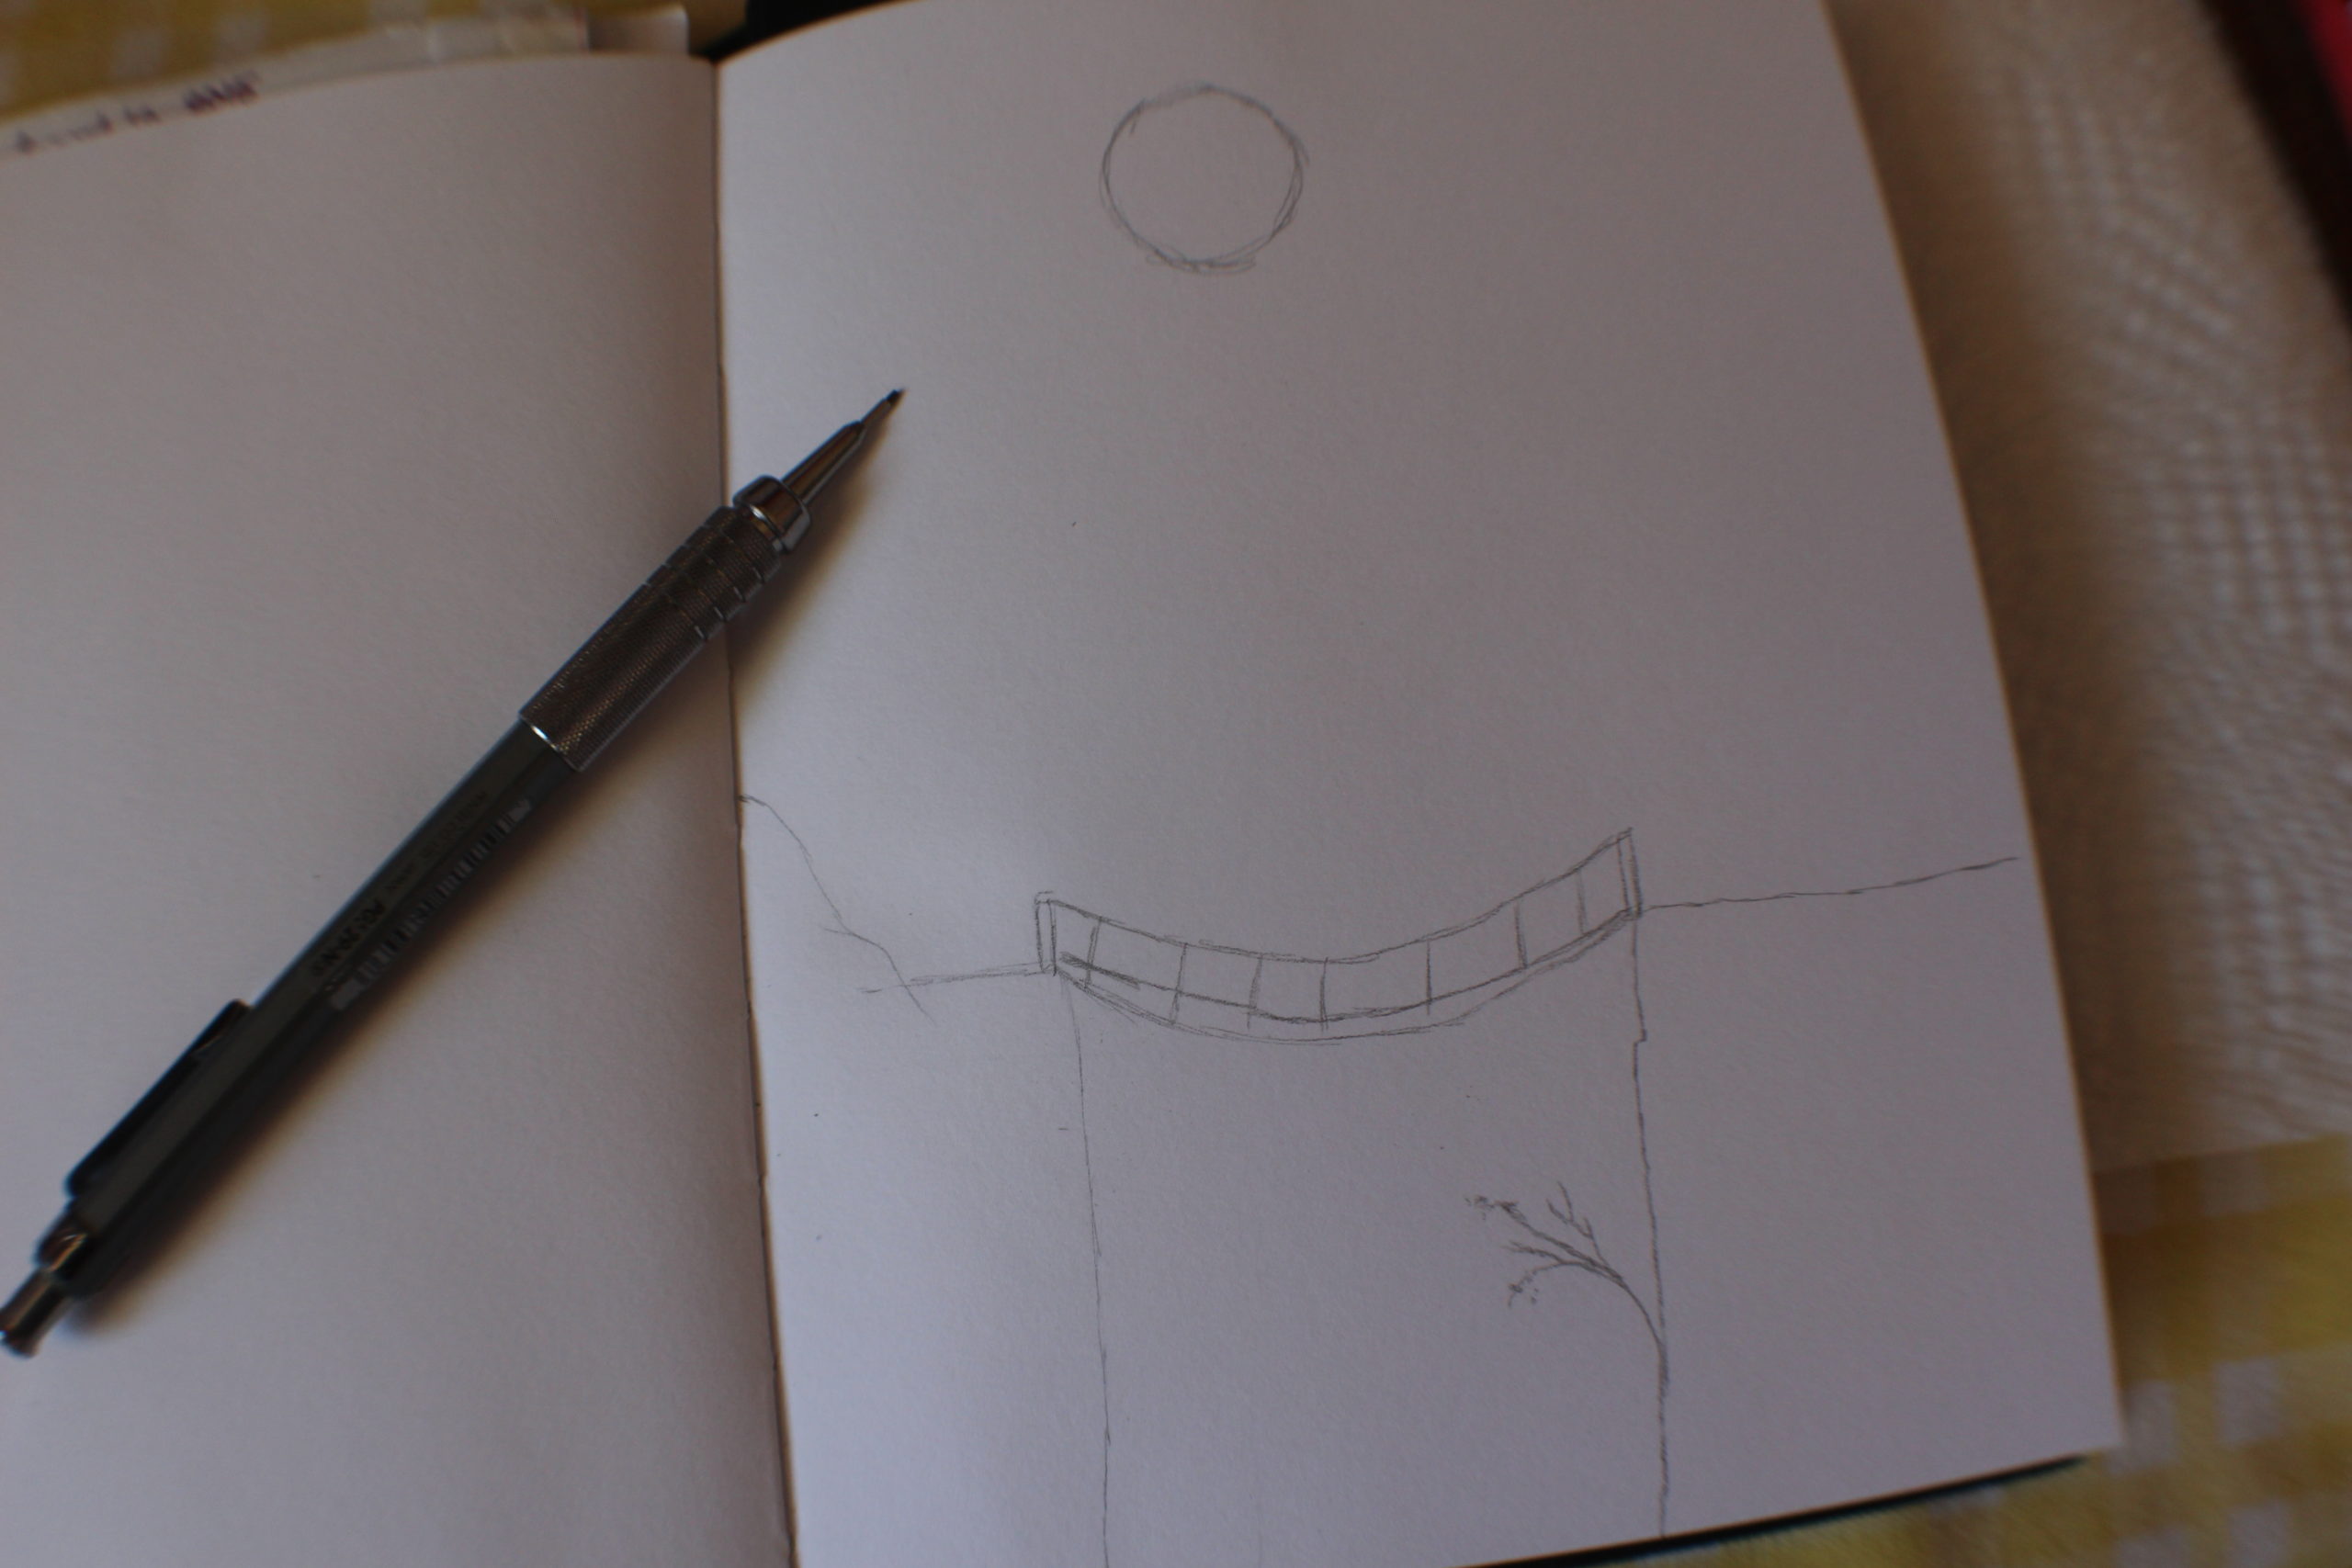

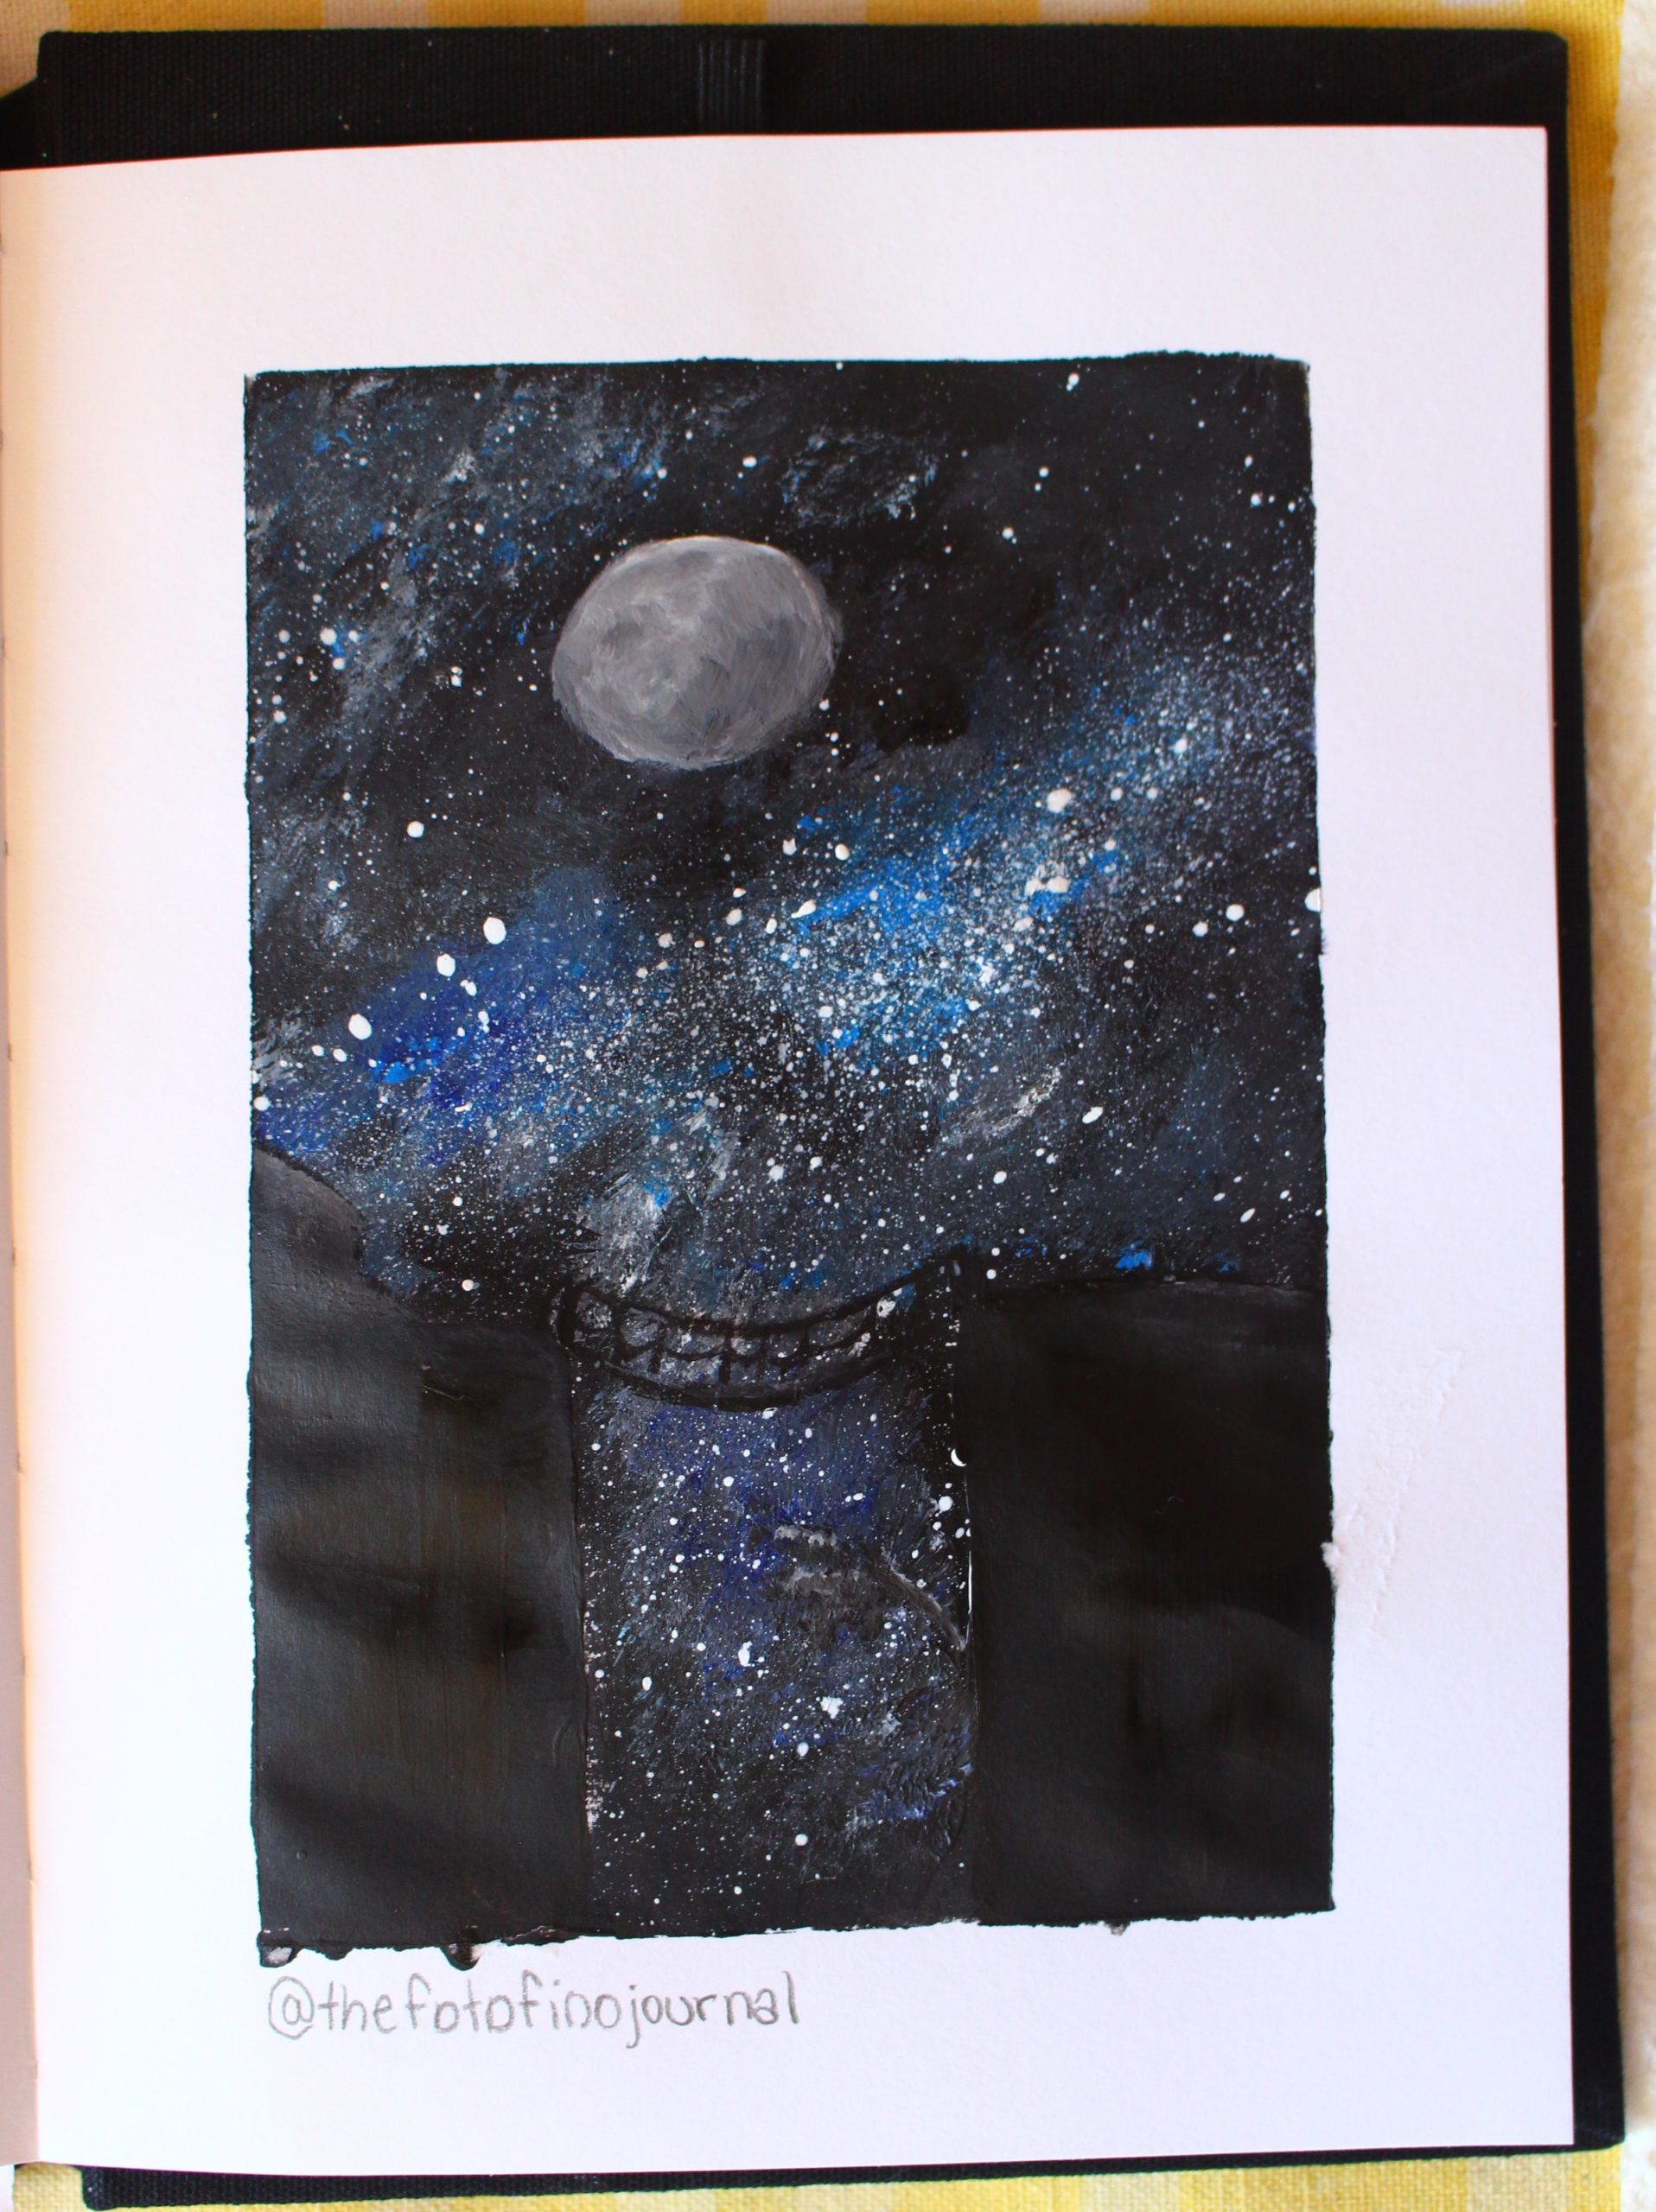
In this blog tutorial I am going to paint the night sky with a silhouette of a bridge. If you just want to paint the stars/space part, you can skip this first step. First, you are going to get your canvas or sketchbook paper and lightly sketch out what you want your silhouette to be. You can sketch out some mountains, a landscape with trees, a silhouette of a person, etc, or you can follow along with my sketch. After you’ve finished sketching out the outlines of your silhouette, you should lightly go over your sketch with a kneaded eraser (or any eraser you can find) to make the lines less visible.
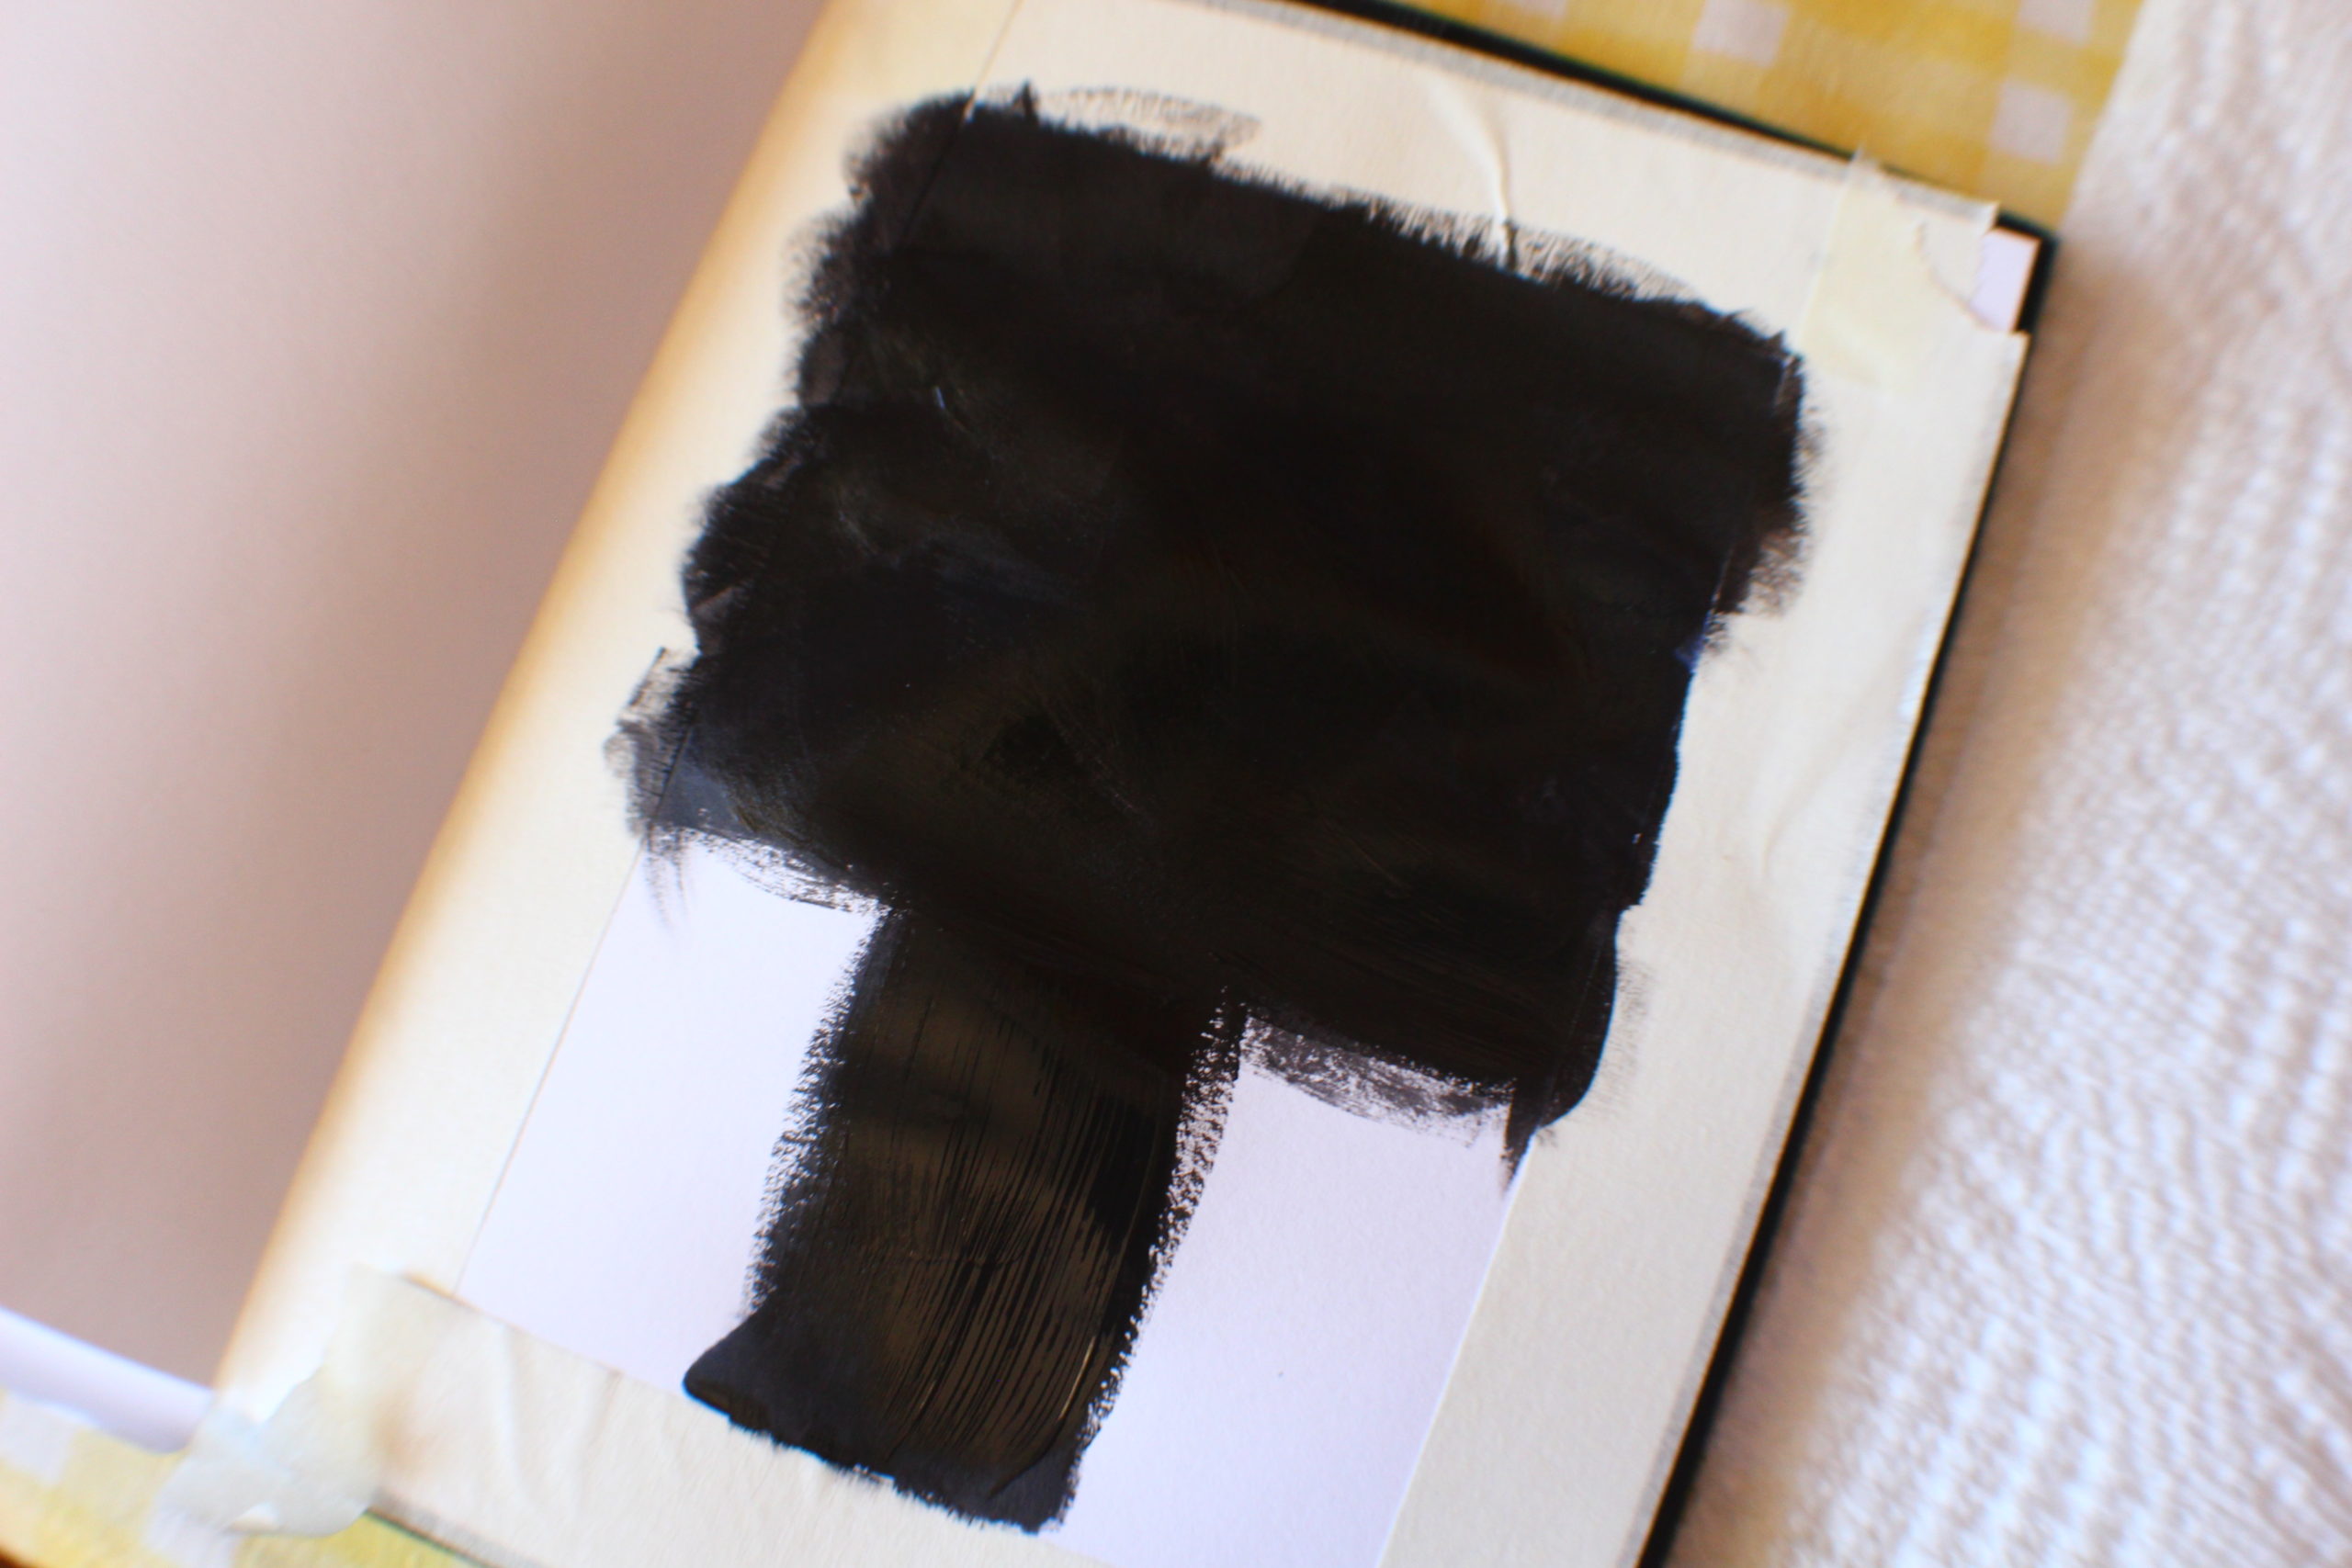
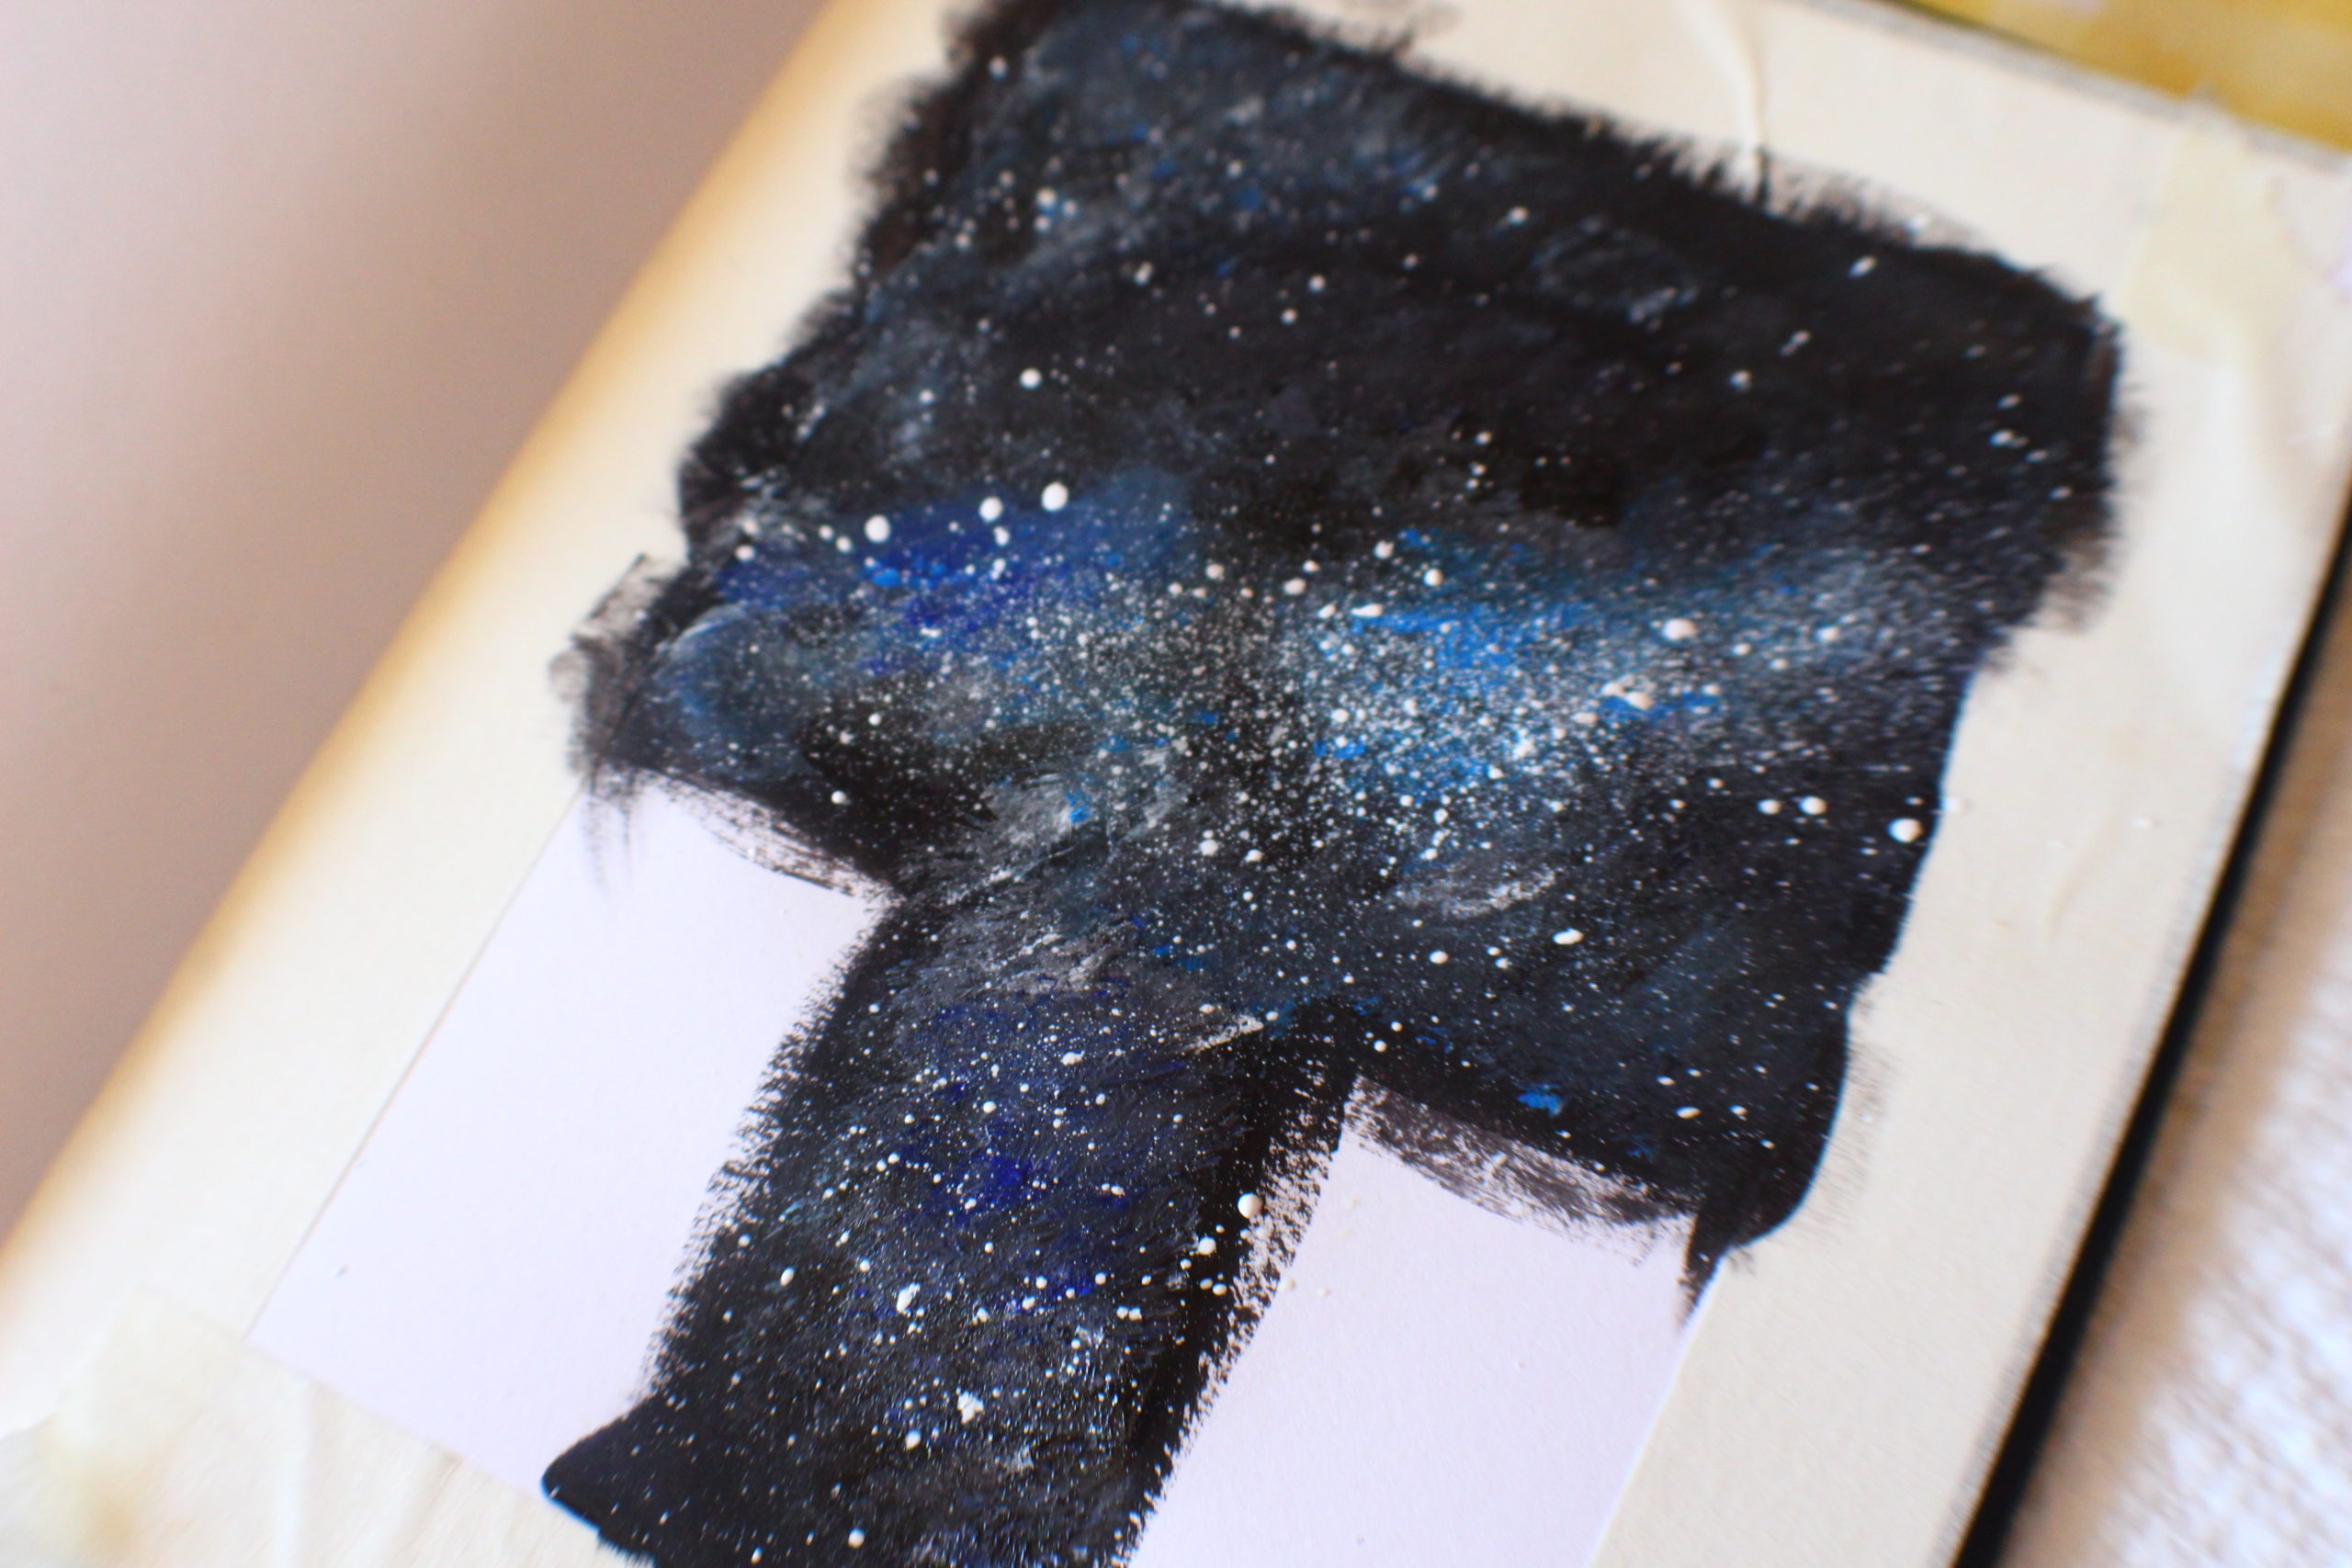
Second, you are going to fill in the area you want to be full of stars, black. Do NOT paint in the silhouettes yet, those will get filled in at the end. Wet your brush in your water and tap it onto your paper towel, then load your brush (I used the #14 flat brush for this) with the black paint and start filling it in. You don’t have to wait until your first layer of black paint is completely dry before you go in with the next step. For the next step, get your frayed brush and load it with the cerulean blue color and start lightly tapping the main area where you want the stars to be. I like to create a “line” that the main cluster of stars follow. In my painting I painted a “line” going horizontally across the sky in my landscape.
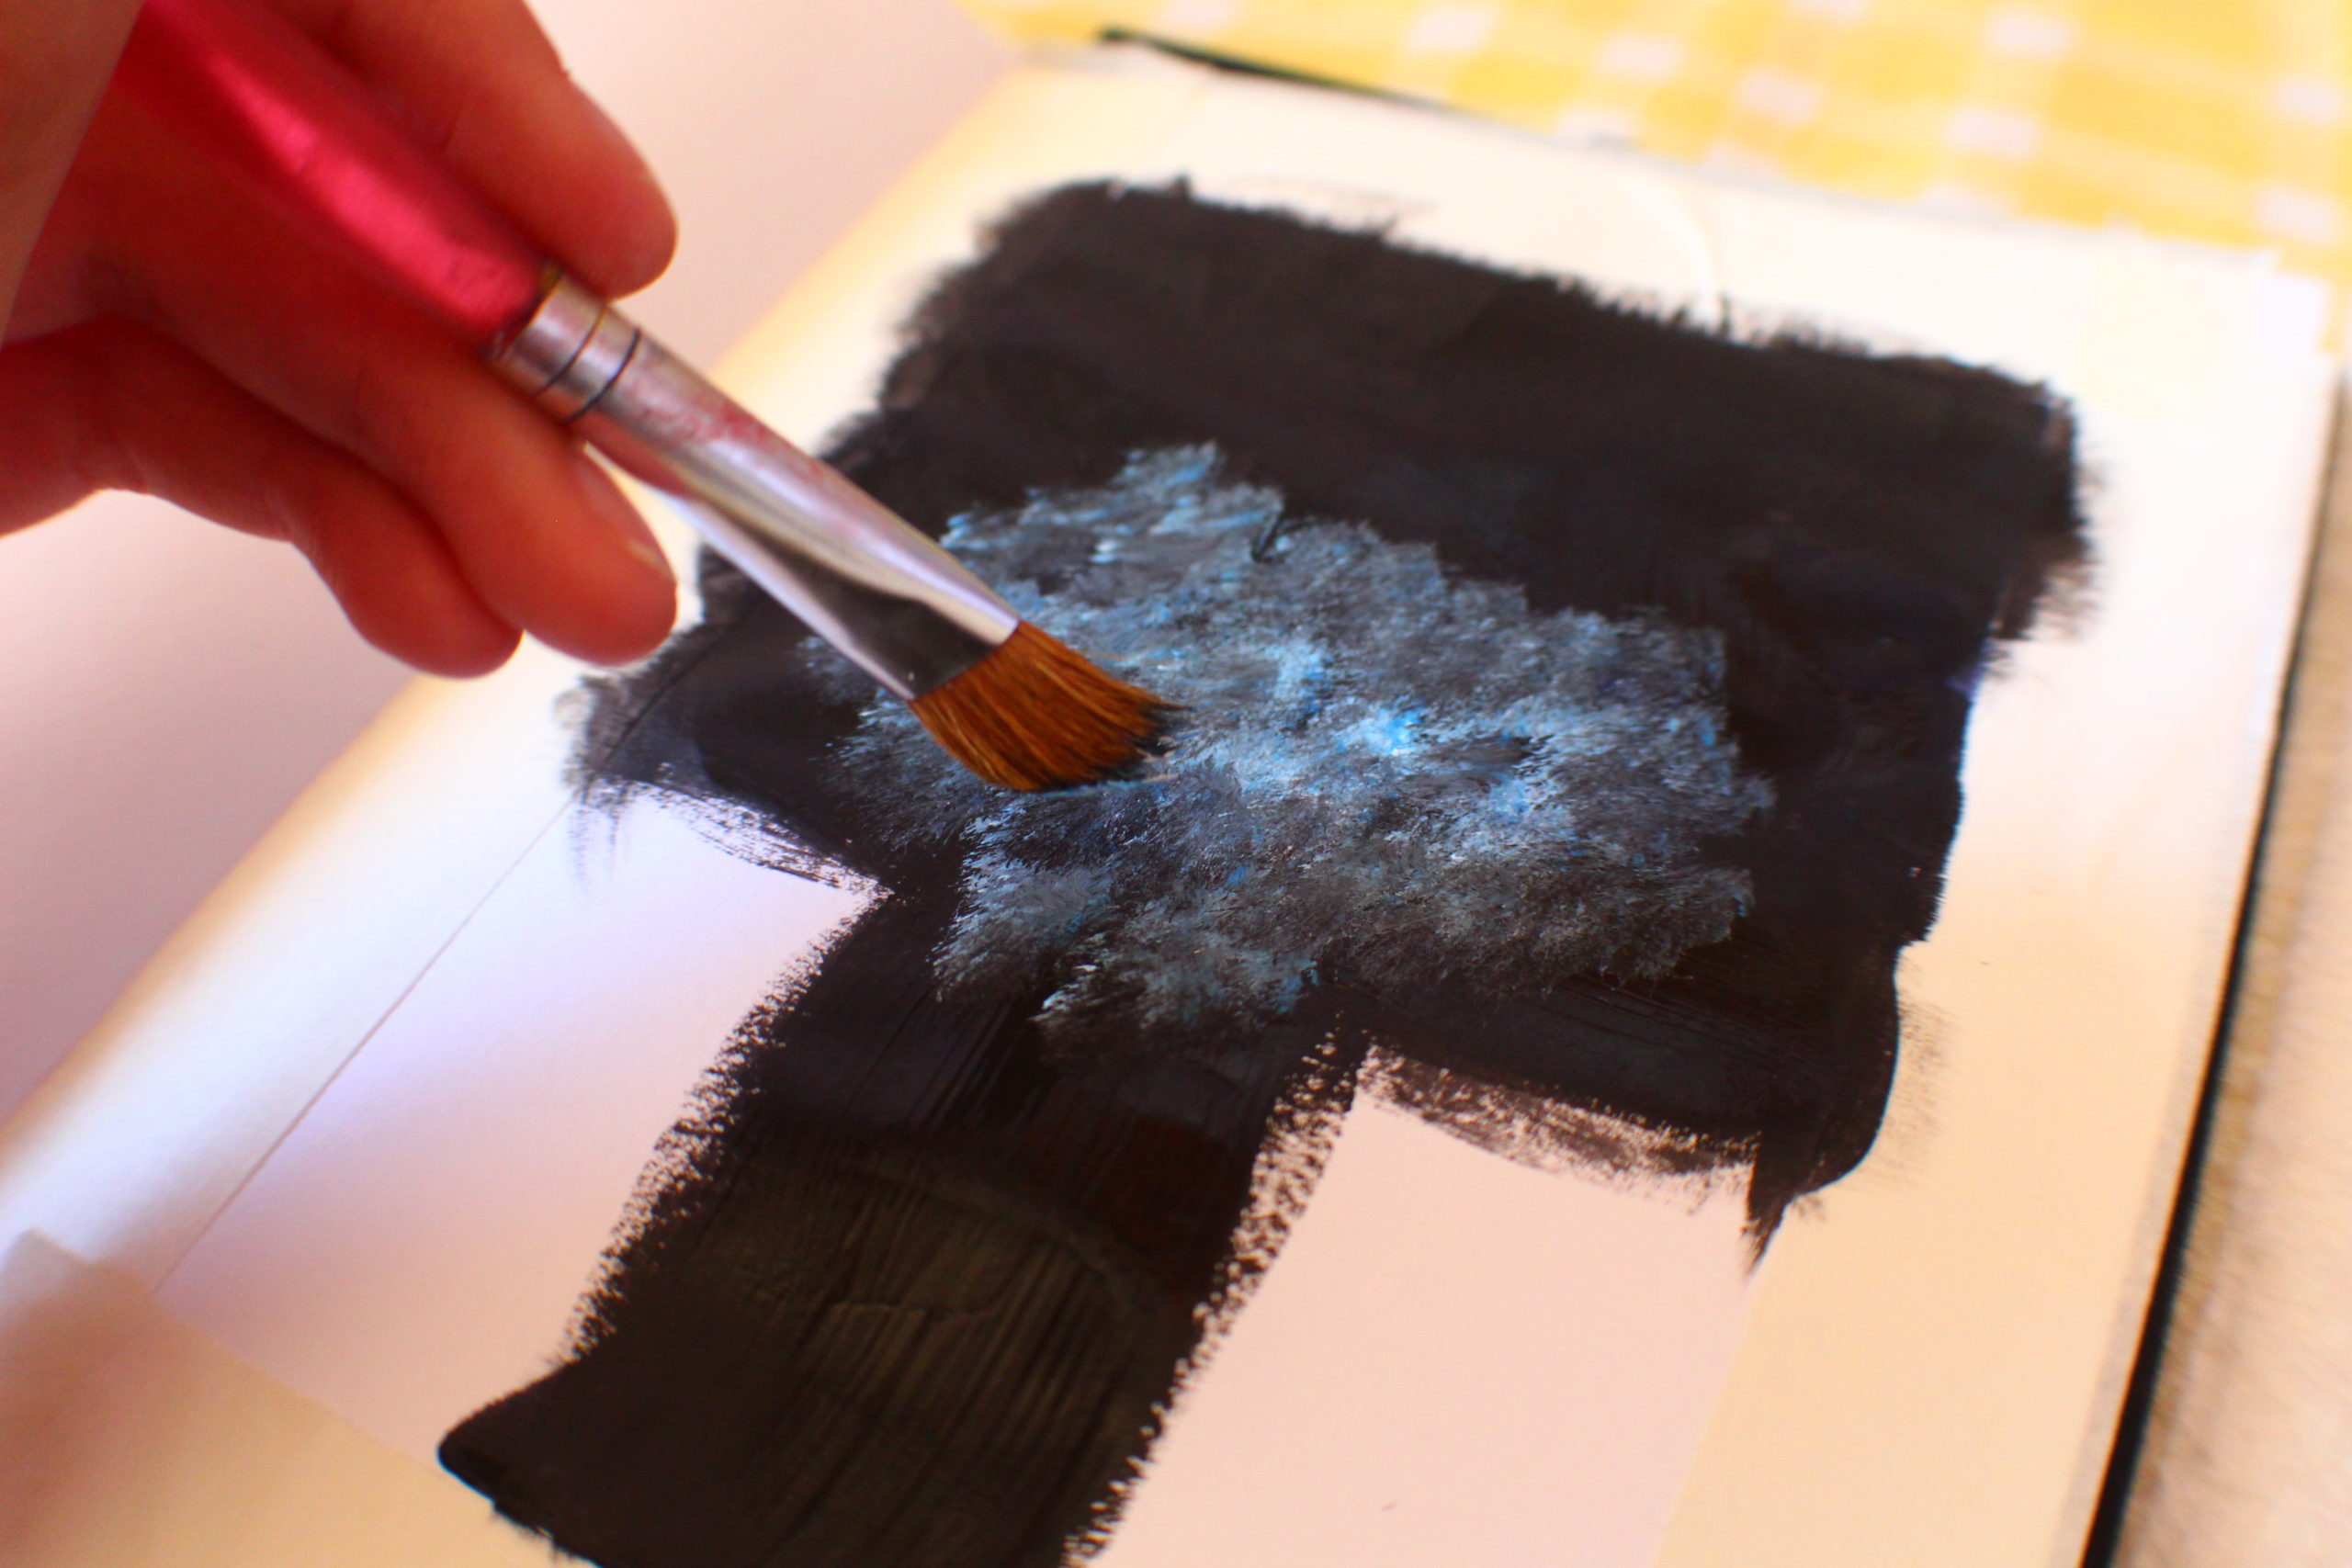
Keep messing with the colors, it’s okay if you need to go in with more black to go over spots where you put too much color. Don’t worry about trying to put in stars at this point, we are creating the “base” for where the stars will be placed. The painting doesn’t necessarily need to look like space at this point, it will usually tend to look like a blob of colors before the stars are in place.
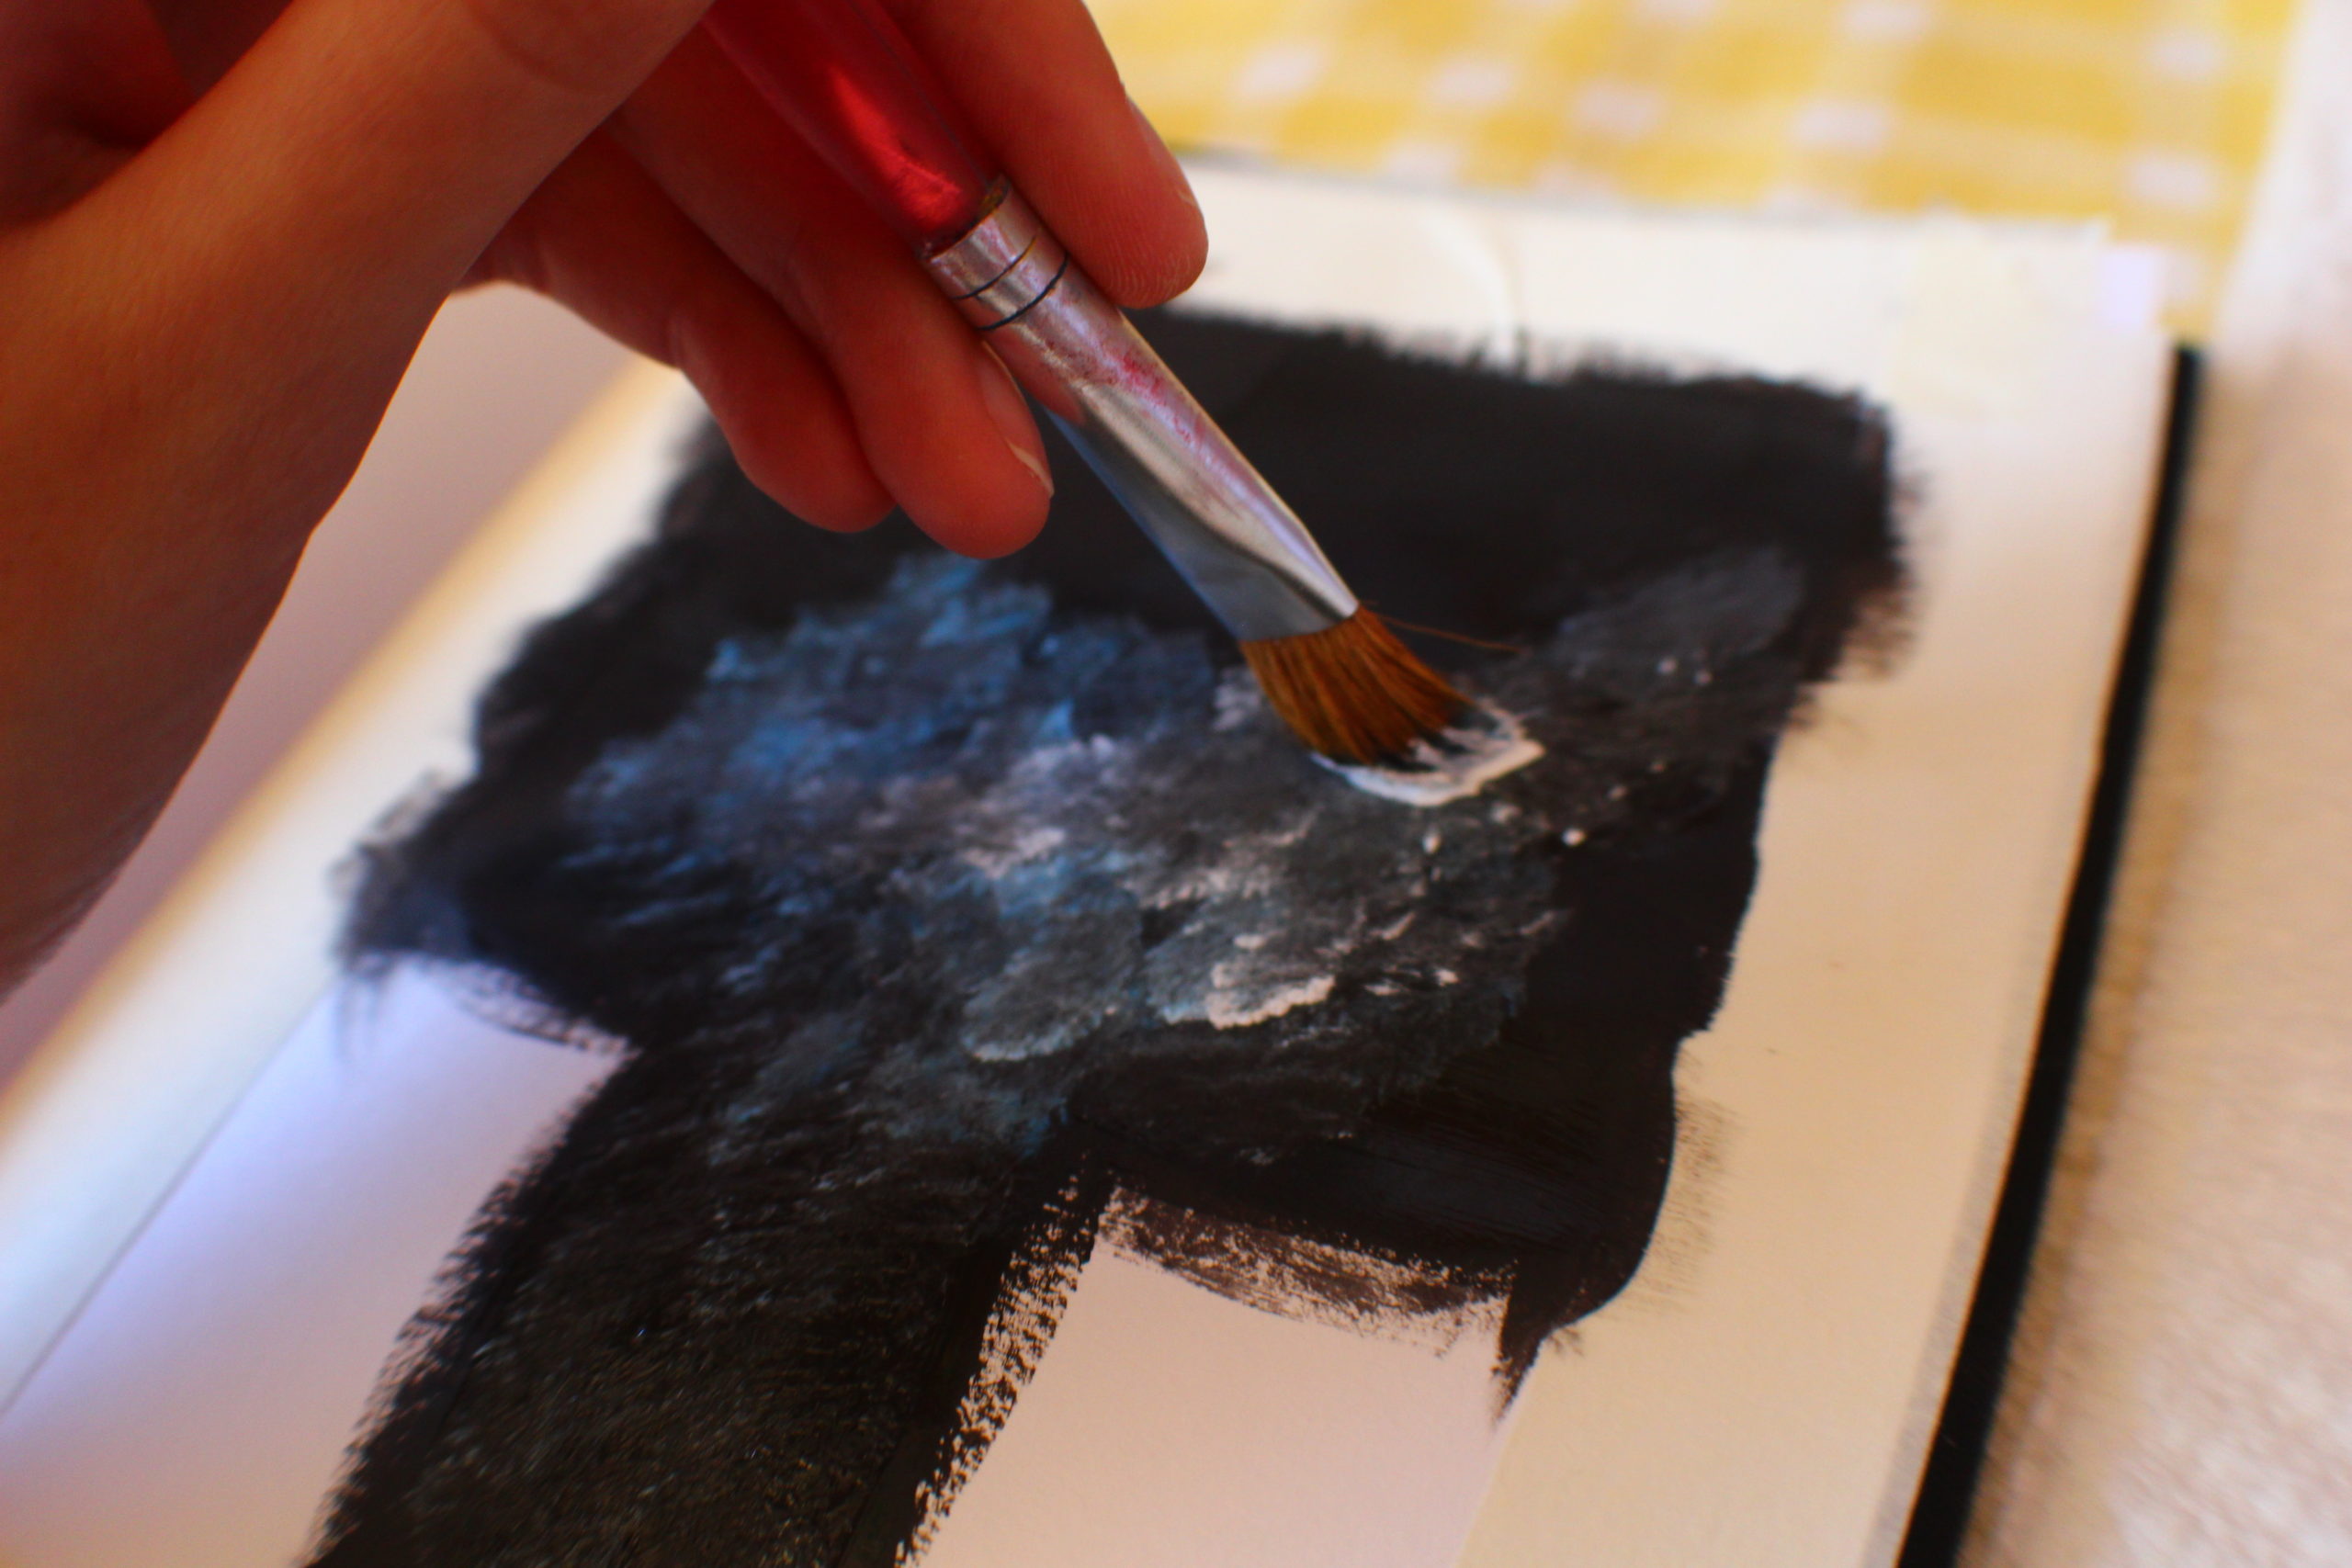

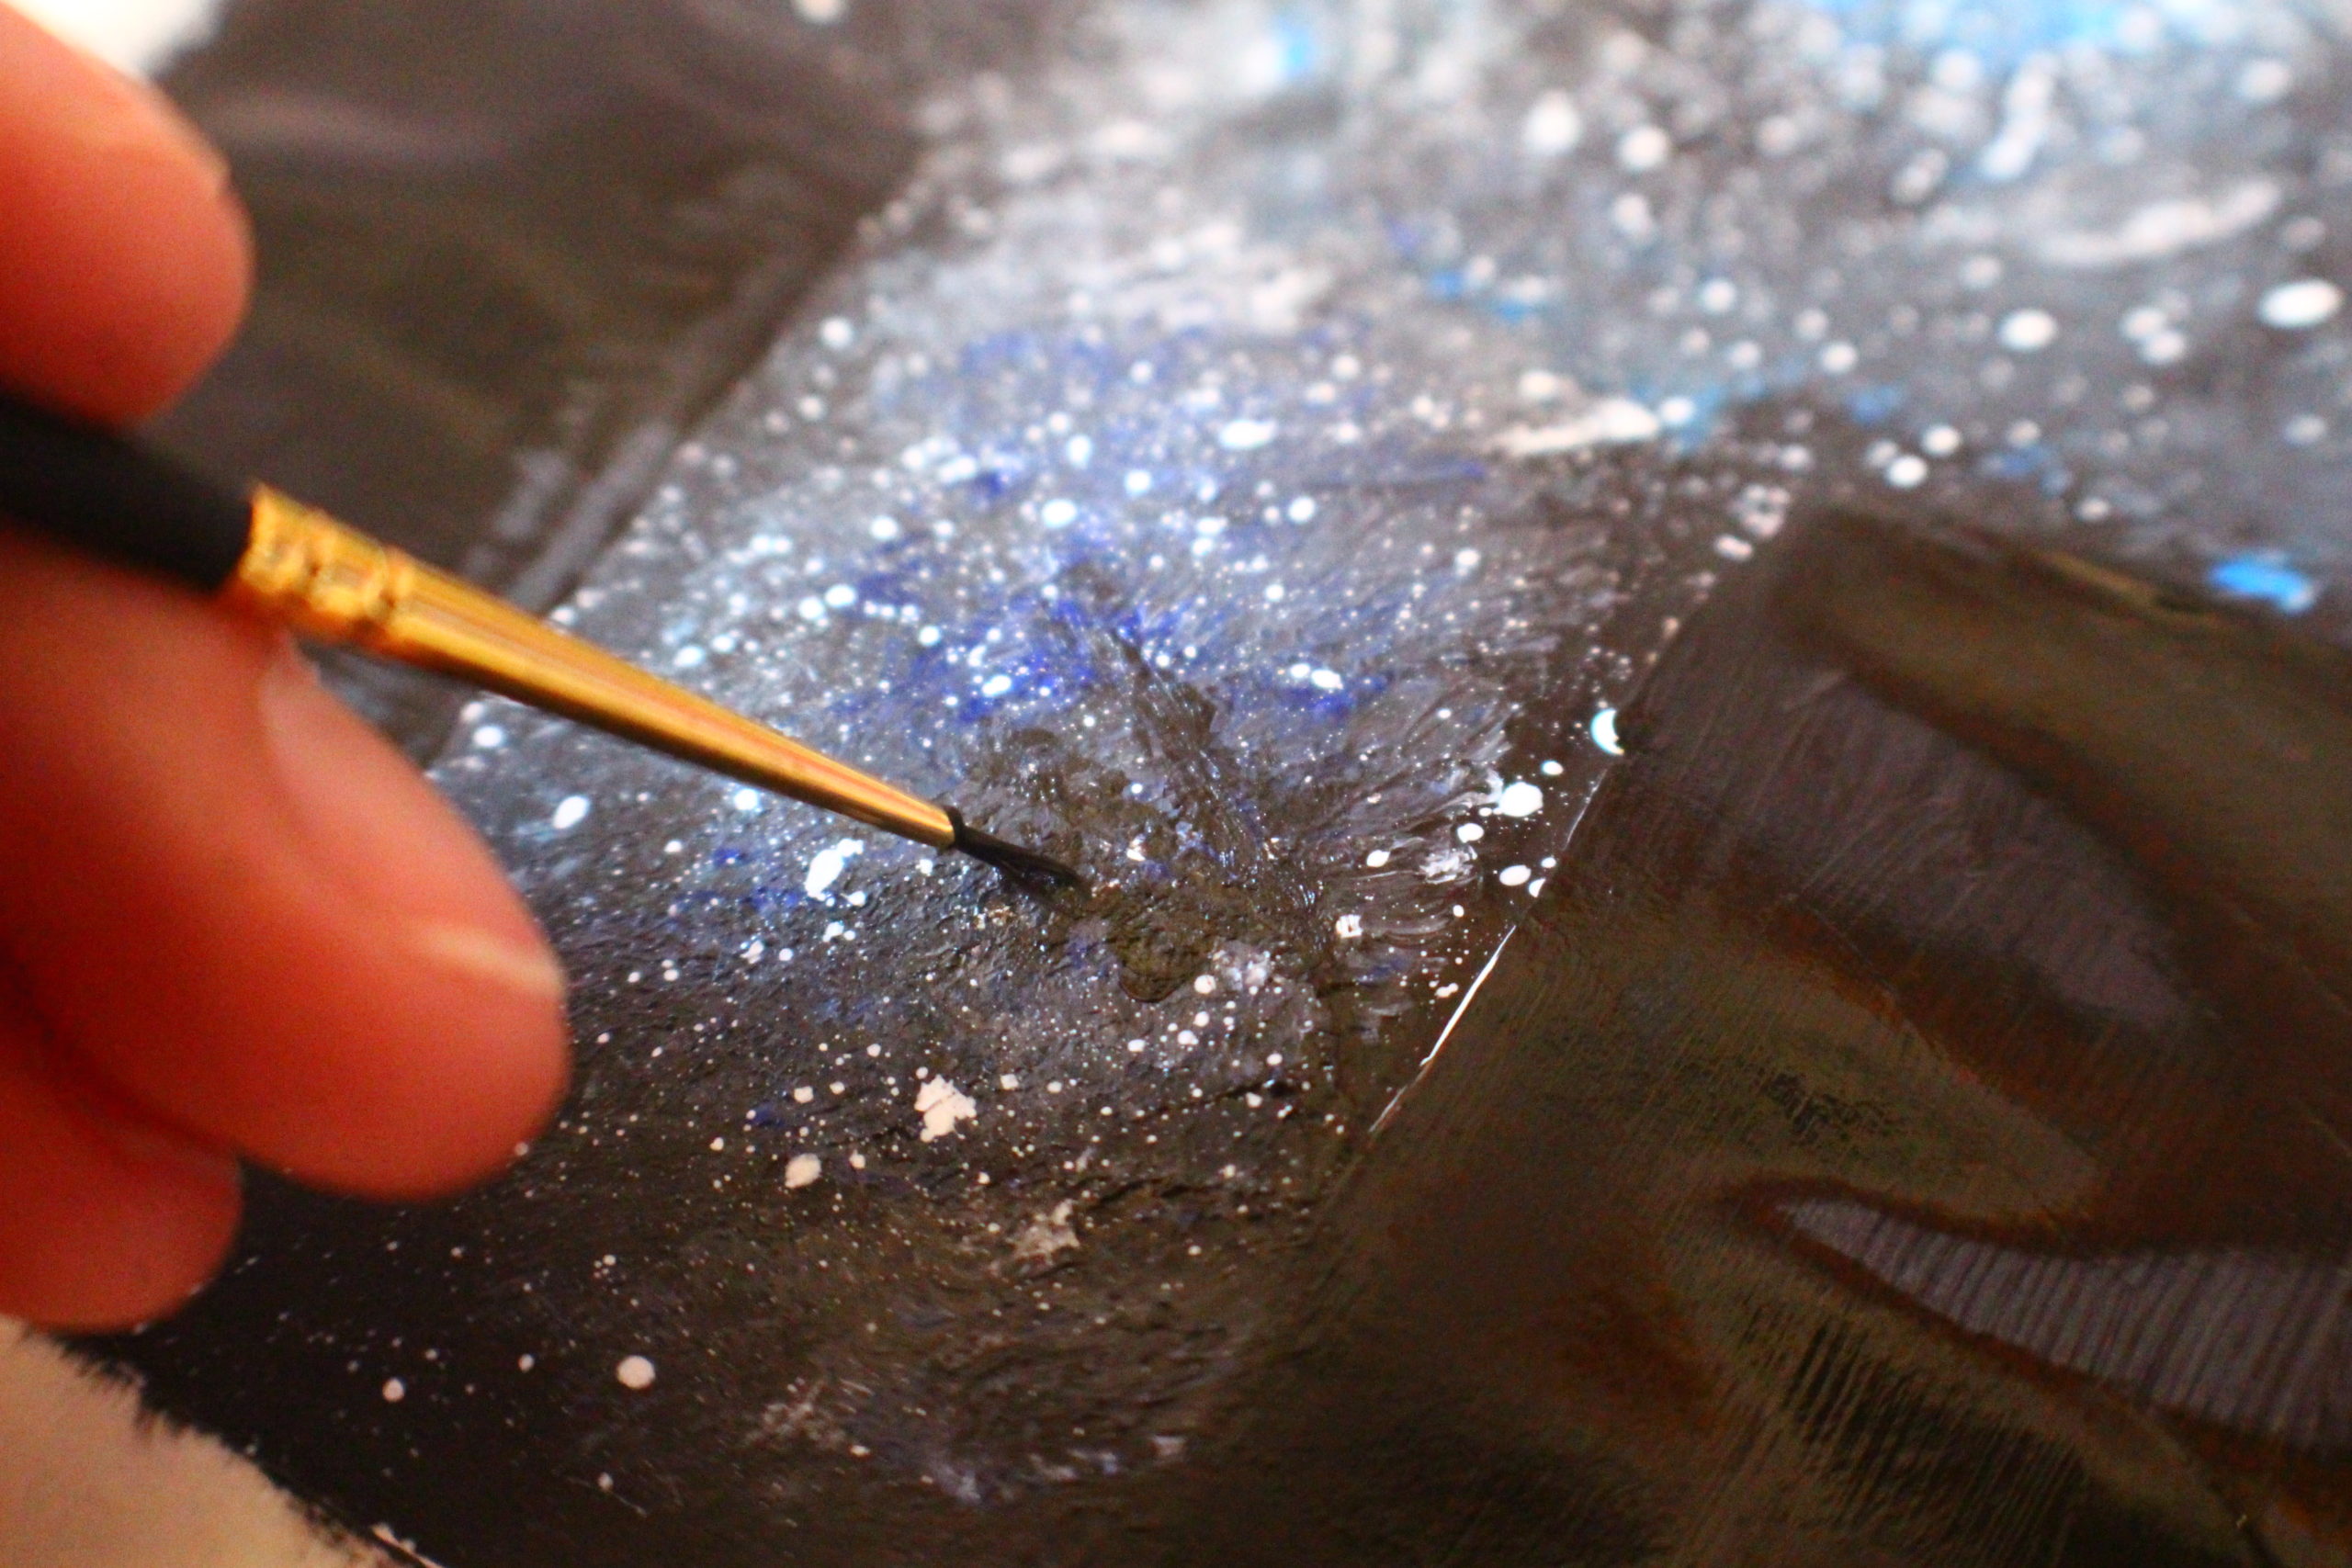
Once you are satisfied with your placement of the colors, you can start putting in the stars! 🙂 This is my favorite part of painting space because this is when the painting really starts coming together and looking more like space. To begin placing the stars, get your small round brush (I used the #4 round brush) and dip it into your water. If there is too much water on your brush to the point to where it’s dripping, you can lightly tap it onto your paper towel. Do not completely dry the brush because the brush needs to be wet in order for this to work. Once your round brush is wet, dip it into your white paint and load your brush with a lot of paint.
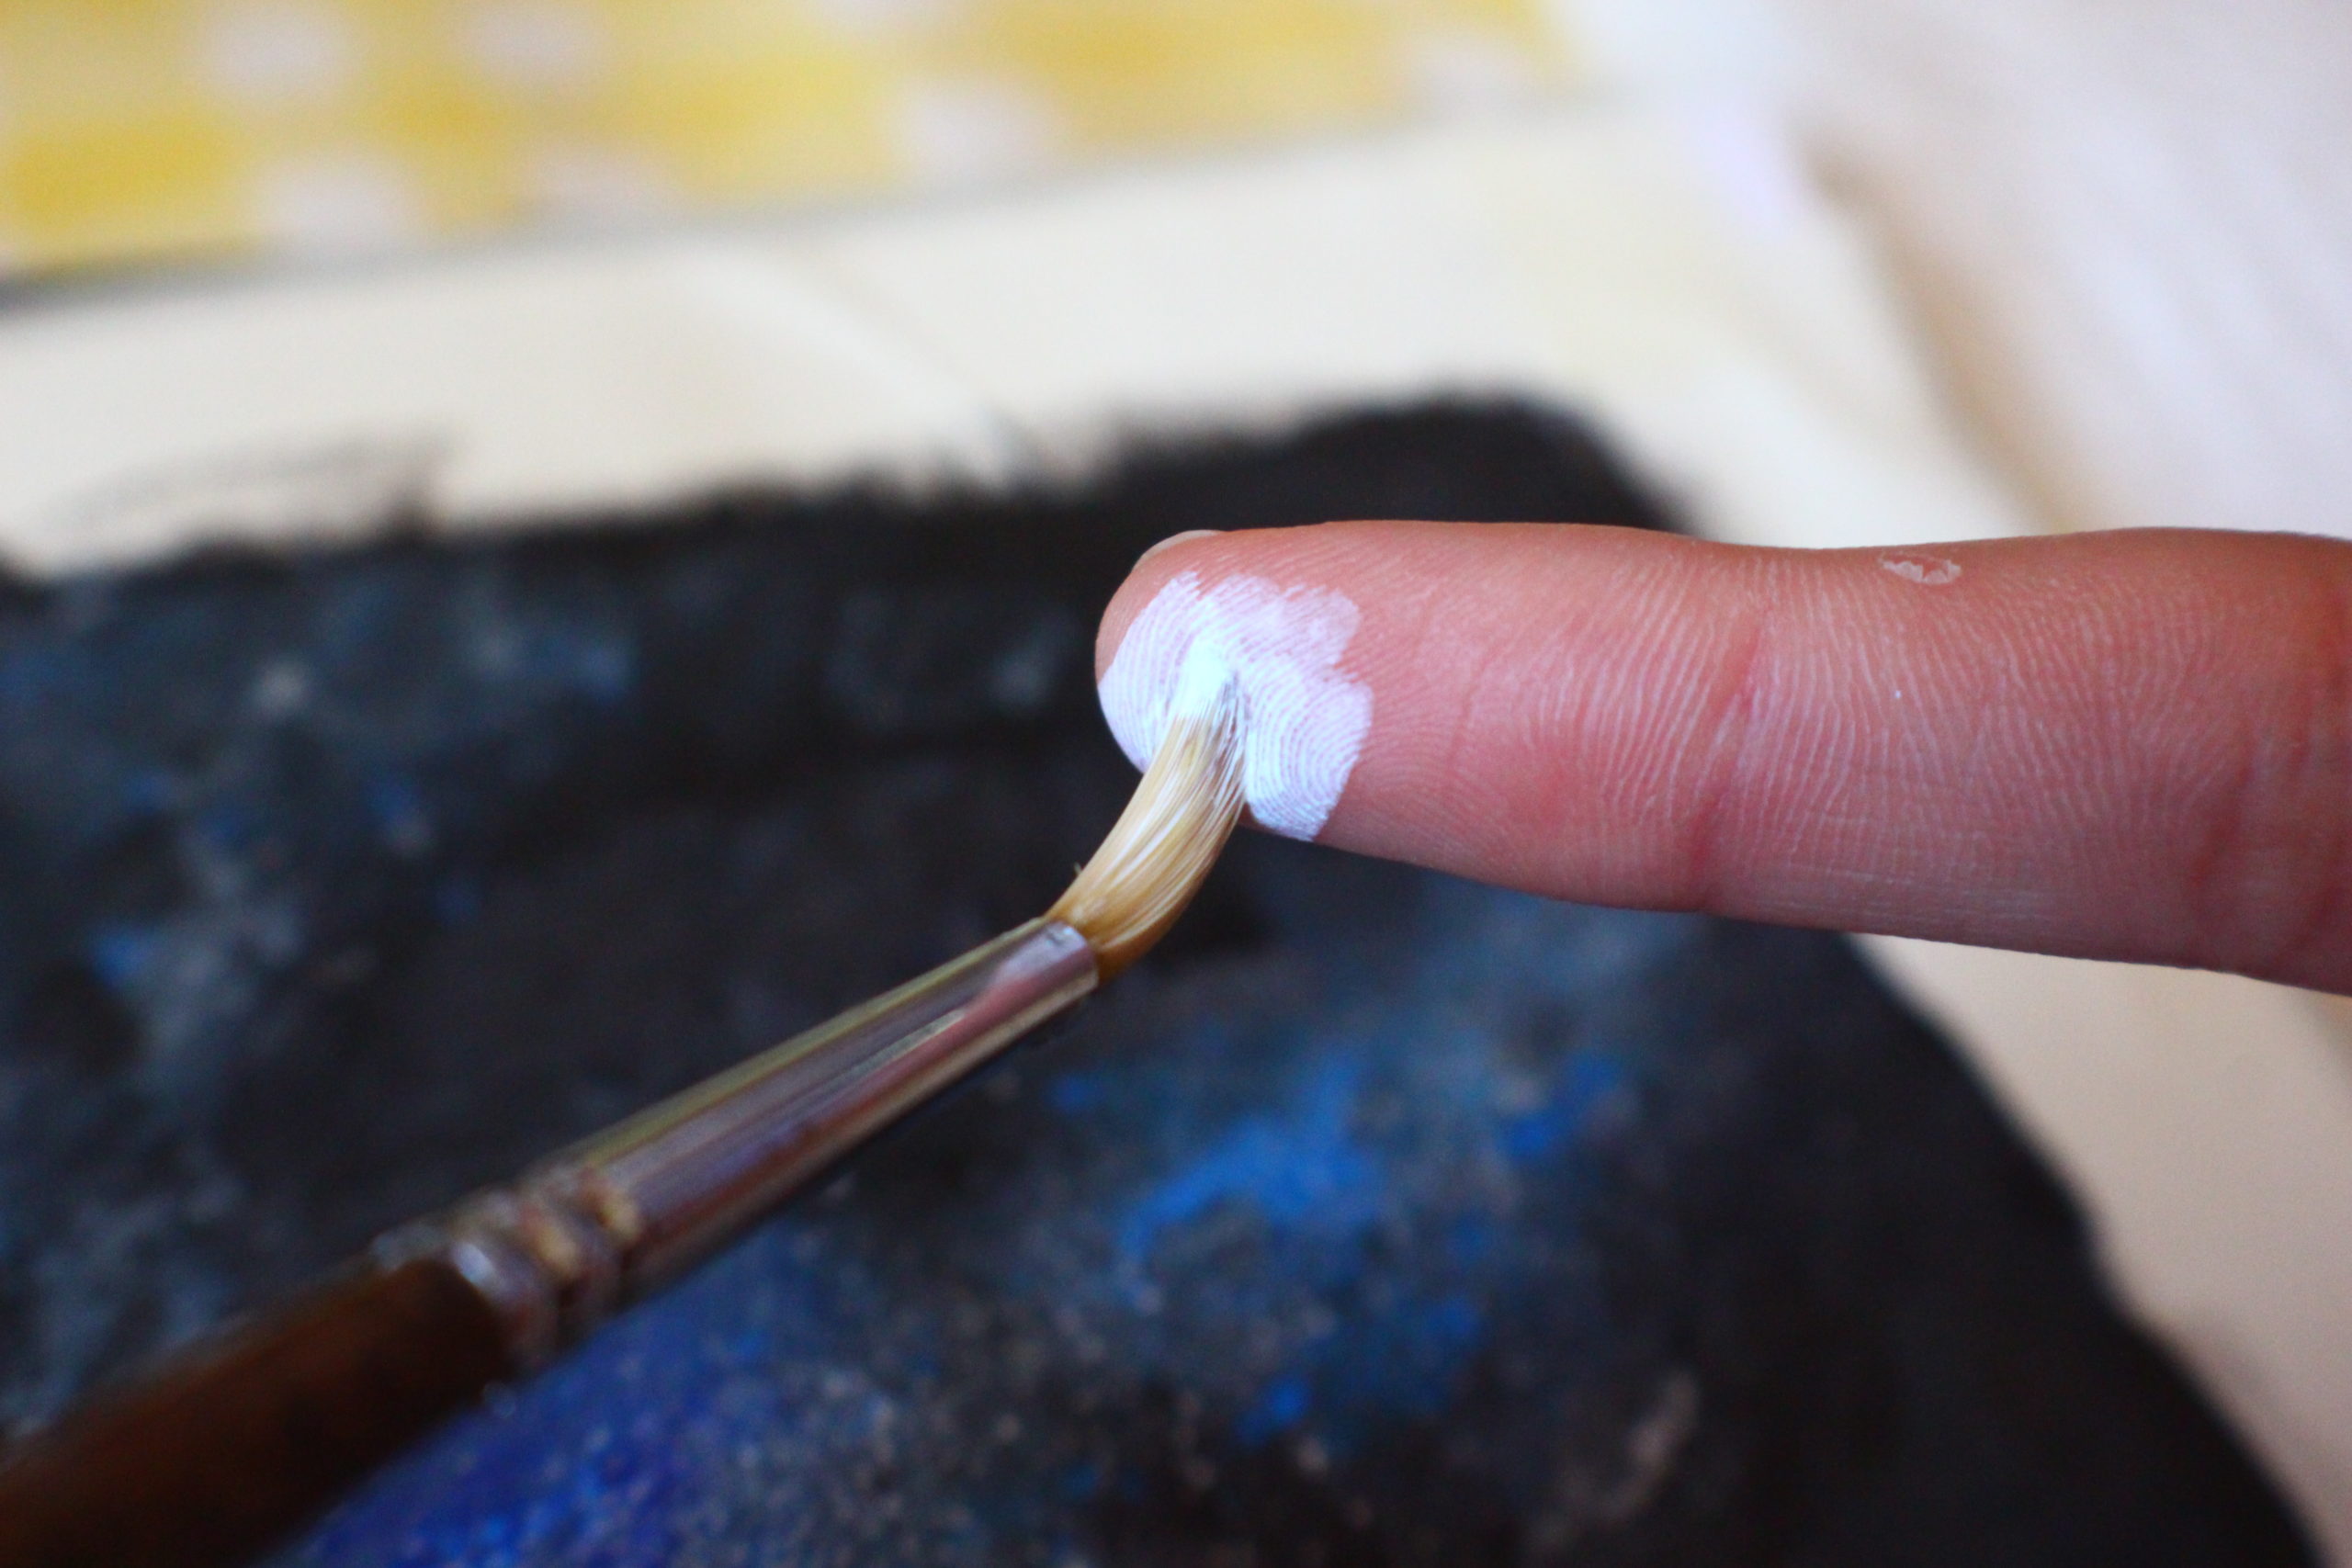
This next step is where your hands are going to get dirty. Place the brush with the white paint onto your finger and flick the paint onto your painting. Wherever the tip of your brush is pointing is going to be the direction the paint is going to be directed. The farther your brush is from your painting, the more spread out the stars will be; the closer your brush is to the painting, the stars will be more concentrated and closer together. Depending how wet your brush is and how much paint is on your brush will determine the size of the stars. If you want really small stars, heavily wet your brush and dip it into your paint, the paint will get become watered down and will make smaller stars. If you want bigger stars( be careful how much paint you load your brush with), dip your brush into your water but tap it onto your paper towel and load your brush with more paint. The paint won’t be as watered down and will create bigger stars. It may be difficult to control the size of your stars at first, so it would be good to practice on another sheet of paper if you’ve never done this before.

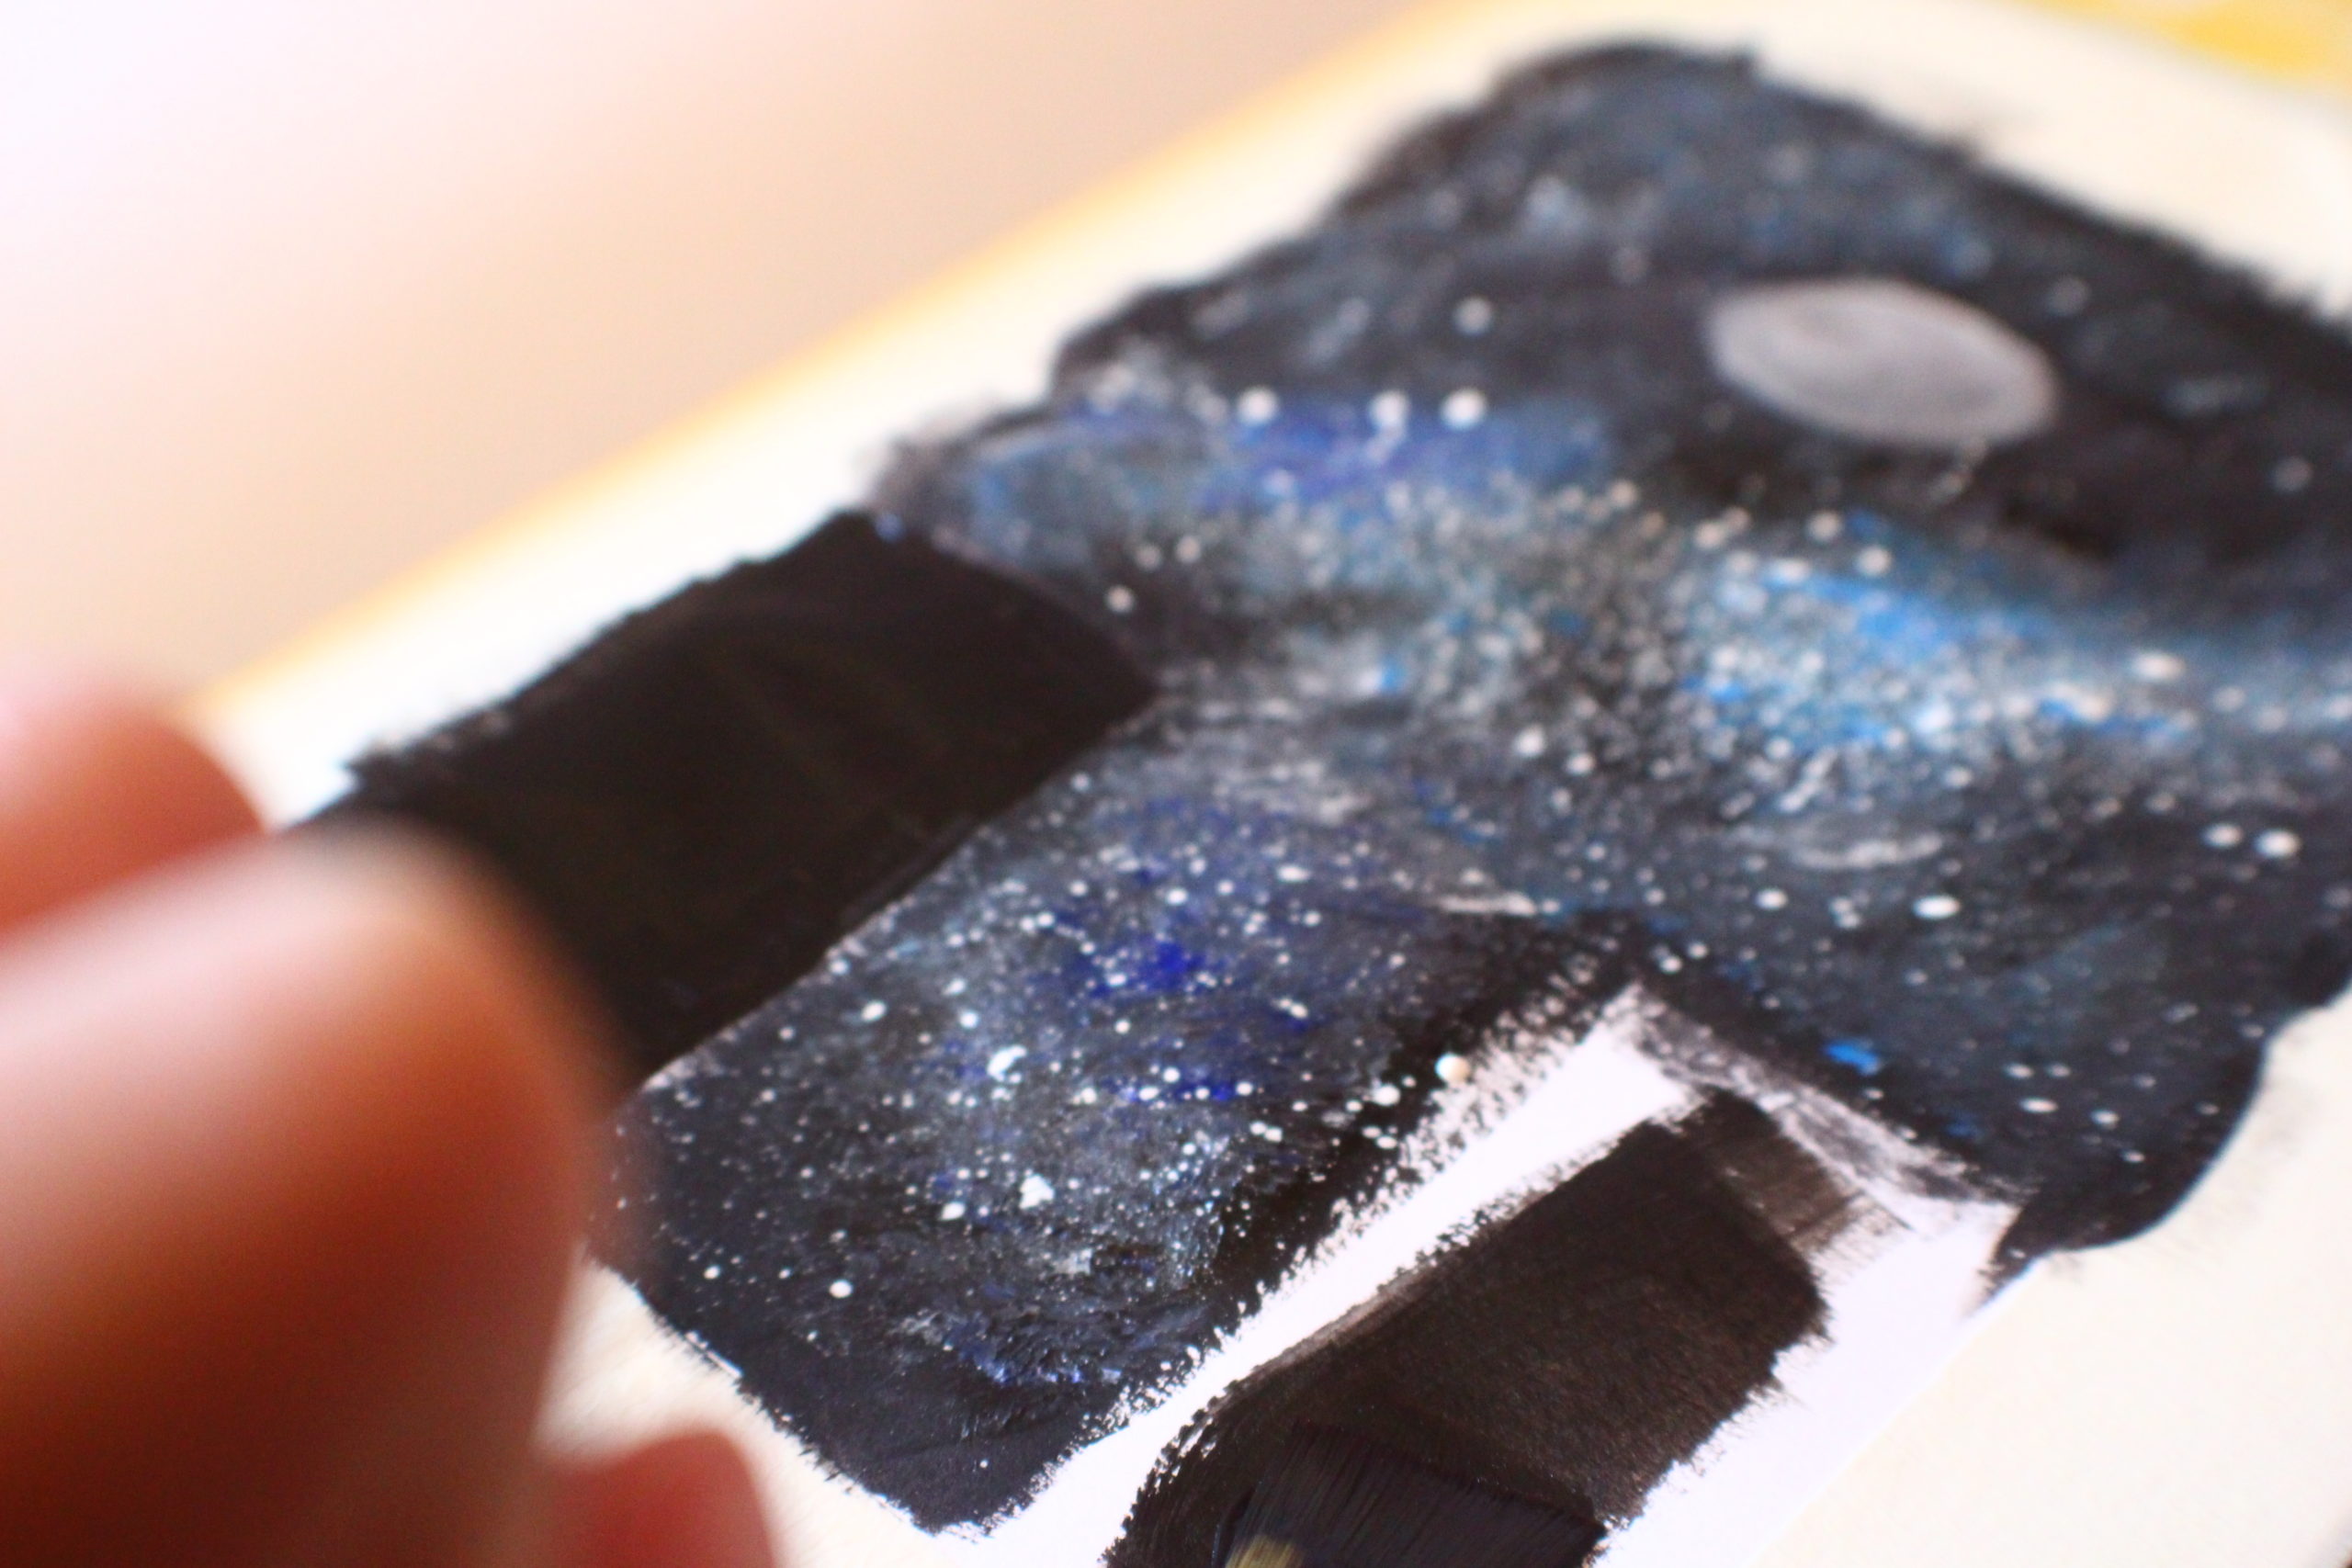
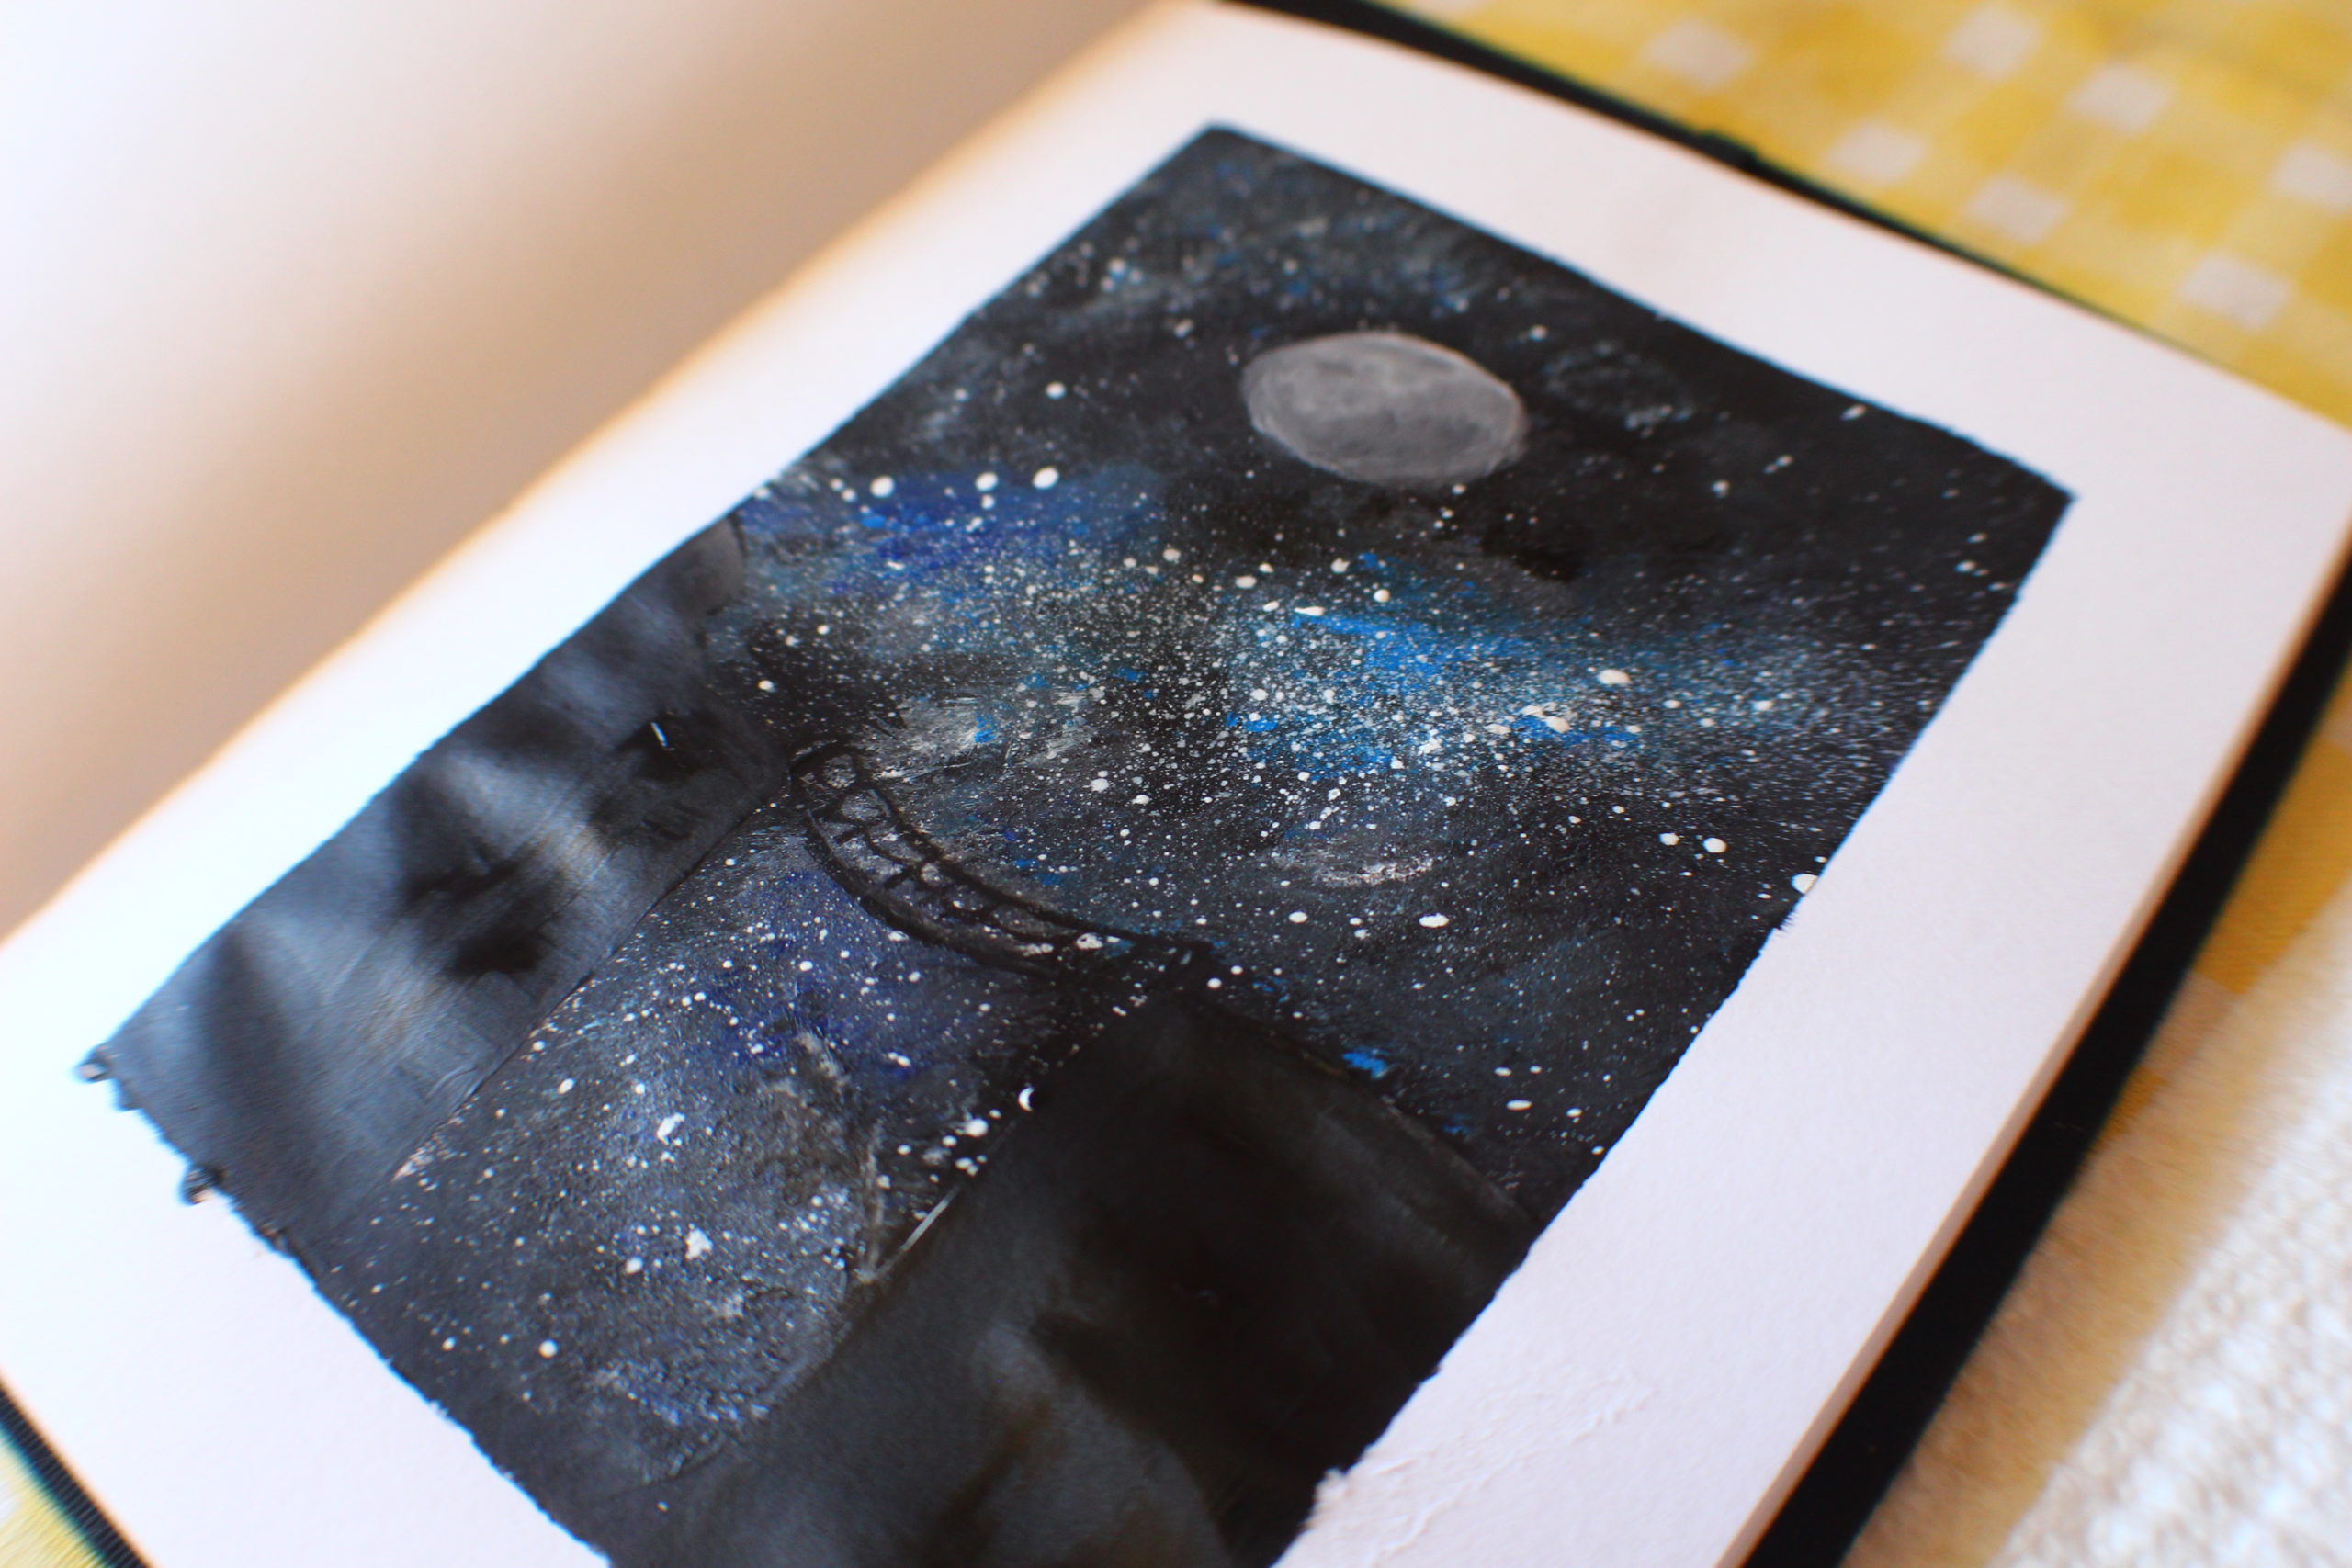
If you want to put a moon into your painting like I did, you can use the same round brush used to create the stars. Don’t load the brush too heavily with white paint because you don’t want the moon to look like a big white blob in the sky. It is best to use the white paint that is slightly watered down and only use a small amount to outline the moon and then slowly fill it in.
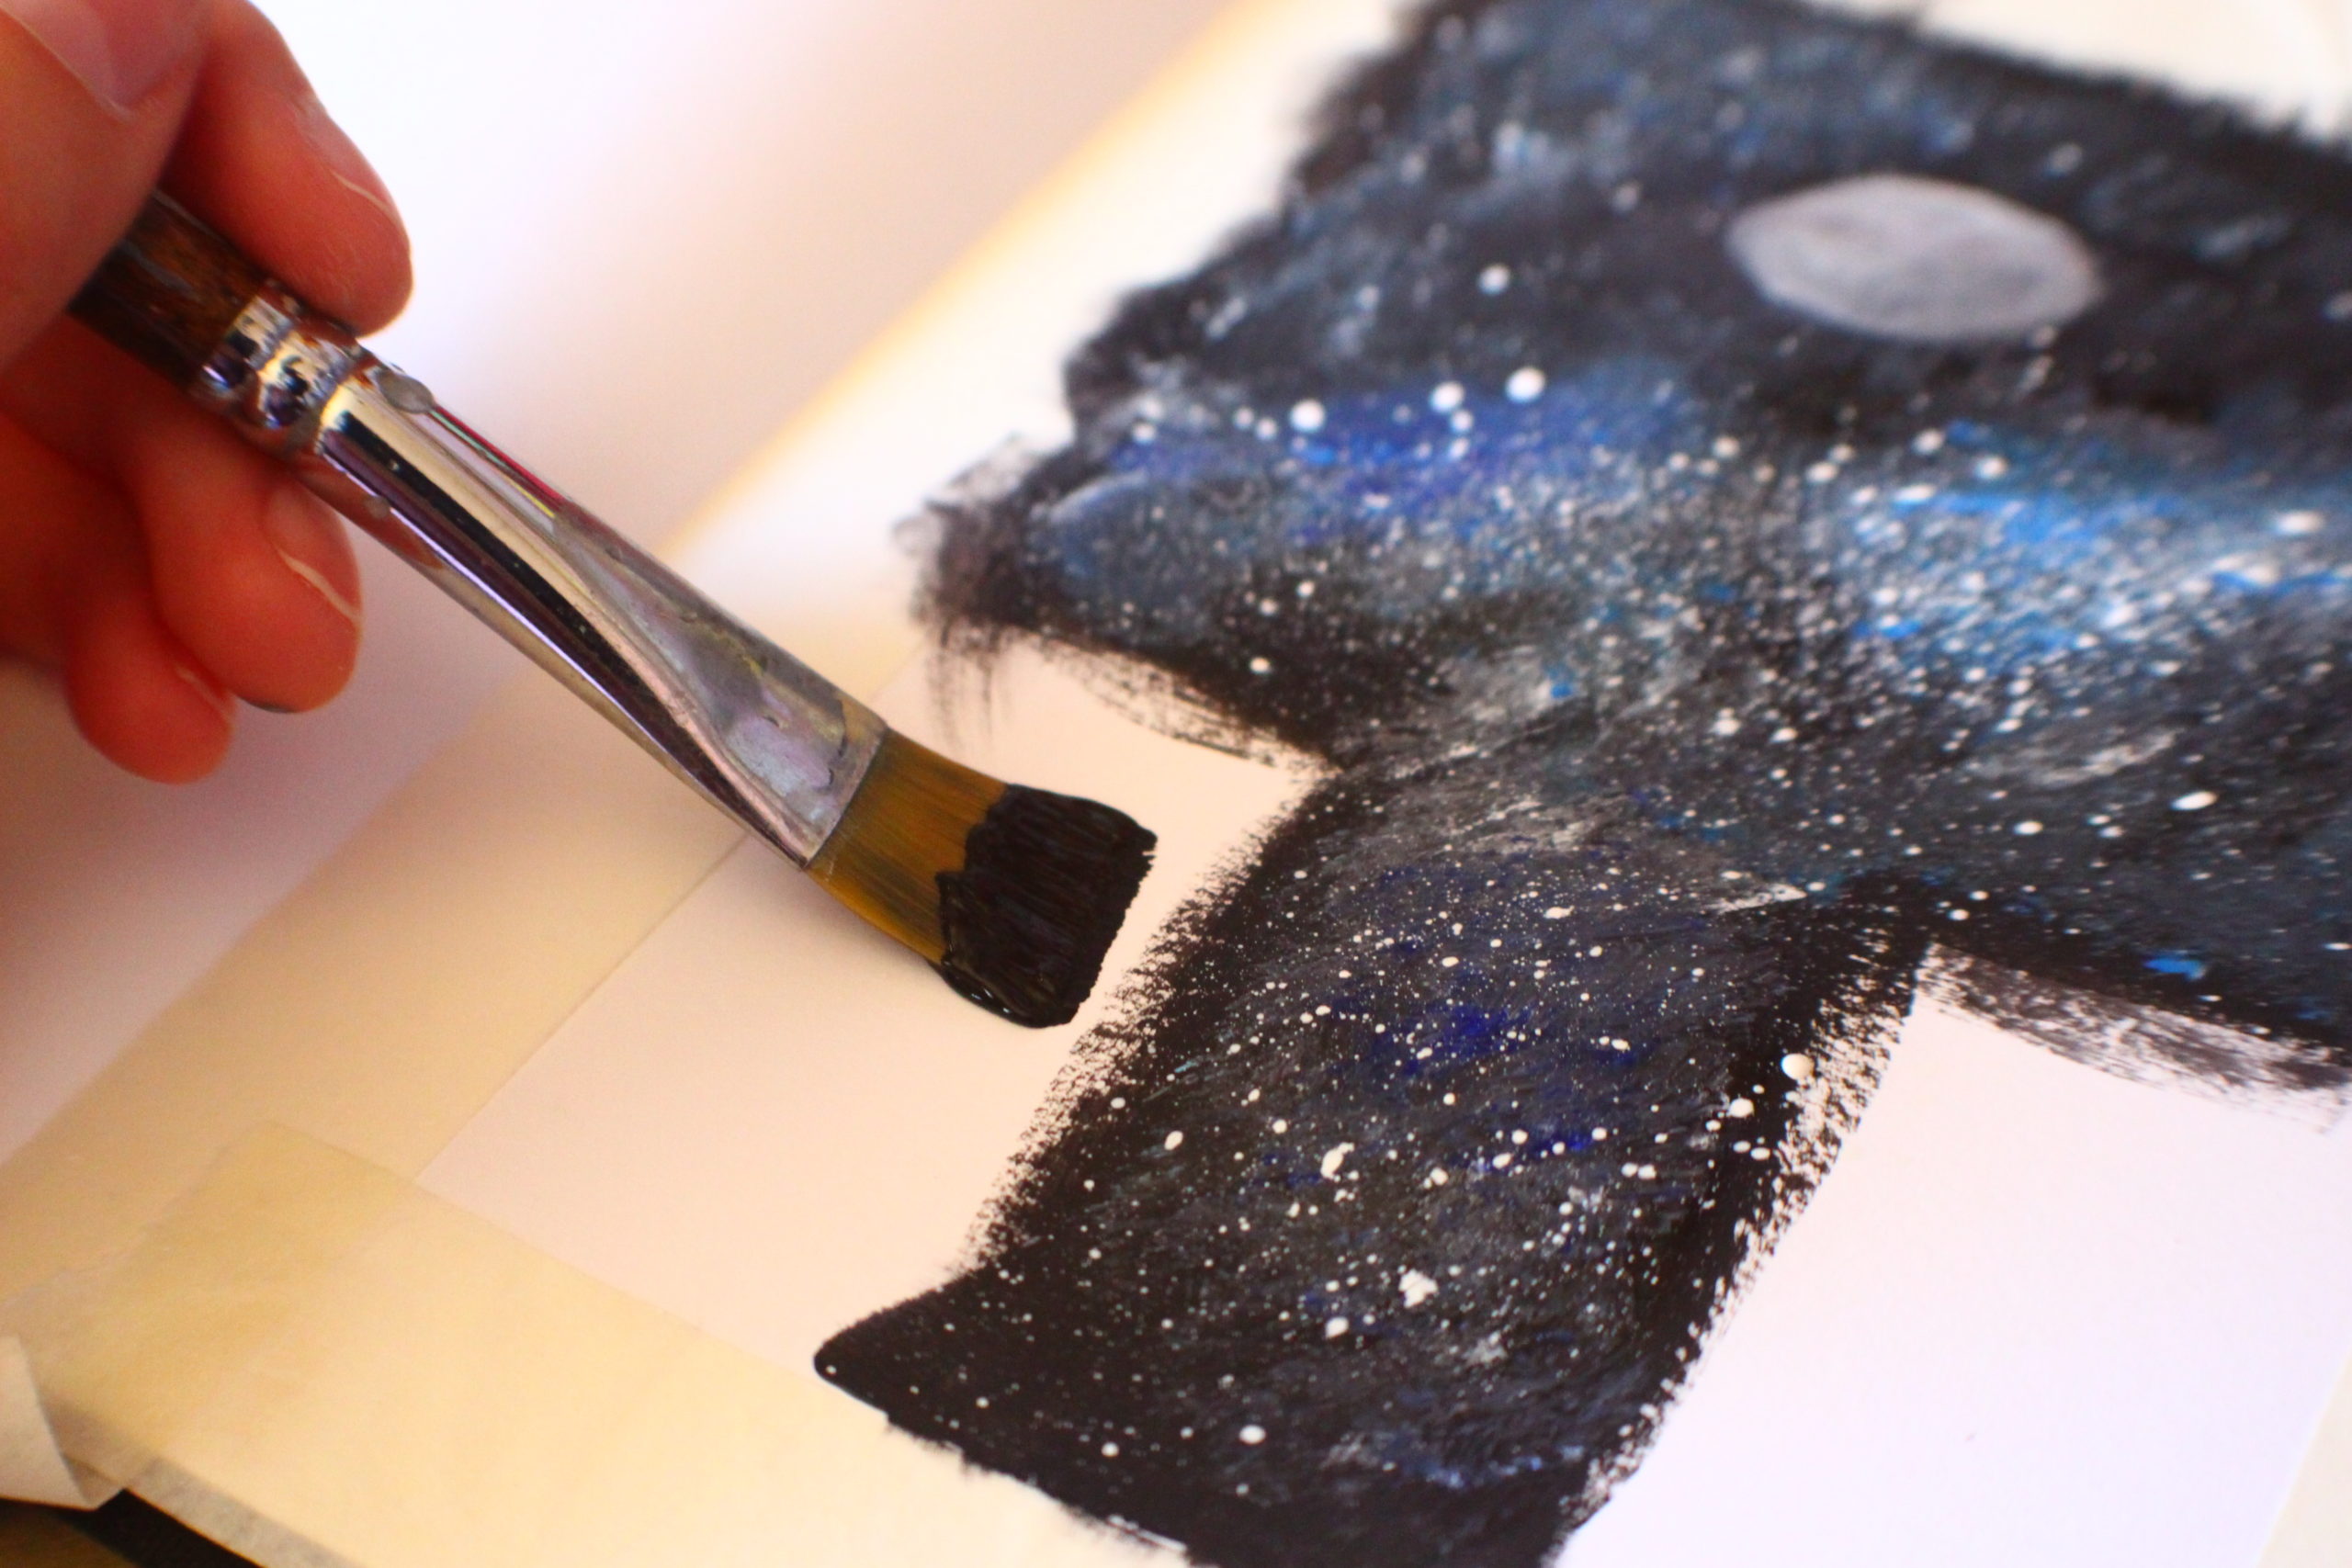
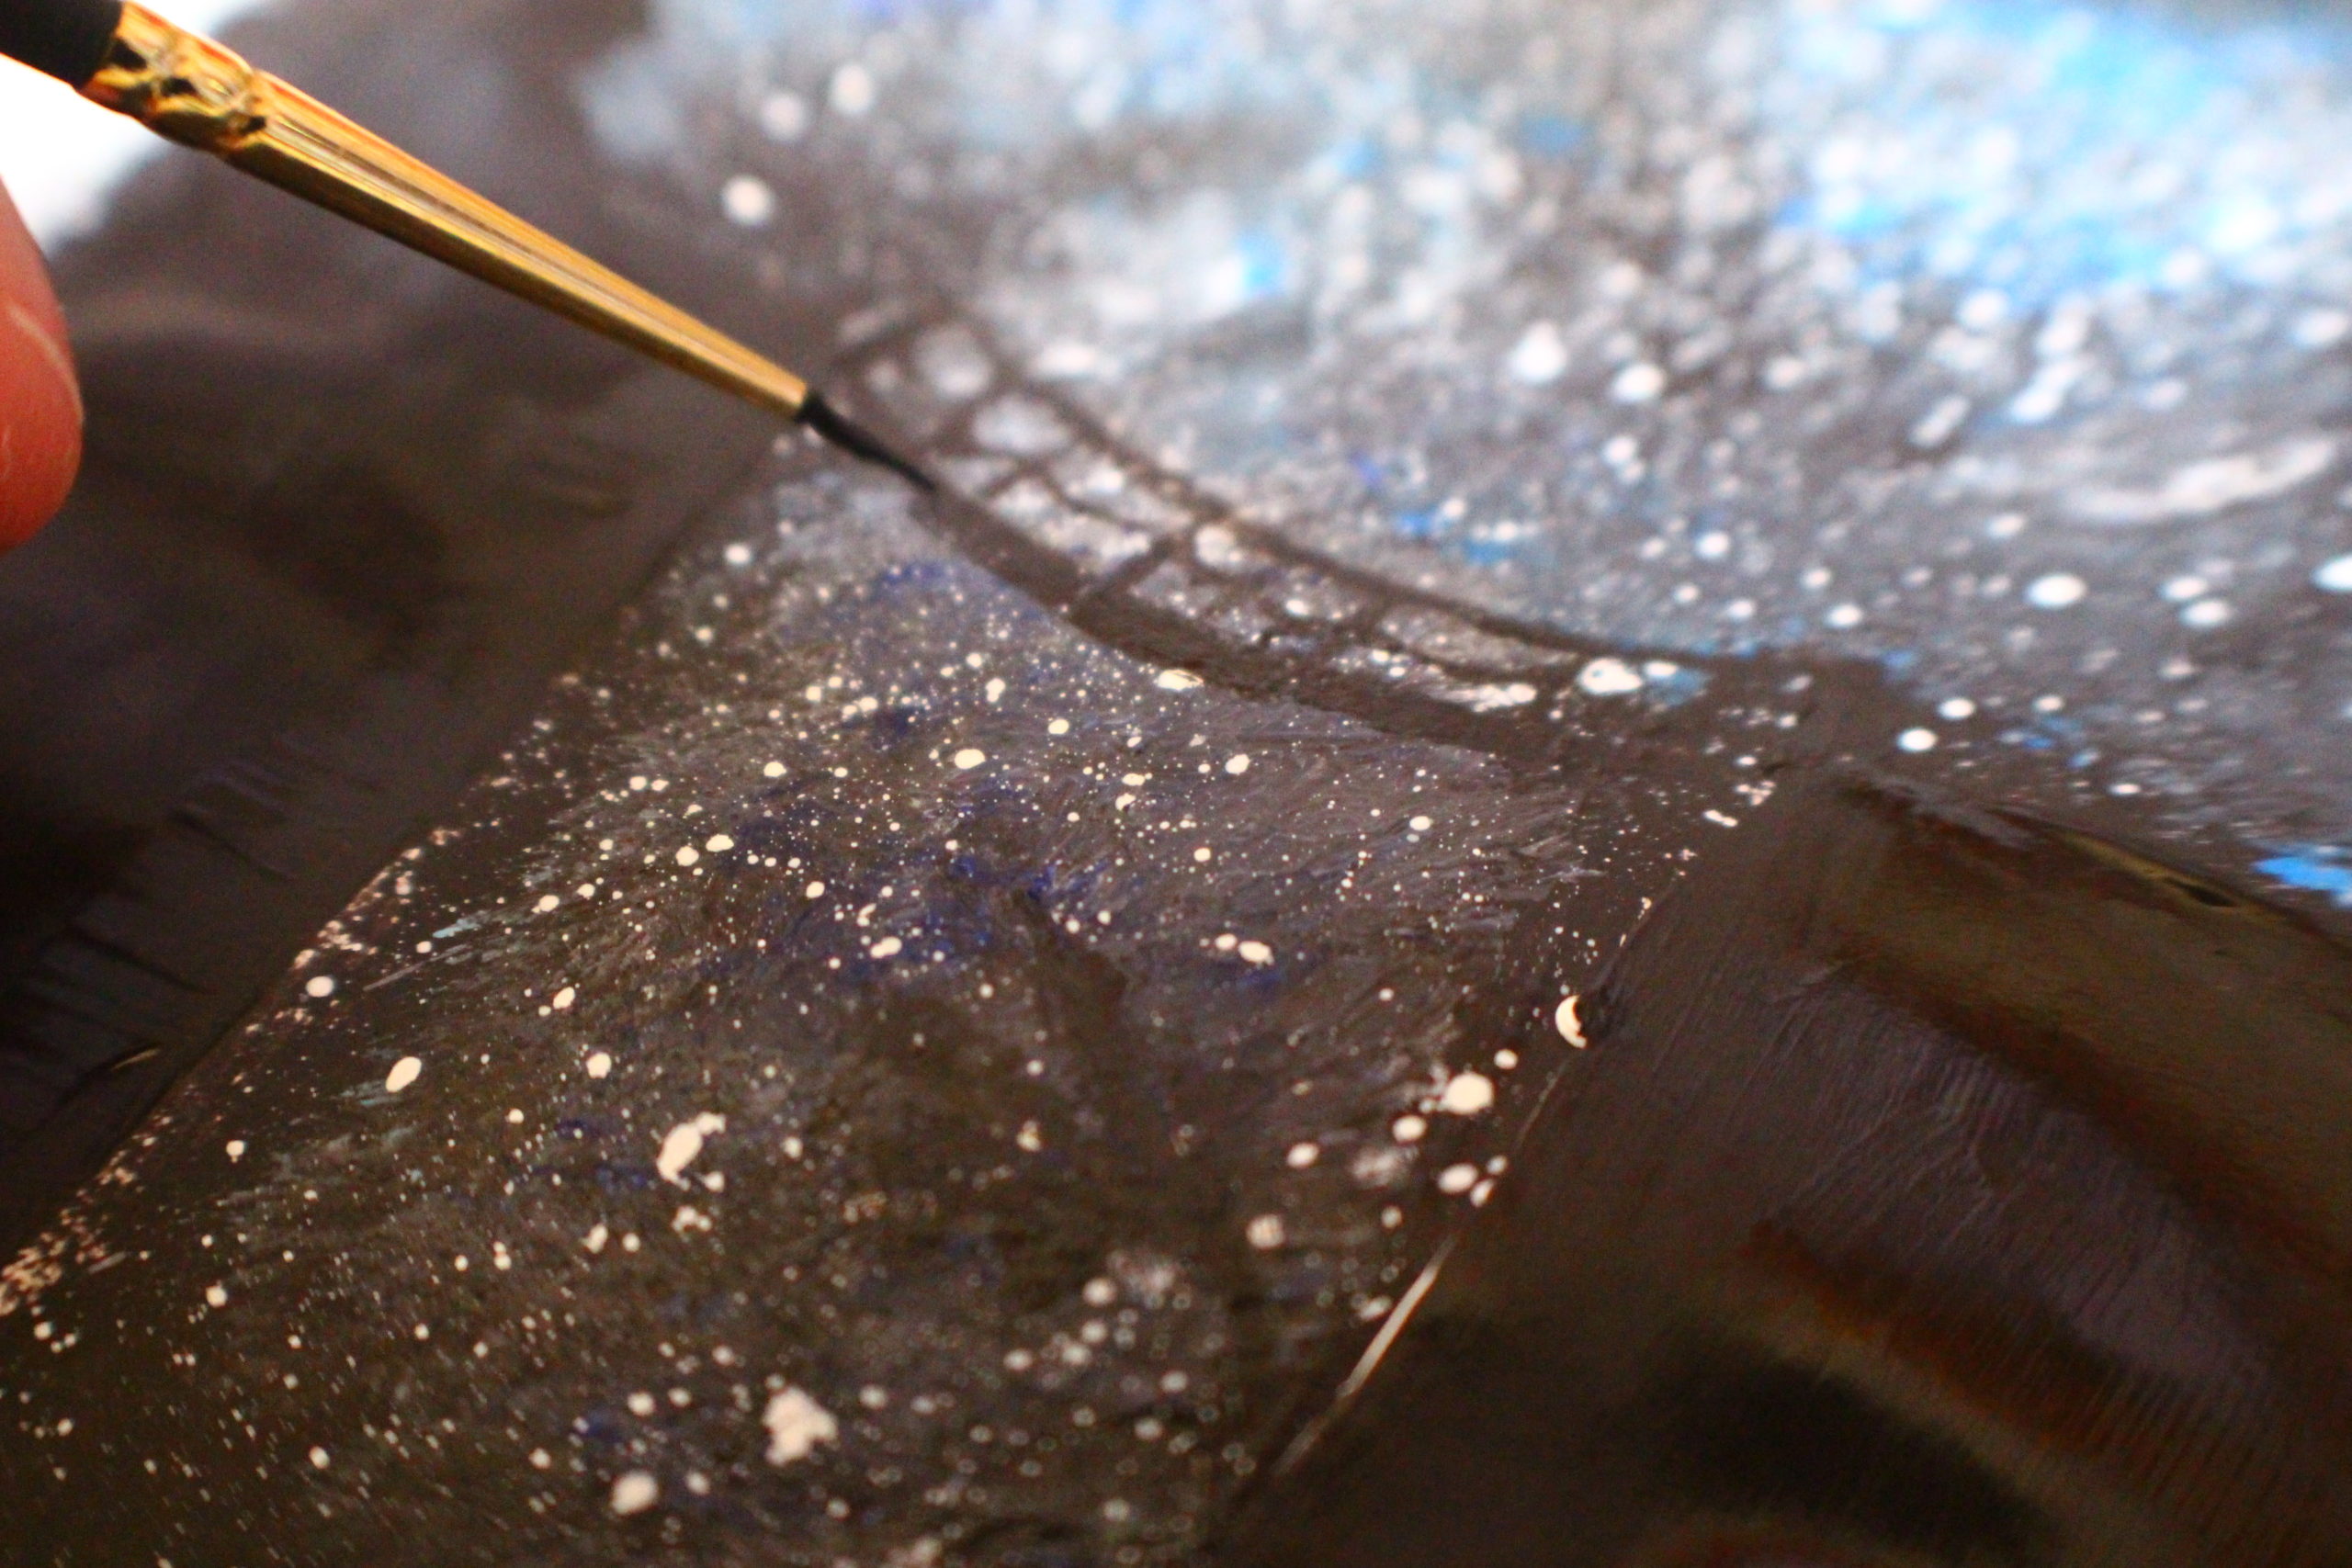
Last but not least, it is time to fill in the silhouettes that were sketched in earlier. In this step I used the #14 flat brush to fill in the larger white spaces and I used the 12/0 detailer brush for the smaller silhouettes. If you mess up, you can paint over it like you did the background and then once it dries you can fill in the silhouette again.
You can add some highlights onto your silhouettes by getting a small amount of watered down white paint and softly going over the parts you want highlighted and blend into the silhouette so there are no harsh lines.
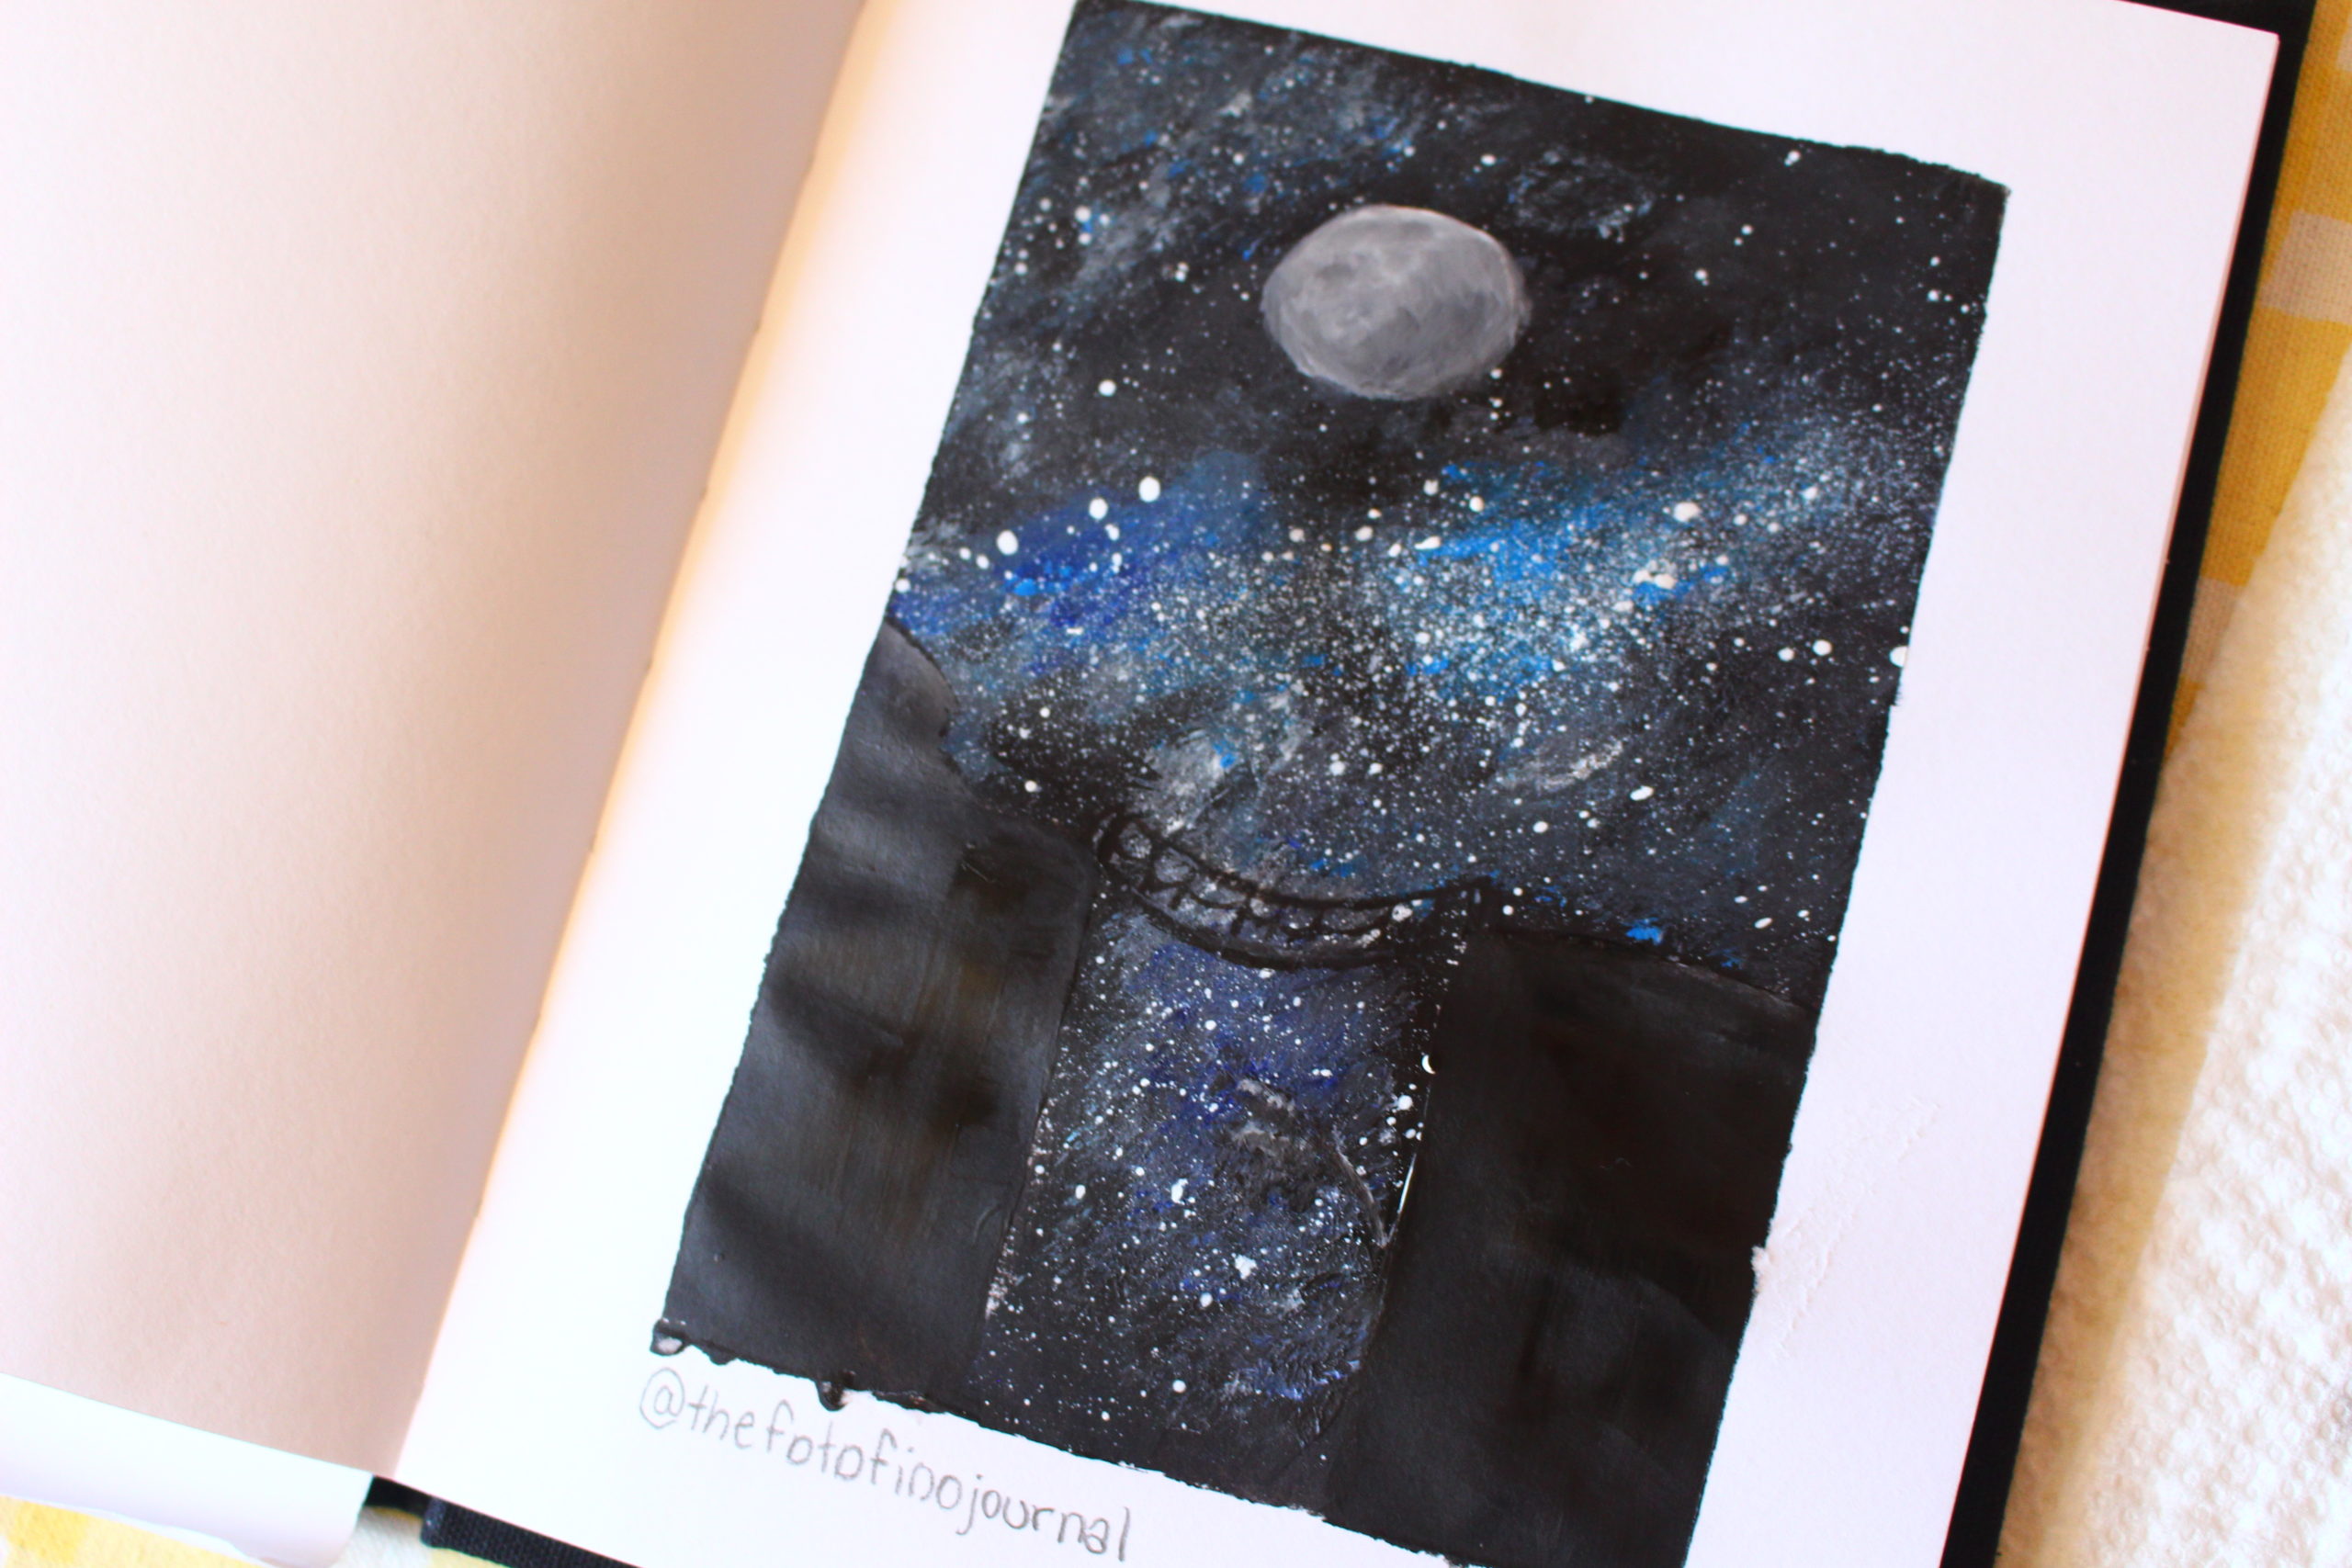
Painting is fun and is supposed to be relaxing! If it doesn’t come out the way you want it to the first time, practice and try again :). If you try this and want to try different colors, go for it! You can use pinks, reds, oranges, and you can even mix in two or three different colors and try something new. There doesn’t need to be any silhouettes of a landscape either, you can replace the moon with a planet and add a lot more stars for a painting primarily of space.
Pretty💫✨
Thank You 🙂
😍💞💗
🙂